
The whole trick to this project is simple, and I like to say it right up front: gently stretch every cotton ball before you glue it on. That one small habit turns plain cotton into soft cloud wisps; if you leave the balls tight and round, they look more like popcorn than weather. Once you know that, this little lamp is easy as pie and surprisingly charming, the sort of evening project you can finish in one relaxed sitting for about six dollars.
I’m fond of projects like this because they feel a bit like making something from nothing, the way we used to do when I was raising kids in the country and wanted a room to feel special without spending much at all. This is a good project for older children with help, teens decorating a bedroom, or any grown-up who wants a playful light piece with a little drama. We’ll keep it safe with LED lights only, cover the lantern fully for a full cloud shape, and leave a few soft wisps drifting from the bottom so it looks natural and not too tidy.
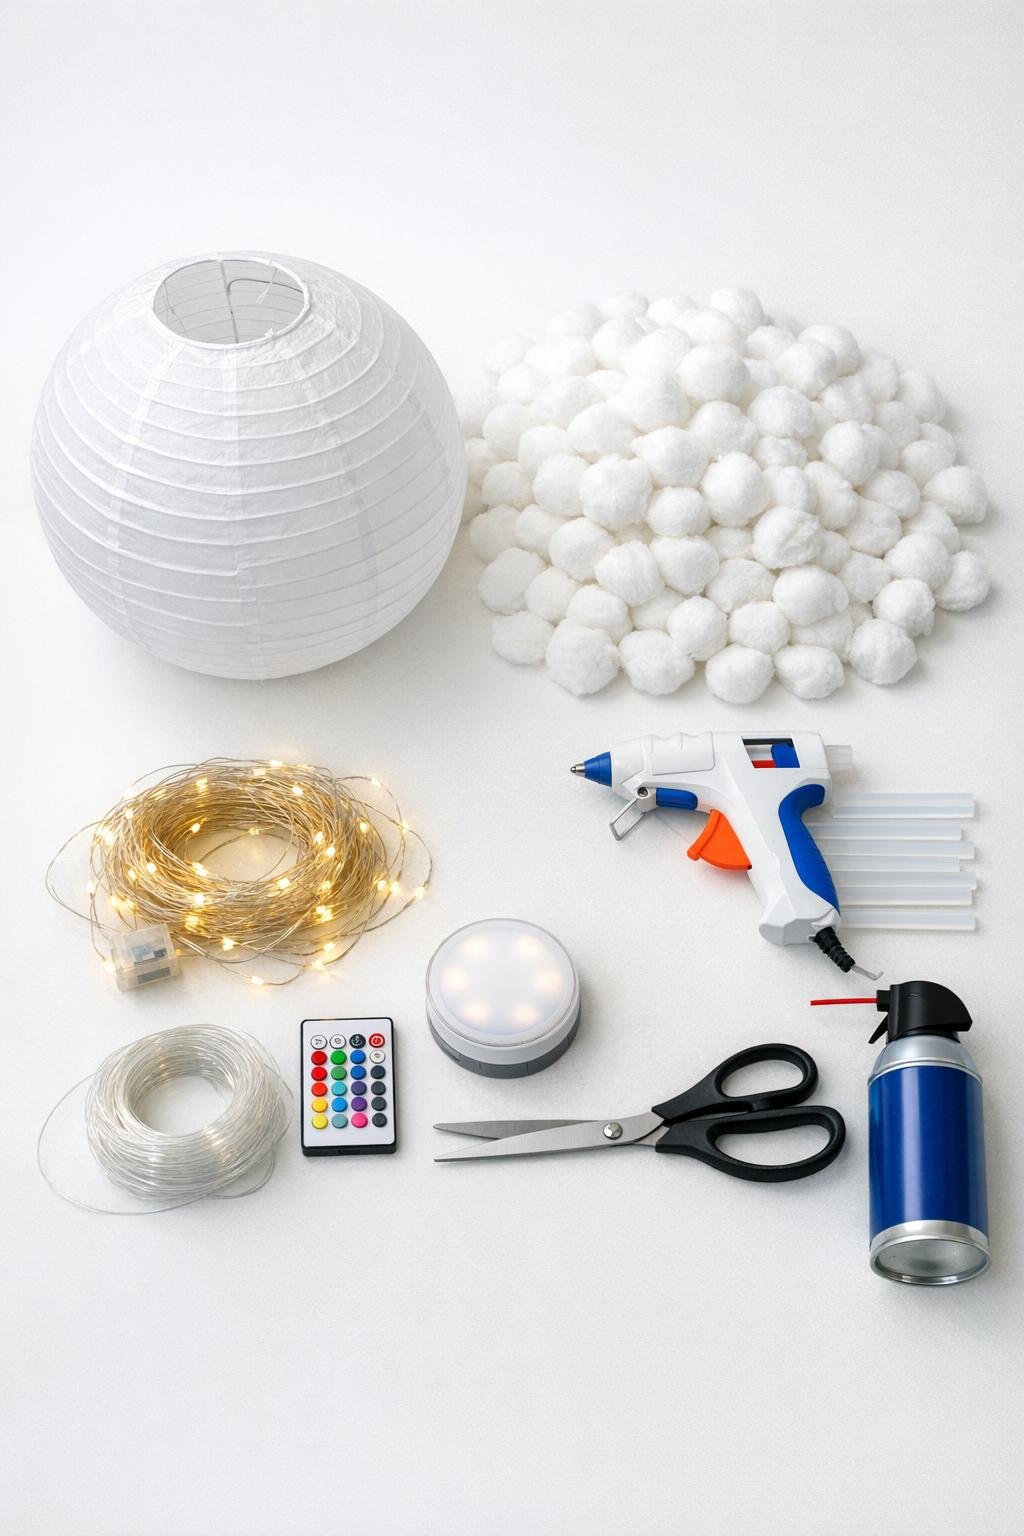
Materials
1 white paper lantern, 12 inches wide, with wire expander frame
Instructions
1. Open the paper lantern and insert the wire frame so it holds its round shape, then set the opening at the top where you can reach it easily. Plug in or test your LED lights now so you know everything works before the cotton goes on.
2. Stretch the first few cotton balls gently with your fingers until they look airy and webbed instead of round and tight. Keep doing this all the way through the project, because that fluffy pulled-apart look is what makes the finished cloud believable.
3. Add a small dab of low-temp hot glue to the lantern and press on one stretched cotton piece, overlapping the paper slightly as you go. Work in clusters rather than straight rows so the surface looks soft and natural.
4. Continue gluing stretched cotton over the lantern until the paper is fully covered, layering some pieces thicker than others for highs and lows like a real cloud. Tuck smaller wisps into gaps so no bare lantern shows through.
5. Build up the bottom third a little heavier, then glue on several loose stretched pieces so a few airy wisps trail off the bottom edge. Those uneven strands make it look like a drifting thundercloud instead of a perfect cotton ball sphere.
6. Let the glue cool for 10 minutes, then check the whole lantern from all sides and fill any flat or popcorn-looking spots with more stretched cotton. Use nearly all 200 cotton balls for dense coverage so the cloud looks generous and full.
7. Feed the warm white LED fairy lights in through the lantern opening, spreading them loosely around the inside without packing them tightly in one spot. LED only is a hard rule here; cotton is flammable, and a hot incandescent bulb has no business inside it.
8. For a sunset-cloud version, turn on the warm white lights and adjust them until the glow is even all around. Keep the battery pack outside the lantern or tucked neatly at the top opening where you can still reach the switch.
9. For a storm-cloud version, place the remote color-change LED puck light inside through the same opening and set it to a blue flicker or color-change mode. That pulsing blue light gives a lovely little lightning effect against the soft cotton.
10. Cut three lengths of clear fishing line, 18 to 24 inches each, and tie them evenly around the lantern’s top wire frame. Knot the three lines together above the lamp, then hang it from a ceiling hook so the cloud seems to float.
11. Fluff the outside one last time with your fingers, pulling a few edges outward if they’ve been squashed during hanging. Turn off the room lights and test both lighting options so you can choose a calm warm glow or a moodier stormy effect whenever you please.
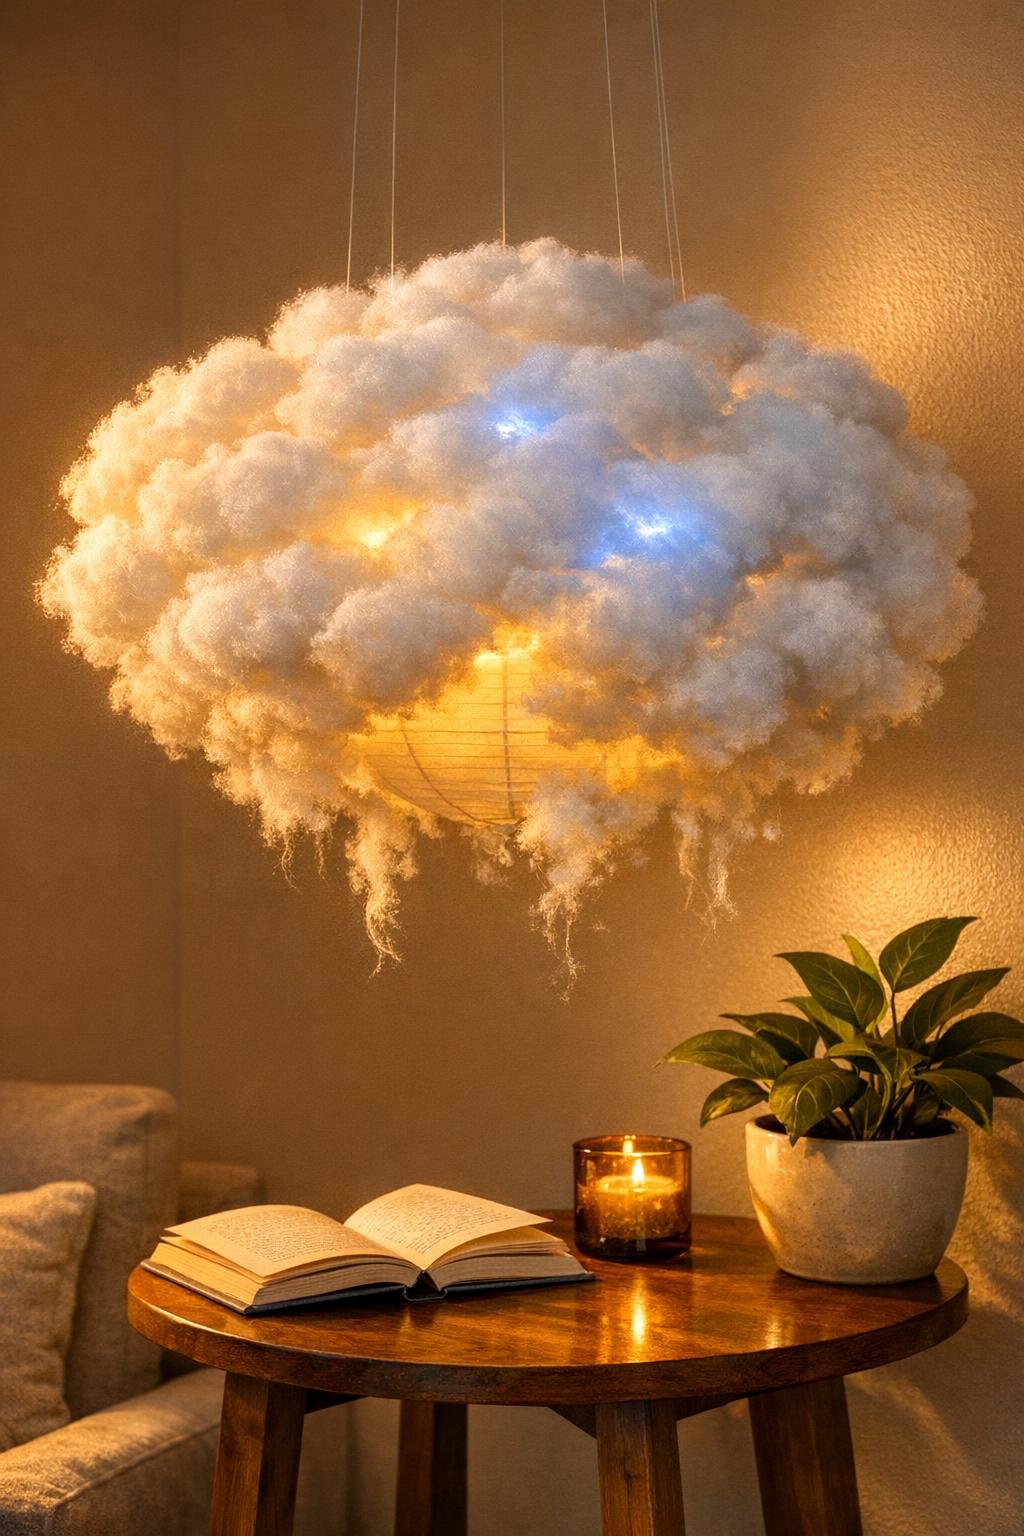
Variations & Tips
Warm sunset cloud: Use only the warm white LED fairy lights if you want a gentle, golden glow that feels peaceful in a bedroom, reading nook, or covered porch corner.
Stormy lightning cloud: Add the remote color-change puck and use a blue flicker setting for a more dramatic thundercloud look. I like this version for movie nights or a child’s weather-themed room.
Fuller shape: If your lantern is larger than 12 inches, buy an extra bag of cotton balls so you can keep that thick, fully covered look. Sparse coverage makes the lantern read through too plainly and loses the magic.
Best glue choice: A low-temperature hot glue gun is easiest because it grabs quickly without scorching the paper lantern. Work with small dabs so glue doesn’t seep through the cotton.
Safe lighting rule: Always use battery-operated LED lights only. Never use incandescent bulbs, plug-in lamp kits with hot bulbs, or anything that gives off heat near cotton.
Hanging help: Three strands of fishing line keep the lantern balanced better than one. If it tilts after hanging, shorten one strand slightly until the cloud sits level.
Cleaning tip: Cotton does collect dust over a season, especially in a bedroom or den. Refresh it with short blasts of canned air rather than wiping with a cloth, which can snag and flatten the wisps.
Seasonal twist: For a party, you can hang two or three clouds at different heights and keep the lights set differently in each one. One warm and one stormy together make a surprisingly pretty little sky indoors.