
The first thing I want to say—before glue, before paint, before anything—is this: pop the frame backs out, but keep the glass. Most of us instinctively remove and toss the inserts when we buy inexpensive picture frames, but here the glass is the whole trick. It’s what turns a few bargain frames into a lantern that actually looks like a lantern instead of a stack of frames glued together.
This is one of those high-payoff projects I love because the math is so satisfying. Four dollar store frames, a scrap of wood or small plaque base, and a can of spray paint get you a lantern that has the same farmhouse-store feel as the $30 versions. I like making a graduated pair for a mantel or entry table, and the assembly really is quick—about 10 minutes to build, then you’re mostly waiting on paint to dry. It’s easy enough for a beginner, polished enough to gift, and safe because the candle is LED only; with glue joints and spray finish, a real flame is simply not worth the risk.
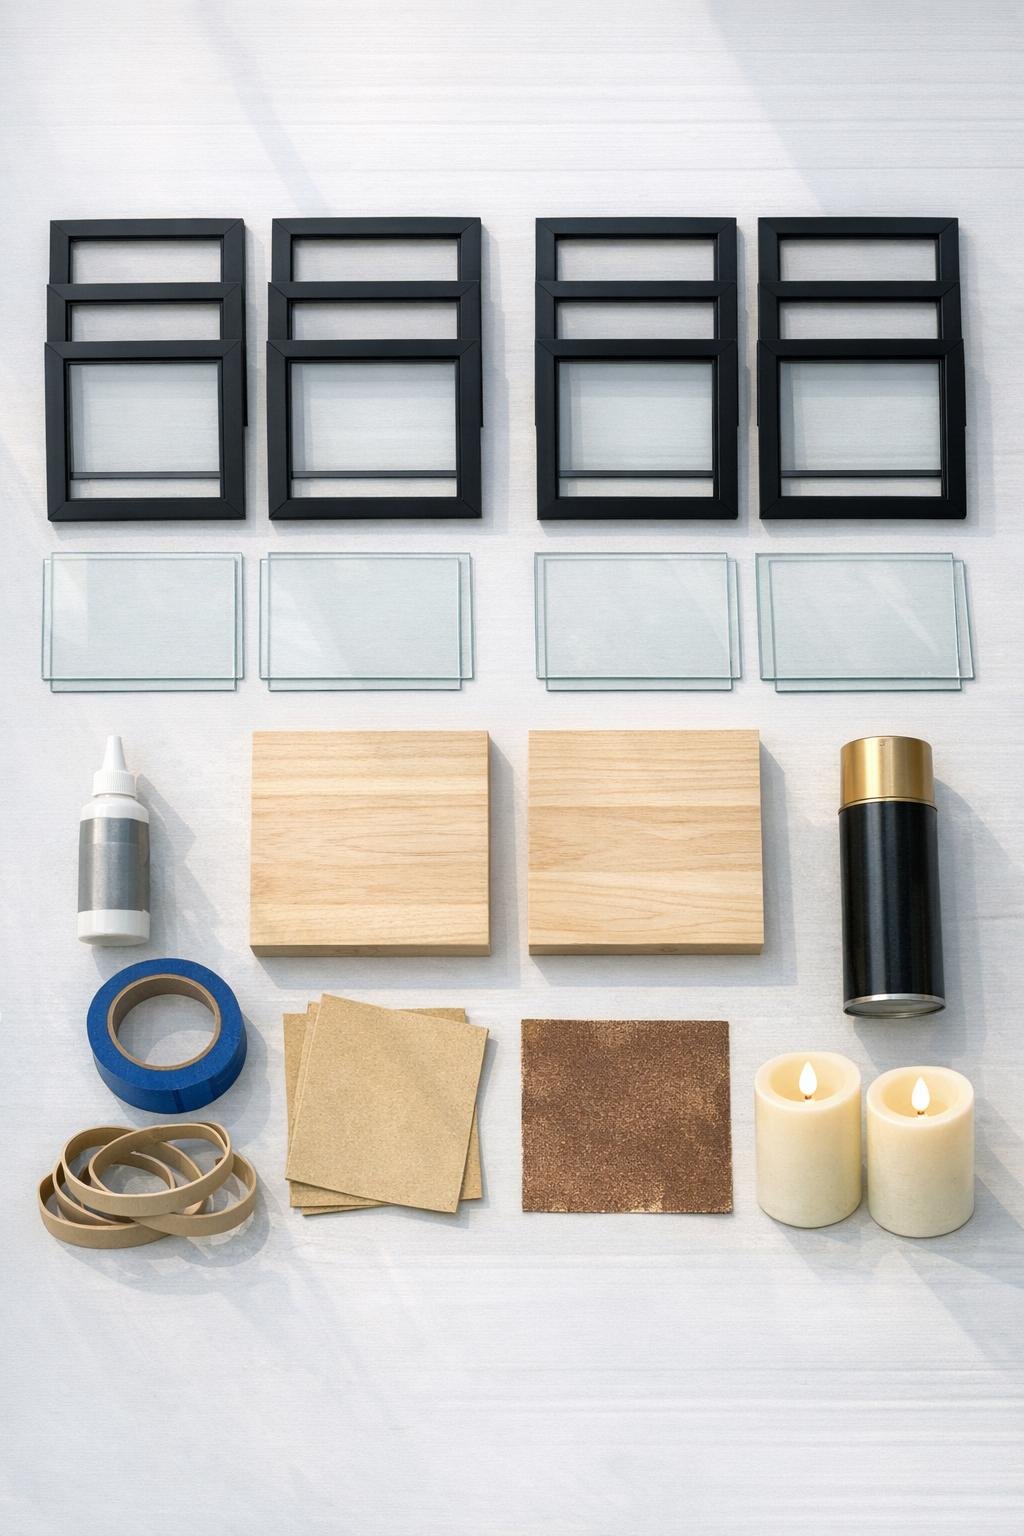
Materials
Instructions
1. Remove the frame backs, tabs, and paper inserts from all 8 frames, but keep every glass pane in place inside the frames. Wipe the glass and frame fronts so you’re not sealing dust or fingerprints into the finished lanterns.
2. For the first lantern, stand 4 frames upright on their long edges and arrange them into a square with the glass facing outward. Make sure each corner meets at a right angle so the lantern looks clean and even when it’s painted.
3. Run a thin bead of strong glue along one outer edge of the first frame and press the second frame against it at a 90-degree angle. Hold for a minute, then repeat with the third and fourth frames until you have an open-topped, open-bottom cube shape.
4. Wrap the glued square with two wide rubber bands or a few loops of painter’s tape to keep the corners snug while the glue sets. Check from above that the opening is square, then let it sit undisturbed according to the glue directions.
5. Repeat the same assembly with the other 4 frames to make a second lantern if you want a graduated mantel pair; using the same frame size gives you a matched set, and the styling difference comes from candle height or base treatment. If you prefer more contrast, use larger dollar store frames for the second lantern and cut the base to fit with about 1/2 inch of border all around.
6. Lightly sand the wood bases if they feel rough, then brush or wipe away dust. Set each glued frame cube on a base and center it so you have an even border on all sides.
7. Run a bead of glue around the bottom edge of each frame cube and press it onto its base. Add a little painter’s tape at two sides if needed to stop the cube from shifting while the base bond sets.
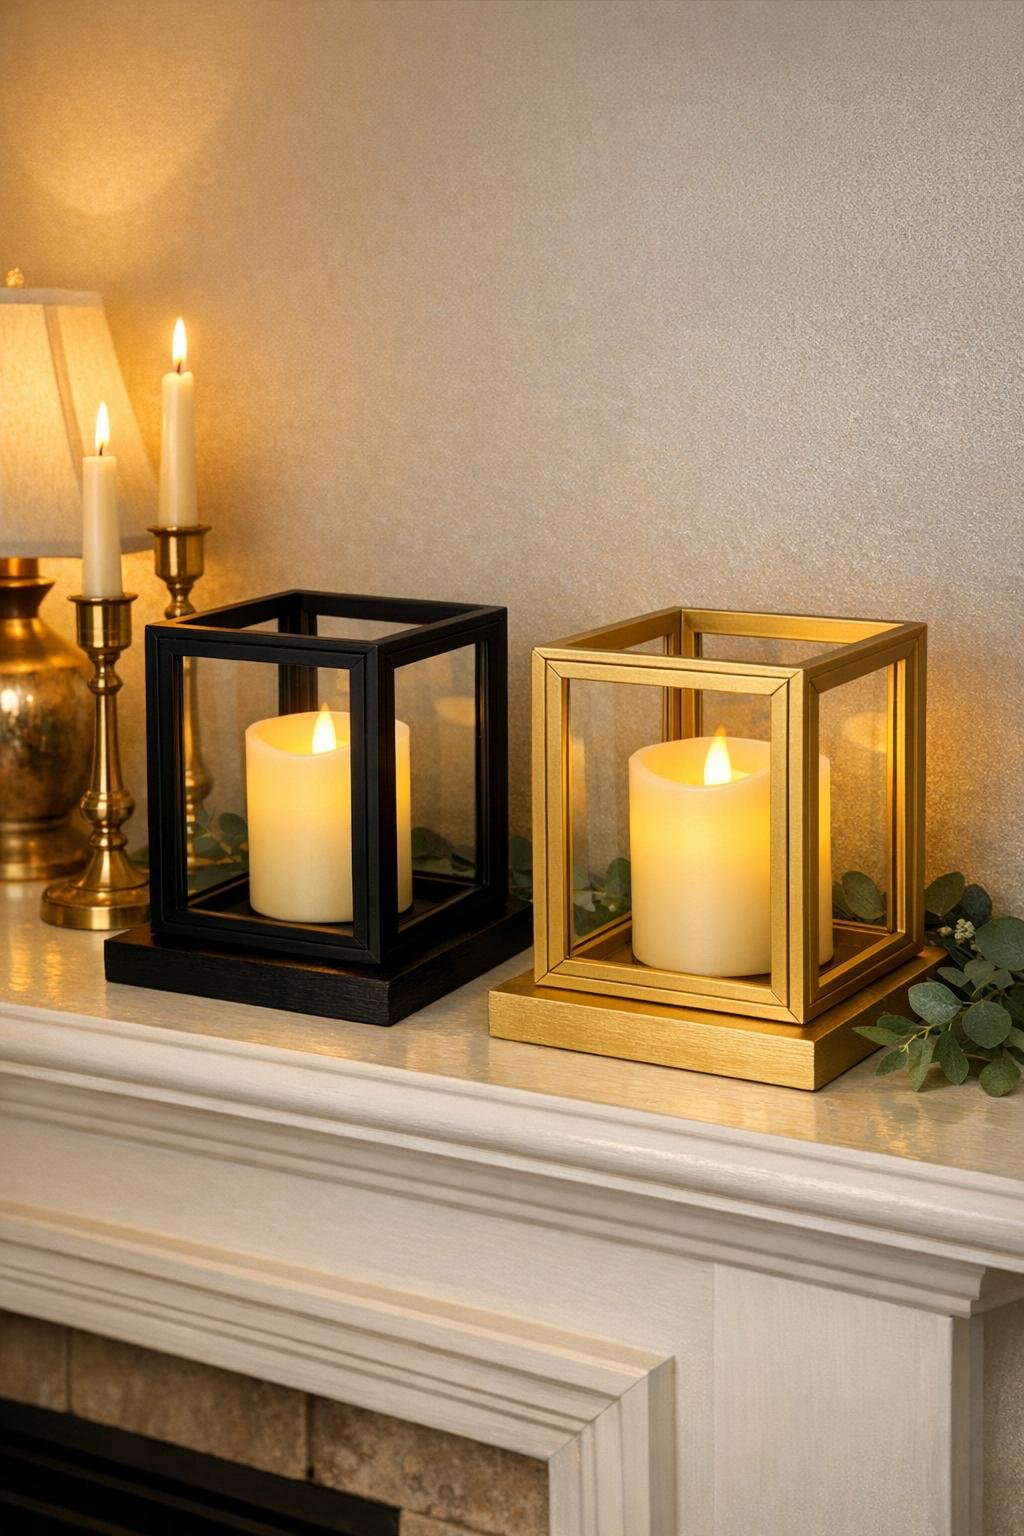
8. Once the glue is fully cured, spray paint each lantern inside and out in light, even coats, keeping the top open. Black gives a classic farmhouse look, while gold makes the frame edges and reflected candlelight feel warmer and a little dressier.
9. Let the paint dry completely, then add felt pads under the base if you’re using the lanterns on a mantel, console, or shelf. Slide an LED pillar candle into each lantern through the open top.
10. Use LED candles only—plainly, no real flame here. The lantern body is held together with glue and coated with spray finish, so an LED pillar is the safe choice and still gives you the warm lantern effect you want.
Variations & Tips
Budget math: One lantern uses 4 one-dollar frames, so the body costs about $4; add roughly $1 in paint and glue plus an LED candle you may already have, and you’re right around $6 per lantern. A pair still comes in far below the price of two store-bought farmhouse lanterns, which is exactly why this project is such a satisfying little flex.
Best frame style: Choose the plainest frames you can find with flat edges and a little width on the front. Very ornate frames can work, but clean lines make the finished lantern look more expensive.
Black vs. gold: Black is crisp, architectural, and works with almost any décor. Gold reflects the LED glow beautifully and has a slightly vintage look that I especially like in fall and winter styling.
For a graduated pair: Make one lantern from 4 x 6 frames and the second from 5 x 7 or 8 x 10 dollar store frames if your store carries matching styles. That gives you the classic staggered-height look for a mantel, hearth, or entry console.
Cleaner paint finish: Spray several light coats rather than one heavy one, and let each coat flash off before the next. I treat it a bit like layering flavor in cooking—thin, patient layers always look better than trying to force the finish all at once.
Easy seasonal styling: Tuck in faux greenery, a small ribbon bow, or a few mini ornaments around the base outside the lantern, not inside it. Keeping the inside simple lets the glass and candlelight do their job.
If your frames feel flimsy: Let each glued corner set for a few extra minutes before adding the next side, and use both rubber bands and painter’s tape together. Dollar store supplies vary, so a little patience at the assembly stage makes the final piece feel much sturdier.