
I love a thrift-store flip that looks wildly expensive without requiring advanced skills, and this penny table is exactly that kind of project. You’re basically turning pocket change and a sad little secondhand table into a high-shine statement piece, but I want to be honest up front: the pennies are the cheap part at about $5 for 500 coins, and the epoxy is the real spend, usually around $25 to $35. It’s still a very fair trade for the end result, especially if you want that boutique-home-store look on a realistic budget.
This is a weekend project more than a one-evening craft, because there are overnight waits and curing time involved, but the hands-on part is simple and satisfying. If you can paint, glue in rows, and pour resin carefully, you can absolutely do this. One prep step makes all the difference, and I never skip it: paint the tabletop black first so any tiny gaps between pennies read like dark grout instead of raw wood peeking through.
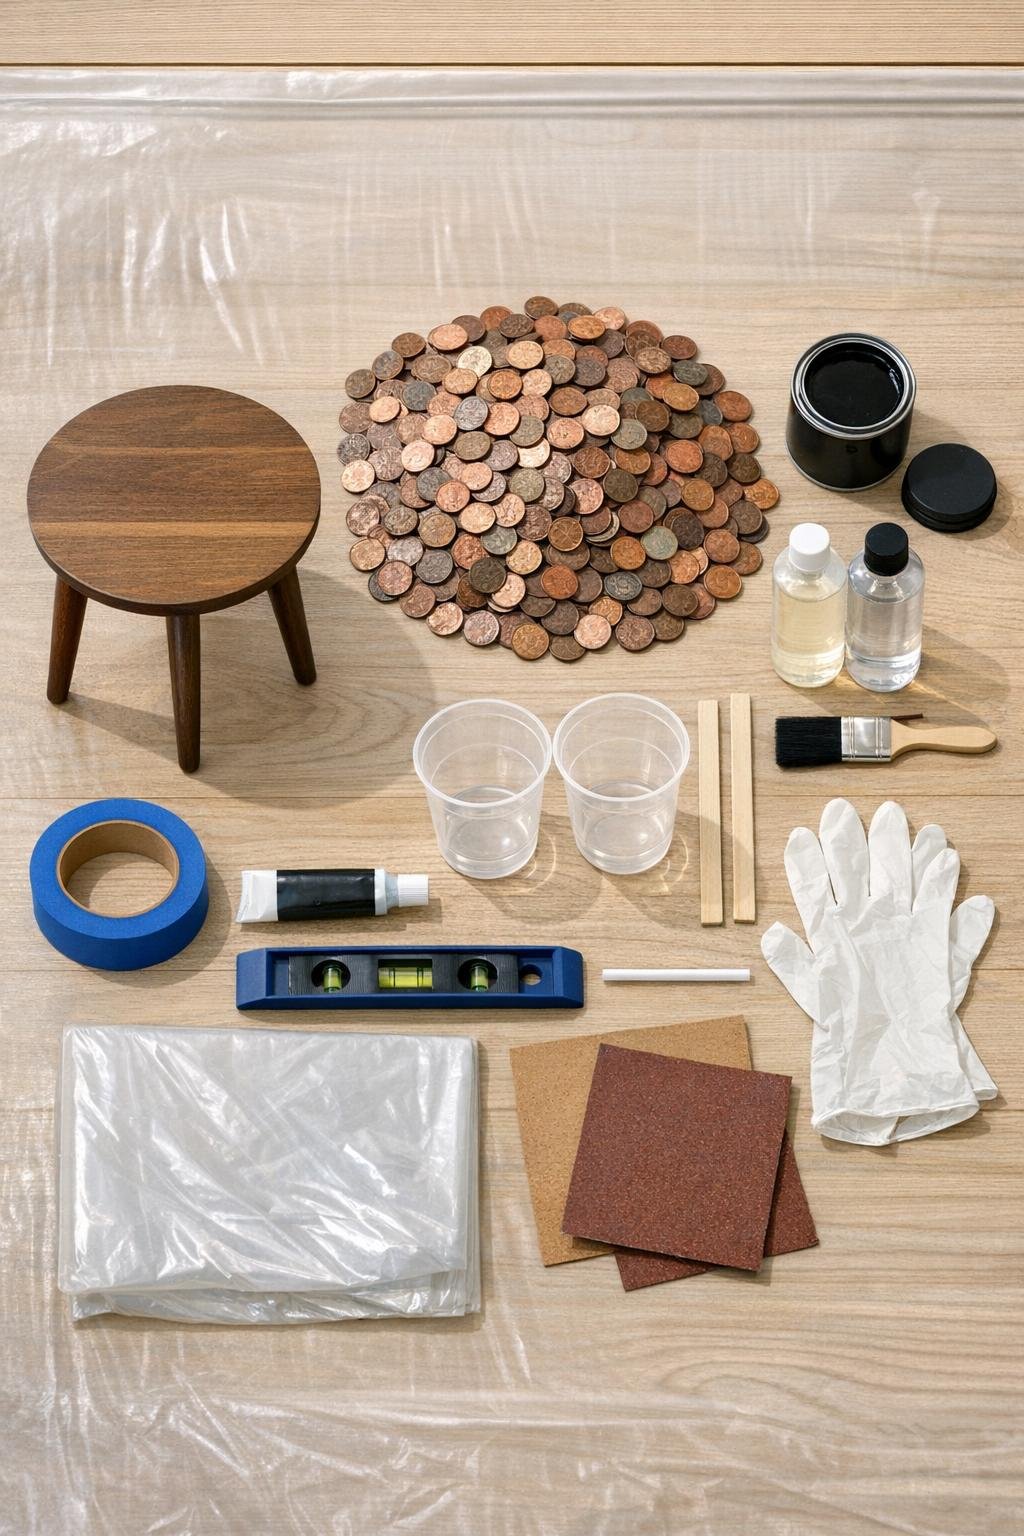
Materials
Instructions
1. Lightly sand the tabletop just enough to dull the existing finish, then wipe away all dust so the paint and glue can grab well.
2. Paint the entire tabletop black, covering edge to edge, and let it dry fully. This is the single prep step that makes the finished top look polished, because every tiny gap between coins reads as dark grout instead of bare wood.
3. Dry-fit a few pennies at the center and along the edge to decide your spacing, then plan to work in offset rows rather than straight stacked lines. The slight brick-like offset helps the top fill in naturally and look professionally arranged.
4. Start gluing pennies at the center of the round top, adding a thin layer of glue in a small section at a time so it doesn’t skin over before you place the coins.
5. Press the pennies down in tight offset rows, mixing shiny and dull coins exactly as they come. Don’t sort out only the bright ones, because the natural patina mix is what gives the surface that antique copper look instead of a fake, too-perfect finish.
6. Keep building outward in small sections until the whole top is covered, nudging coins close together with your fingertips so there are no wide gaps. If the edge leaves a slightly uneven outer ring, that’s fine as long as it looks full and intentional from above.
7. Let the glued pennies dry completely, ideally overnight, so nothing shifts when you prep for the resin pour the next day.
8. Run painter’s tape around the table edge to create a temporary dam that sits slightly above the coin surface. Press it down firmly all the way around so the resin stays put while it levels.
9. Put the table on a protected work surface and check it with a bubble level from side to side and front to back. Level it now, even if your floor seems flat, because resin finds every slope in the house.
10. Mix the two-part tabletop epoxy exactly according to the package directions, stirring slowly but thoroughly until the liquid turns clear and fully combined.
11. Pour the epoxy onto the center of the pennies and let it spread outward, guiding it gently with a stir stick to reach the edges. Use enough to create a smooth, glassy layer across the full top without dry spots.
12. Pop surface bubbles right away with a quick pass of a small kitchen torch or a few gentle puffs through a straw. Don’t overwork it; one or two passes is usually enough for a clear finish.
13. Cover the table loosely with a clean box or tote so dust can’t settle into the finish, then let it cure undisturbed for 24 to 72 hours based on your resin instructions.
14. Peel off the tape dam once the resin is firm, check the edge for any drips, and trim or sand them smooth if needed. After full cure, the top should feel hard, glossy, and drink-proof.
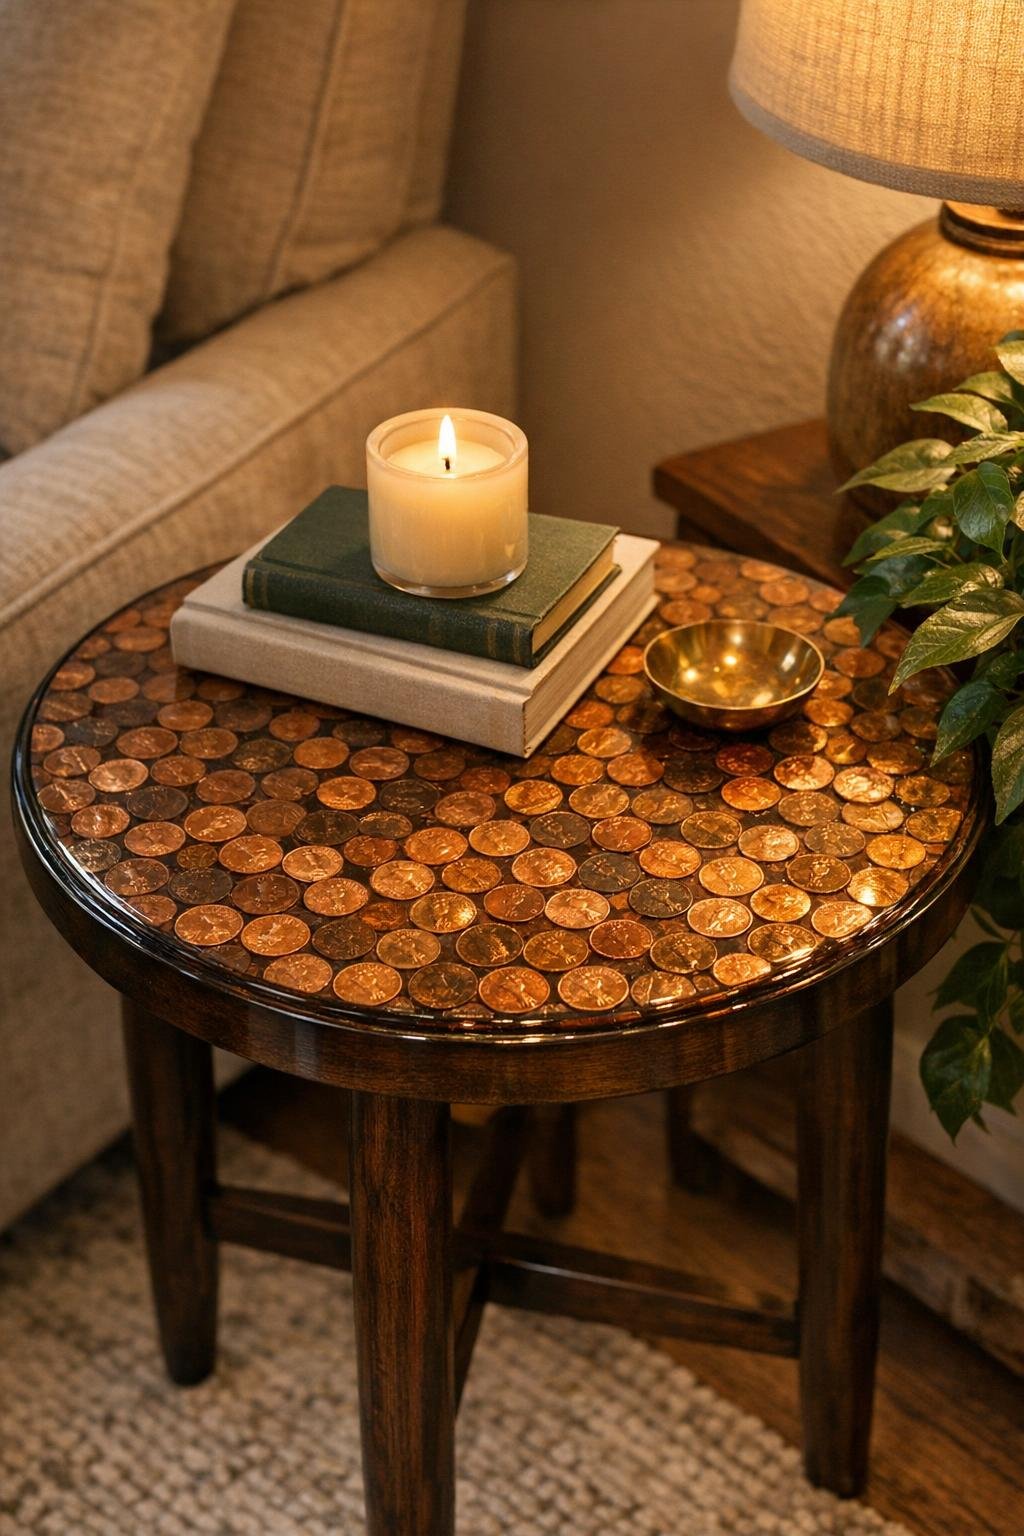
15. Style the table and enjoy the reveal, because this is the moment it stops looking like spare change and starts reading like a custom copper-topped accent piece.
Variations & Tips
About the legal question: Yes, crafting with US pennies is legal. The law mainly targets altering coins for fraudulent resale or using metal value schemes, not gluing coins onto furniture for décor.
Best table size: A small round side table is the sweet spot for 500 pennies. If your tabletop is much larger than 22 inches across, buy more coins before you start so you don’t end up with thin coverage or awkward spacing.
If you want a darker look: Use mostly older pennies from circulation and keep the black base coat visible only in hairline gaps. The mix of deep brown copper and a few bright highlights gives the richest antique finish.
If you want more shine: Wipe dusty pennies with a dry cloth before gluing, but don’t polish them all to the same brightness. The charm is in the variation, and that natural contrast keeps the top from looking flat.
Glue choice: Use a glue that dries clear and grabs quickly without foaming. I like working in small sections because it fits into a busy schedule better, and it keeps the rows neat instead of rushed.
Resin confidence tip: Read the epoxy instructions before you mix anything, and have your tape, level, straw, and dust cover ready first. Once resin is mixed, this is not the moment to go hunting through a junk drawer.
Budget reality: This is one of those projects where the thrifted base and pennies keep the cost low, but the finish product depends on decent resin. Spending a little more on tabletop epoxy is what gives you that thick, clear, durable top that looks like a $400 boutique piece.
Gift or entertaining idea: This makes such a fun bar cart companion or game-room side table. The sealed surface is easy to wipe down, which, as someone who is always balancing dinner prep, drinks, and everyday life, I appreciate more than I probably should.