
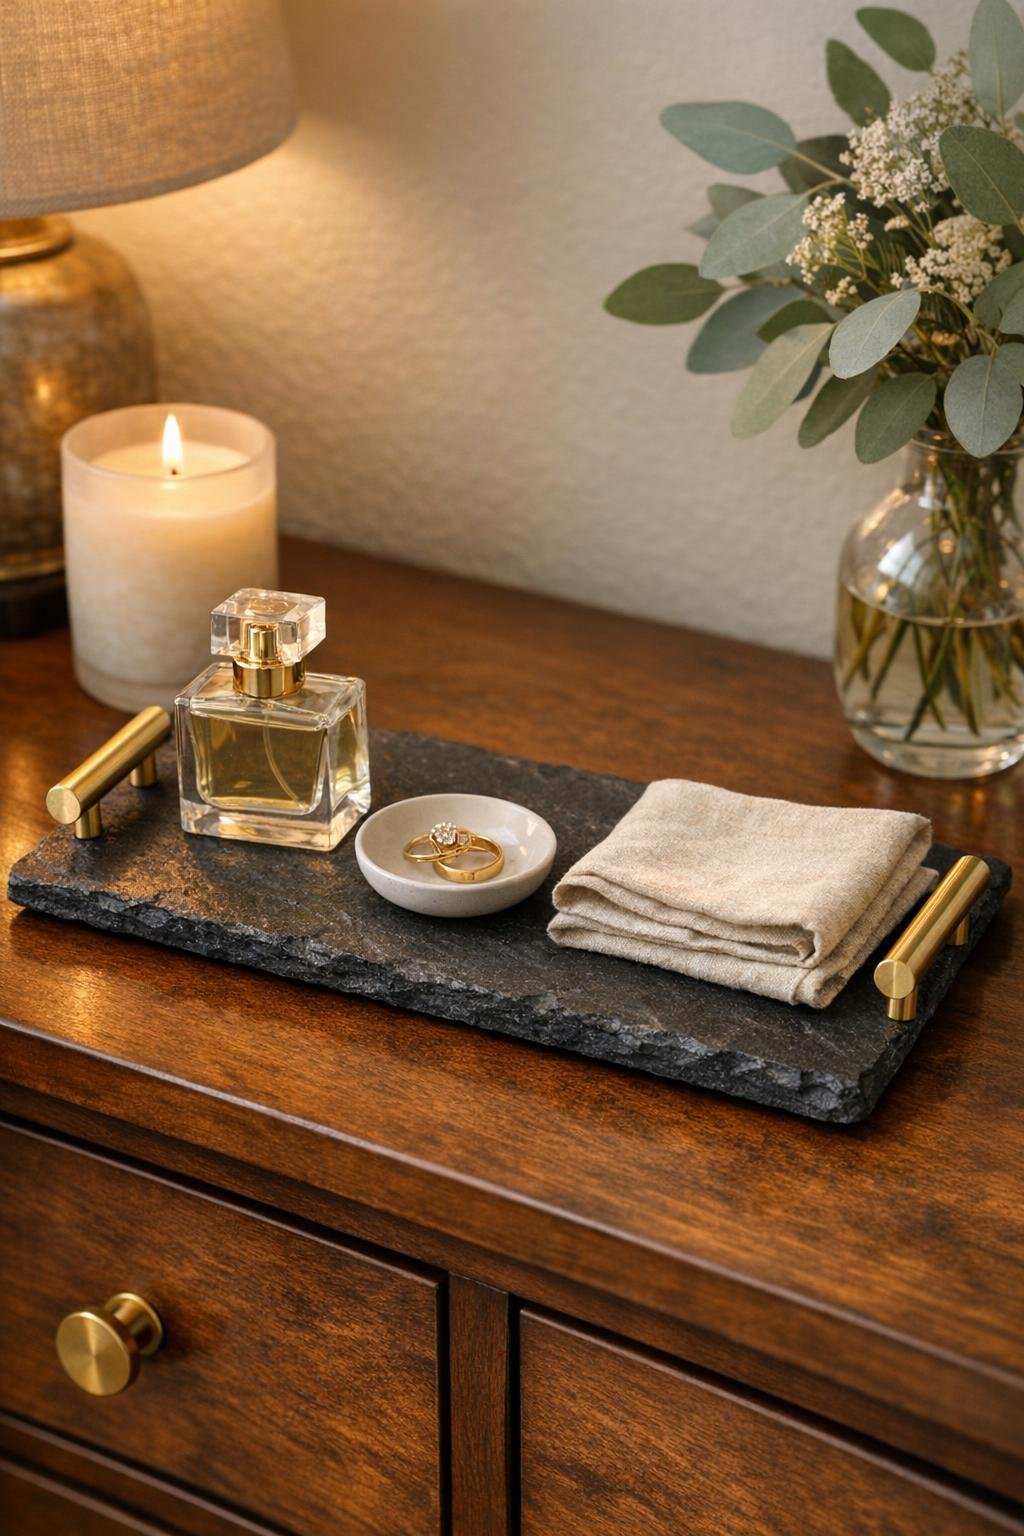
I love a project that looks boutique-store fancy but takes less than an hour at the kitchen table, and this bedroom accessory tray is exactly that kind of make. By adding a pair of small brushed brass cabinet pulls to a dark rectangular slate cheese board, you end up with a polished catchall that looks beautiful on a dresser, nightstand, or vanity.
This is especially nice if you need a pretty place for rings, watches, perfume, reading glasses, or those little everyday pieces that tend to wander. As a mom, I’m always trying to make the everyday feel a little more intentional, and this tray does that in such a simple way without needing power tools or a workshop full of supplies.
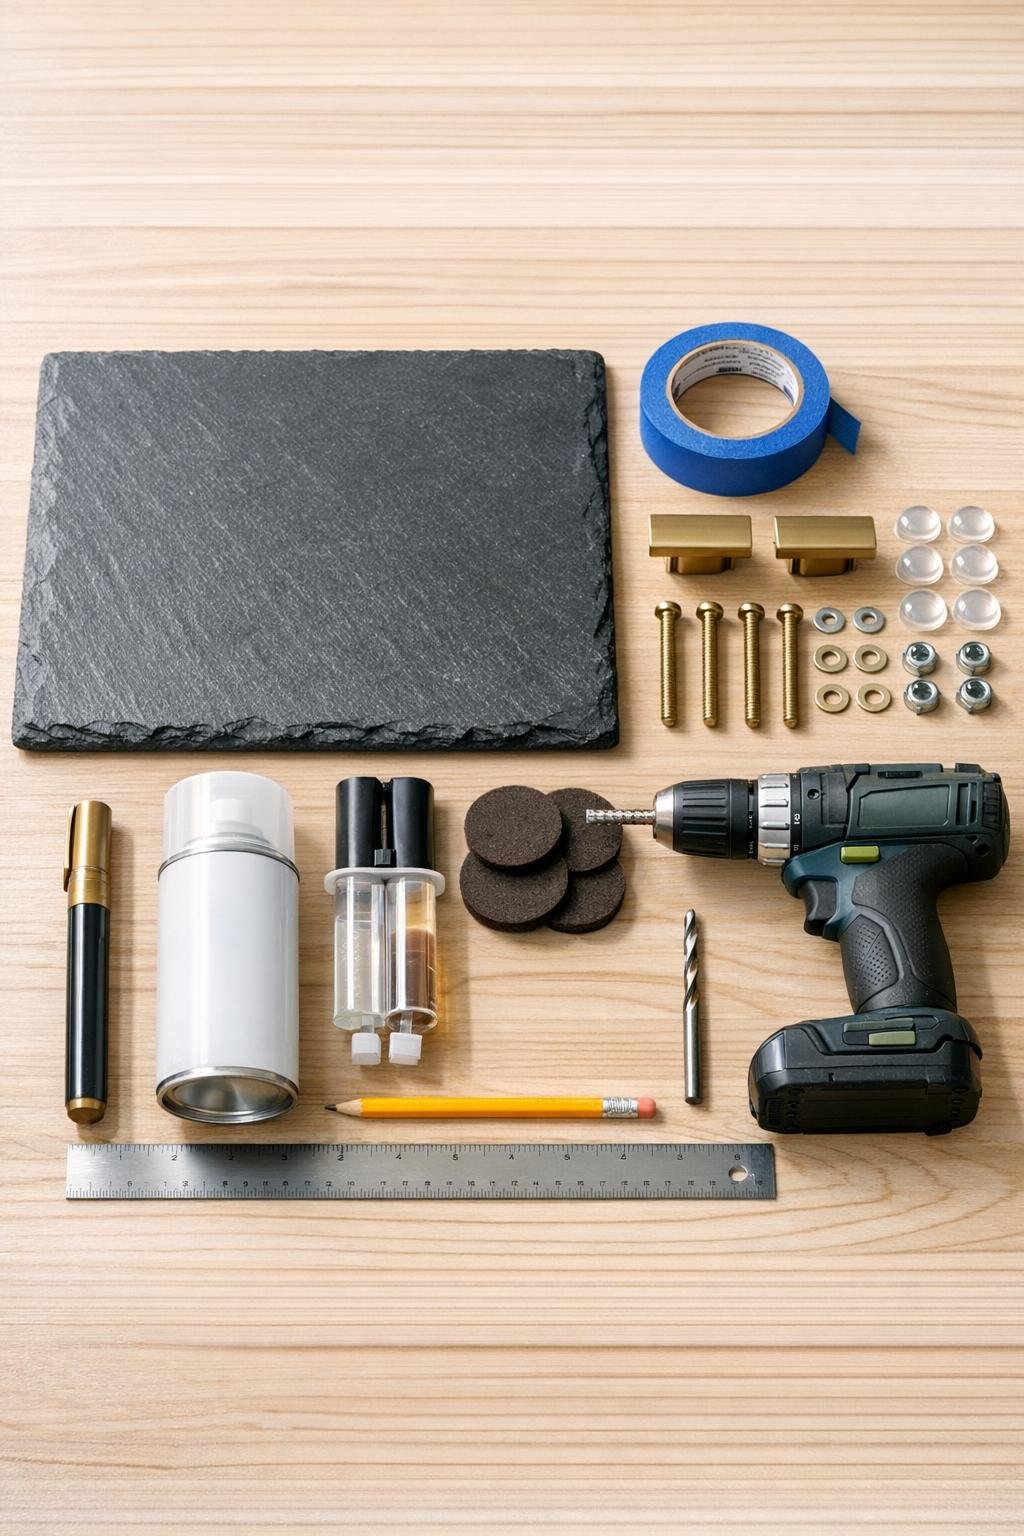
Materials
1 rectangular slate cheese board, approximately 12 x 8 inches
Instructions
1. Wipe the slate cheese board with a damp microfiber cloth and let it dry fully so your markings and hardware sit clean and straight.
2. Place one cabinet pull near each short end of the board, centered side to side, and adjust them until they look even and balanced like a handled tray.
3. Measure so each pull sits about 1 1/4 inches in from the short edge and centered from top to bottom, then mark the screw holes with pencil or chalk.
4. Apply painter’s tape over each marked drilling spot, remark the holes on top of the tape, and set the board on a folded towel to reduce slipping.
5. Drill the holes slowly with the masonry or tile bit, using light pressure and steady speed so the slate does not crack; stop as soon as the bit passes through.
6. Remove the tape, brush away any slate dust, and test-fit the screws through the pulls and board before final assembly.
7. Attach the brass pulls by inserting the screws through the hardware and slate, then tighten with washers and nuts underneath until snug but not overly tight.
8. Add a tiny dab of clear epoxy over each nut on the underside if you want extra hold, especially if the tray will be moved around daily.
9. Stick the clear rubber bumper feet or felt pads on the underside corners so the tray will not scratch your dresser and will sit level.
10. If the drilled edges look dusty or gray, touch them up lightly with a gold paint marker around the hardware or seal the slate with a thin coat of clear matte sealer for a cleaner finished look.
11. Let any adhesive or sealer cure fully, then style the tray with perfume, a jewelry dish, rings, hair clips, or a candle so it feels finished and useful right away.
Variations & Tips
For picky clutter spots: If your family tends to drop everything in one place, make this tray the official landing spot for watches, earbuds, glasses, and keys from small bags. It helps a bedroom feel tidier without much effort.
Handle style: Choose slim modern brass pulls for a clean look, or use slightly curved vintage-style pulls if your bedroom leans traditional. Just keep both handles the same size so the tray looks intentional.
No-drill option: If you do not want to drill slate, use flat-backed decorative handles and a strong stone-safe epoxy, but let it cure the full recommended time before using the tray.
Soft surface tip: A small piece of cut velvet, linen, or adhesive felt in the center makes this especially nice for delicate jewelry. I like this option if the tray will hold rings every day.
Gift idea: This makes a lovely housewarming, wedding, or Mother’s Day gift. Tuck in a candle, hand cream, or a tiny bud vase and it looks so thoughtful.
Cleaning tip: Wipe the slate with a barely damp cloth and dry it right away. Avoid soaking it so the hardware stays looking polished and the slate keeps that rich deep color.