
I love a project that turns something ordinary into something useful in under an hour, and this entryway catch-all is exactly that. We’re taking a shallow cardboard gift box lid and wrapping it in thick jute rope to make a sturdy little tray that looks warm, textured, and right at home by the front door.
This is a wonderful beginner DIY because there’s no complicated measuring, cutting, or special skill involved. If you need a spot for keys, sunglasses, mail, or that one loose hair tie everyone in the family seems to leave behind, this is such a neat trick for making your entryway feel tidier and more pulled together.
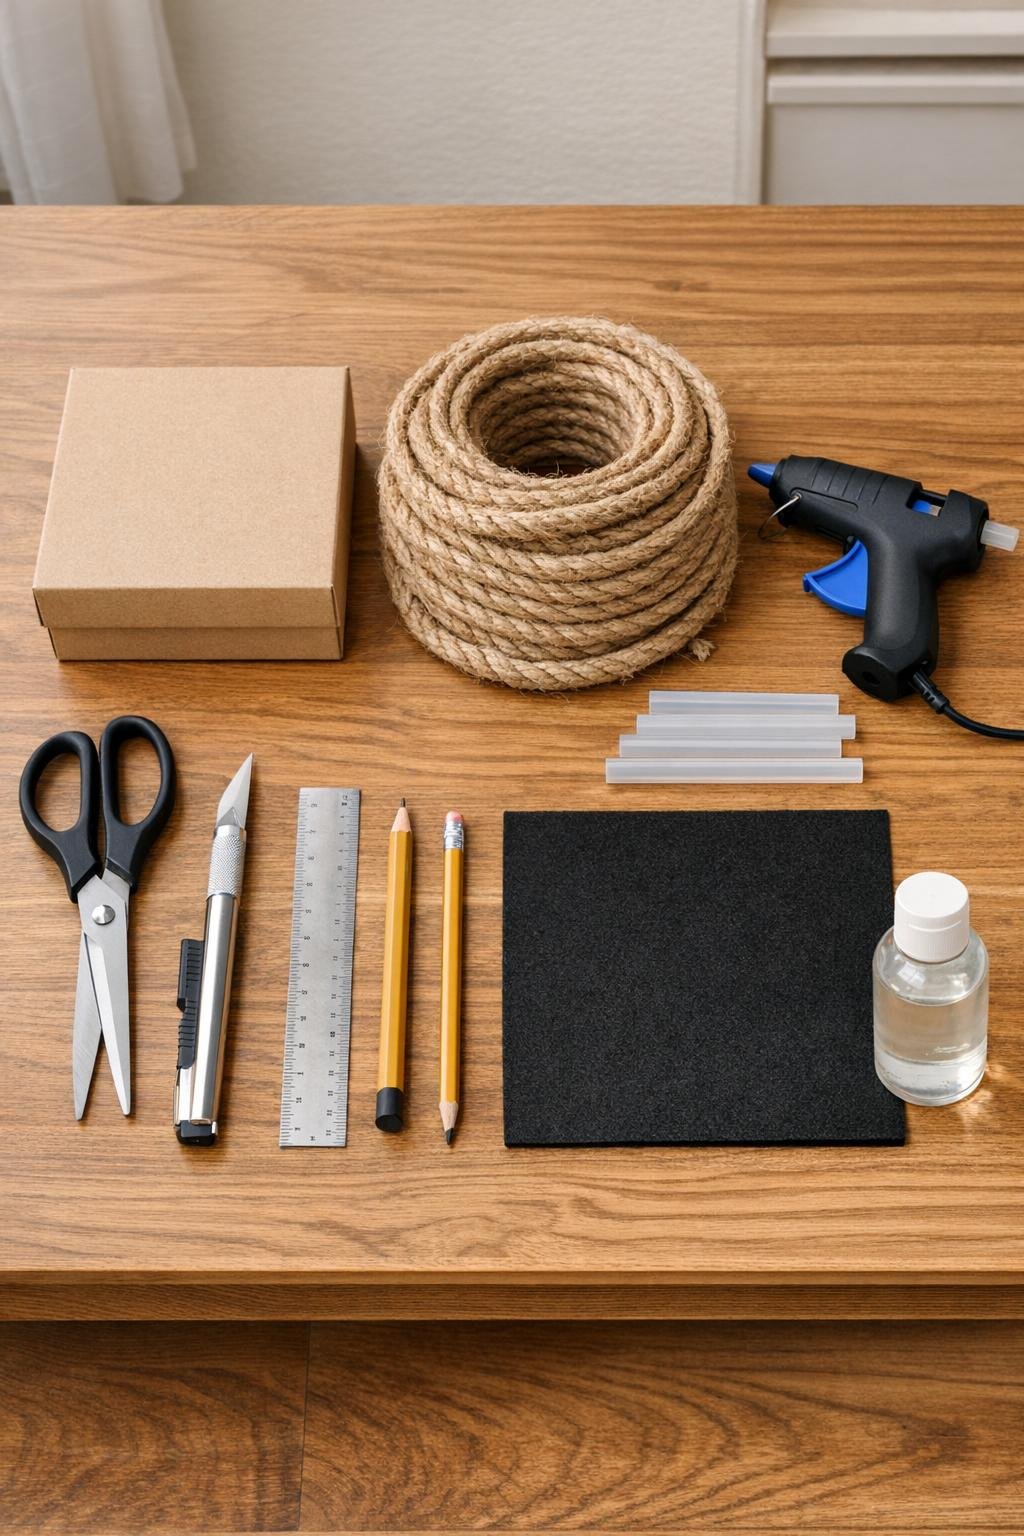
Materials
1 shallow square cardboard gift box lid, about 10 inches x 10 inches x 1 1/2 inches deep
Instructions
1. Check that your box lid is clean, dry, and still holding its shape, then trim off any loose paper or damaged corners with scissors or a craft knife.
2. If the lid feels flimsy, run a thin bead of hot glue into each inside corner and press the corners square for a few seconds to strengthen the base before wrapping.
3. Cut your felt to fit the inside bottom of the lid, making it about 1/4 inch smaller on all sides, and set it aside for the finishing step.
4. Start at the outer bottom edge of the lid and glue the end of the jute rope in place, keeping the rope flush with the cardboard so the first round sits neat and straight.
5. Continue gluing the rope all the way around the outside walls of the lid, working in 3- to 4-inch sections so the glue stays hot and the rope stays tightly packed.
6. When you reach a corner, bend the rope gently instead of pulling it hard, and press it snugly into the turn so the square shape of the lid stays crisp.
7. Add the next row directly above the first and keep wrapping until the entire outside wall is covered from bottom edge to top rim with no cardboard showing.
8. Once the outside is covered, glue the rope along the top rim, following the full square edge so the tray gets a finished border that looks polished from every angle.
9. Wrap the inside walls next, starting at one corner and working downward in even rows until the inside sides are fully covered with the same tight rope pattern.
10. For the bottom interior, coil the rope into a flat square spiral or tight rounded rows, gluing as you go, until the entire base is covered and the tray looks full and richly textured.
11. Cut the rope end neatly, tuck it against the last row, and secure it with extra hot glue so the finish point blends into the texture instead of sticking out.
12. Brush on a very light coat of clear matte sealer over the rope if you want less shedding and a slightly firmer finish, then let it dry completely.
13. Press the felt piece into the center bottom if you want a smoother resting spot for keys and jewelry, or leave the rope exposed for a more rustic look.
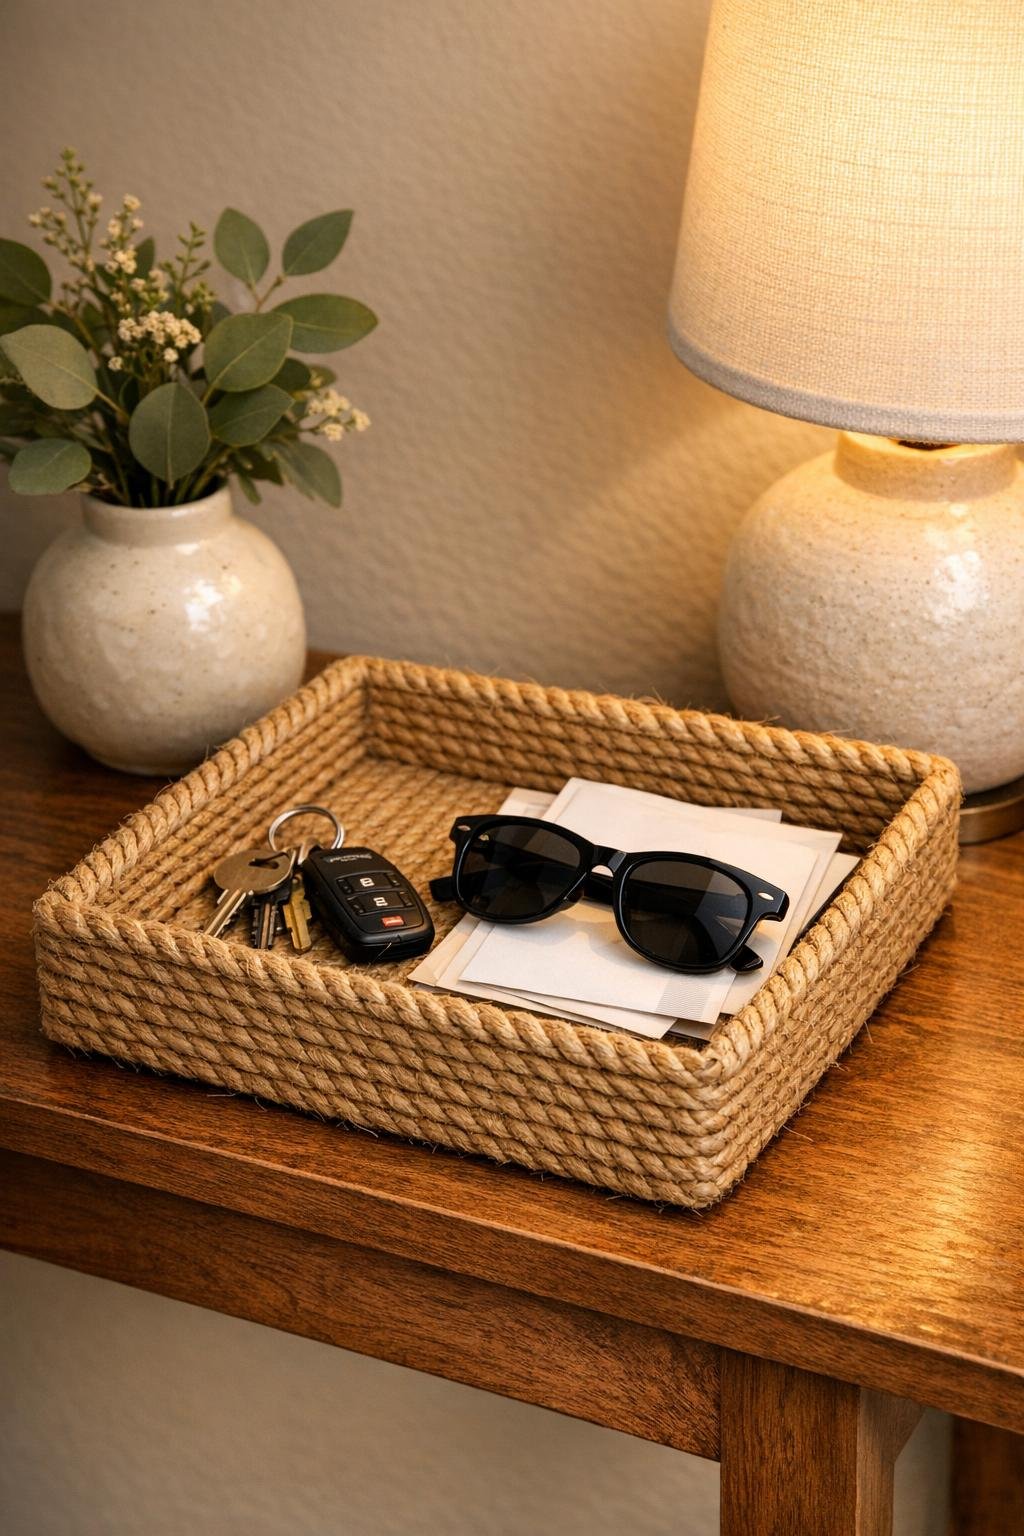
14. Set the finished catch-all in your entryway and fill it with everyday essentials like keys, sunglasses, wallet, and unopened mail so it starts earning its keep right away.
Variations & Tips
For picky clutter spots: If your family tends to drop everything by the door like mine does, make two matching trays instead of one—one for keys and wallets, and one just for mail and sunglasses.
Shape tip: A square lid is easiest to keep tidy, but this same method works with a shallow rectangular gift box lid too if you need a longer tray for a bench or dresser.
Cleaner corners: Don’t stretch the rope around corners. I’ve found that a gentle bend and a few extra dabs of glue gives a much neater finish and keeps the lid from warping.
More polished finish: Add a thin bead of hot glue under the top rim row and press it firmly all the way around. That one little step makes the tray look much more finished.
Soft interior option: Felt is especially nice if you plan to toss in reading glasses, watches, or a phone, since it helps protect delicate surfaces from the rougher rope texture.
Decor idea: If you want it to feel even more custom, tuck in a small ribbon bow on one corner or set it beside a candle and a little seasonal greenery for that cozy entryway look.
Durability tip: This tray is best for lightweight everyday items. I use mine for keys and pocket things, but I wouldn’t load it up with heavy tools or anything damp.