
There are a few kitchen-table projects that make everybody in the house stop and say, “Wait, what just happened?” and this is one of them. When you microwave the right kind of bar soap, it puffs up into a huge airy cloud that looks like fresh snow, and from there you can crumble it into the softest soap fluff. It is inexpensive, oddly satisfying, and perfect for a cozy afternoon when you want a little hands-on fun without dragging out a mountain of supplies.
I especially love this one because a single bar costs about a dollar, the microwave cleanup is easy, and you get two sweet payoffs from one batch: the fluffy soap “snow” is wonderful for kids to squish and sculpt, and the crumbs can also be pressed into molds for simple little handmade gifts. If you need a small winter project that feels a bit magical but is still practical, this is such a good one.
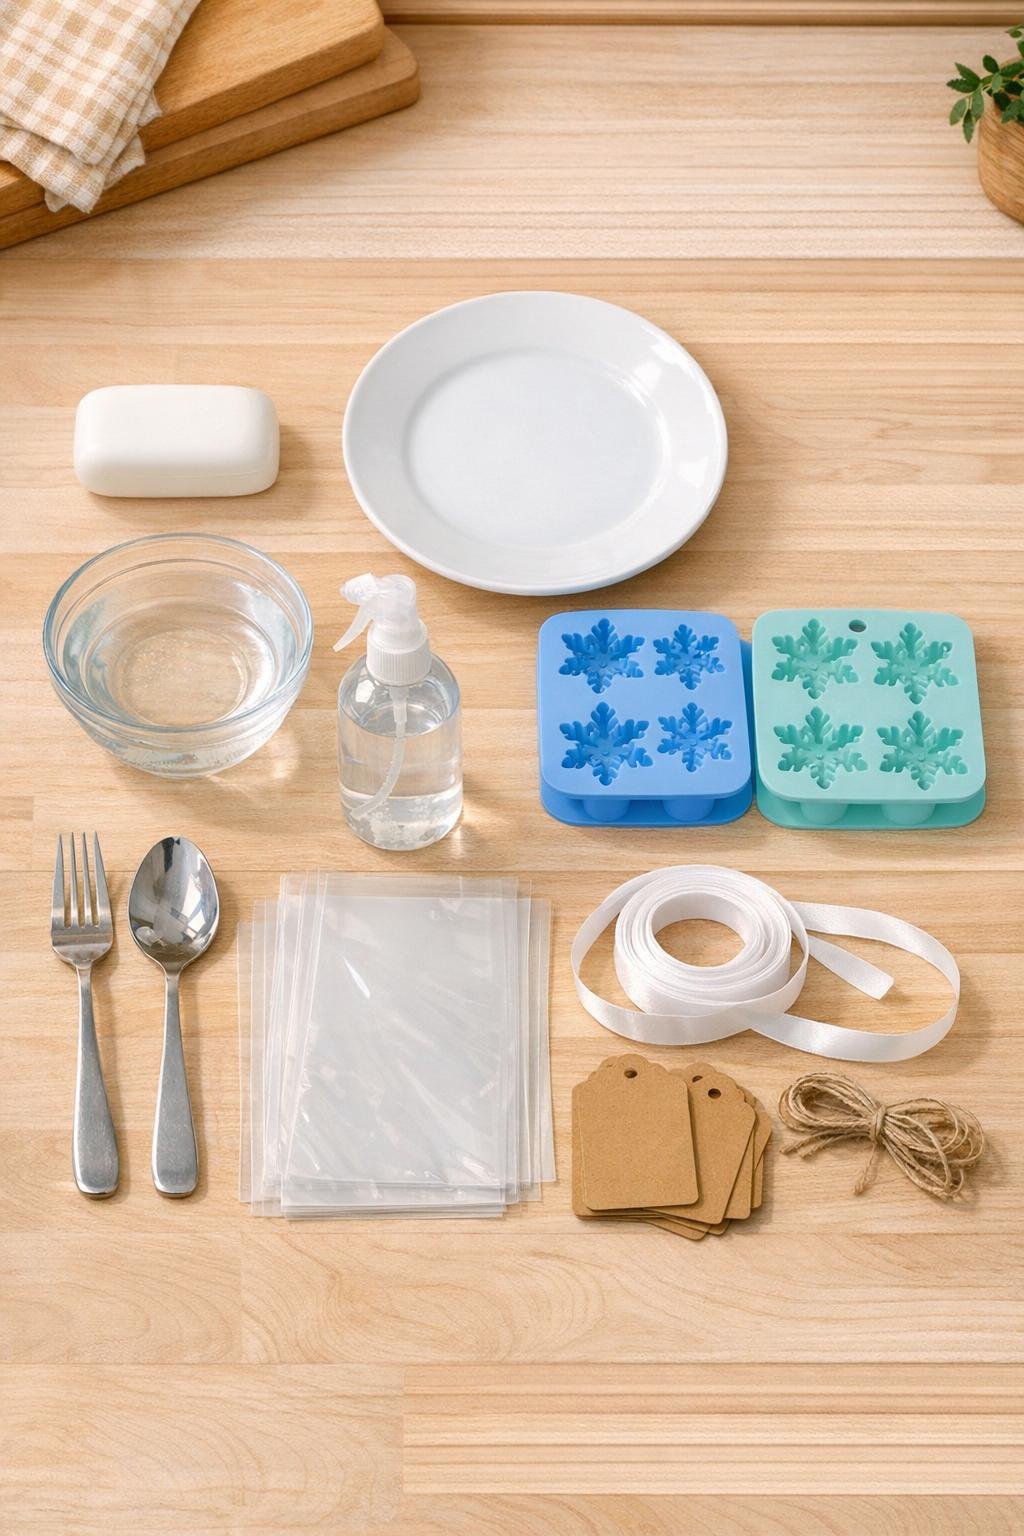
Materials
1 plain white floating bar soap, 1 bar, 3.1 to 4 ounces
Instructions
1. Start with the float test: fill a bowl or sink with about 1 cup of water and drop in the bar of soap. If it floats, it is the airy kind that will puff up; if it sinks, do not microwave it, because dense soap usually just turns into a sad warm puddle instead of a cloud.
2. Pat the floating bar dry and set it in the center of a microwave-safe plate. Place the plate in the microwave and make sure you can watch through the door while it heats.
3. Microwave the soap on high for 60 to 90 seconds, watching the whole time. The bar will billow up into a white cloud that can grow to about six times its original size, and you should stop the microwave once it finishes expanding.
4. Let the puffed soap cool on the plate for 2 minutes. It will be warm but not molten, so it is safe to handle after that brief rest.
5. Break the soap cloud apart with your hands and crumble it into fluffy soap snow over the plate or into a bowl. Use a fork to make the texture even finer if you want soft, powdery crumbs.
6. For play, stop here and let kids squish and sculpt the fluffy soap snow like soft dough. It is a fun sensory texture, and a little pile from one bar goes farther than you would think.
7. For gift soaps, lightly spritz the soap crumbs with 3 to 5 sprays of water and toss with a spoon until they feel just barely damp. You want the texture of packable snow, not wet paste.
8. Press the damp crumbs very firmly into silicone snowflake molds, overfilling each cavity slightly and then packing them down with the back of a spoon. Smooth the tops so the finished soaps release neatly.
9. Leave the molds uncovered at room temperature overnight, or for at least 8 hours, so the shapes can firm up. Once dry, gently pop the soaps out of the molds.
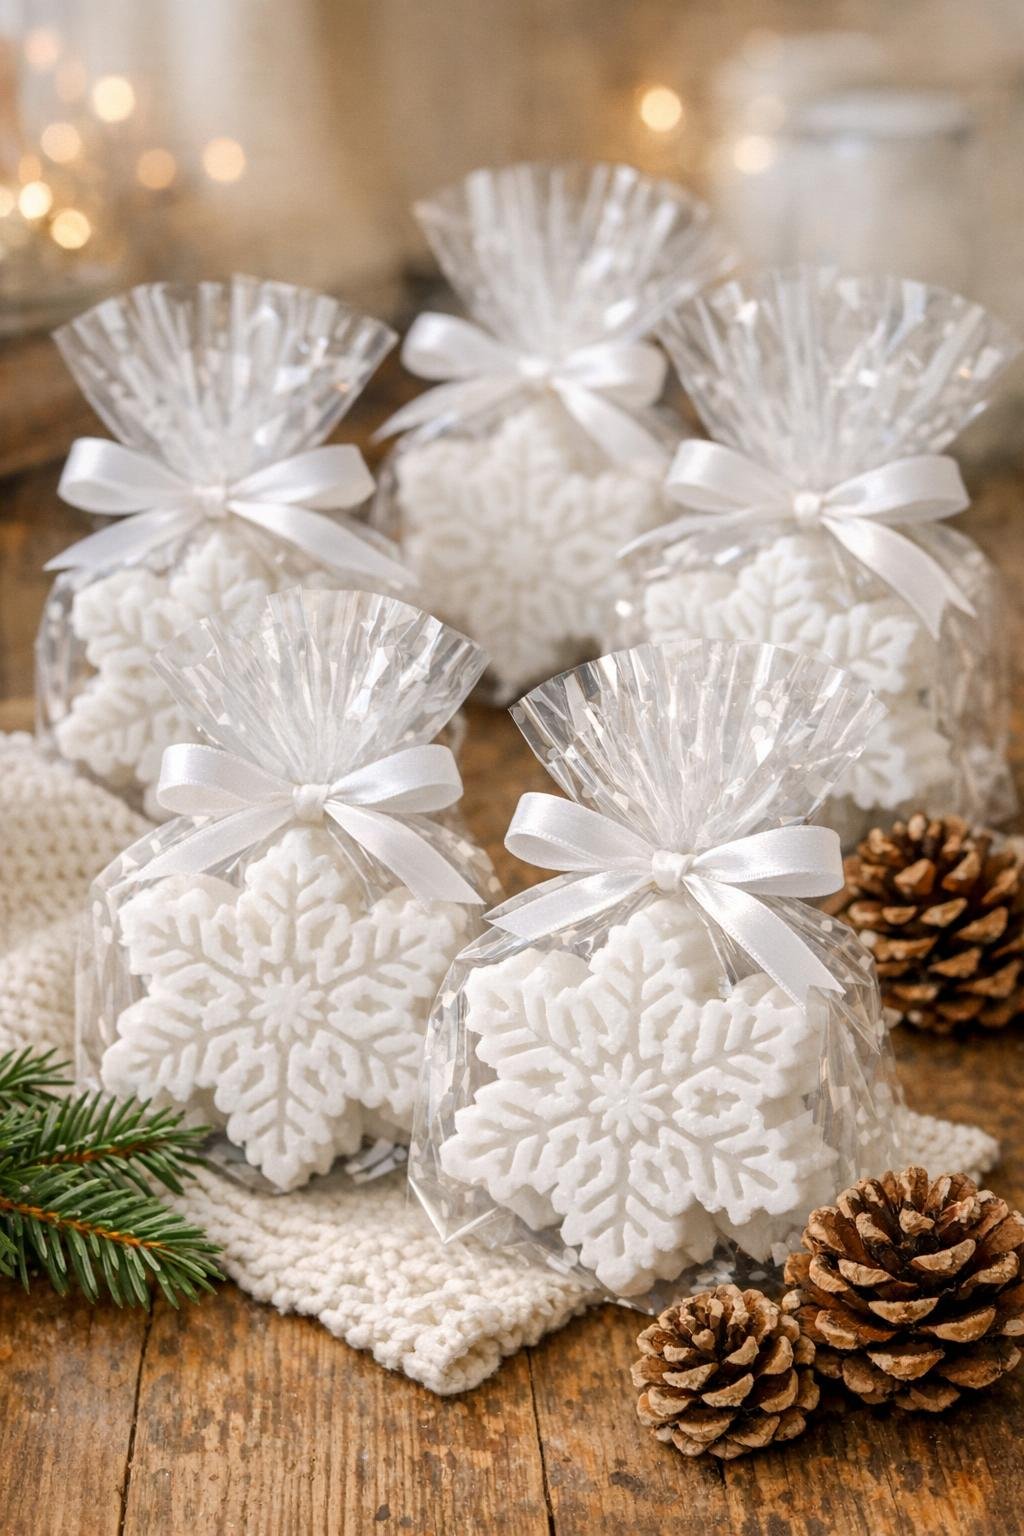
10. Slip each snowflake soap into a cellophane bag and tie it with ribbon or baker’s twine. Add a gift tag, and your little winter gifts are ready to hand out.
Variations & Tips
Use the right soap: The float test really matters. Only the air-filled floating kind puffs dramatically, so always test before you waste a minute in the microwave.
Microwave reassurance: I know this is the question everybody asks, but yes, the microwave is fine. It is soap, and once you wipe out any crumbs, the microwave is arguably cleaner than before.
One bar at a time: Stick to one bar per batch for the best puff and the easiest cleanup. It also gives you plenty of fluffy soap without overcrowding the plate.
Don’t over-wet the crumbs: A light mist is enough. If the mixture gets too wet, spread it out for 10 to 15 minutes, then stir and pack it again.
For younger kids: If you are doing the sculpting version, keep a tray under the soap snow to catch the bits. It makes cleanup much easier, especially if excited little hands are involved.
Gift idea: These are wonderful teacher gifts, neighbor gifts, or little extras to tuck into a holiday basket. One bar makes a charming small batch without turning into an expensive project.
Mold options: Snowflakes are especially pretty for winter, but stars, hearts, or simple rounds also work well. Just choose flexible silicone molds so the dried soaps release cleanly.