
I’m a big fan of crafts that look surprisingly pretty for how little they cost, and this glue gun leaf garland is exactly that kind of project. If you’ve ever ended up with a pile of half-used, bent, or awkwardly short glue sticks rolling around a drawer, this is such a satisfying way to turn them into something decorative instead of tossing them out.
I like this project for busy weeks because it’s low-mess, doesn’t require fancy supplies, and still gives you a full, polished seasonal garland when you’re done. The finished leaves catch the light in such a nice way, and you can keep them clear and simple or tint them for a more autumn look. If you can trace a leaf shape and use a glue gun, you can absolutely make this.
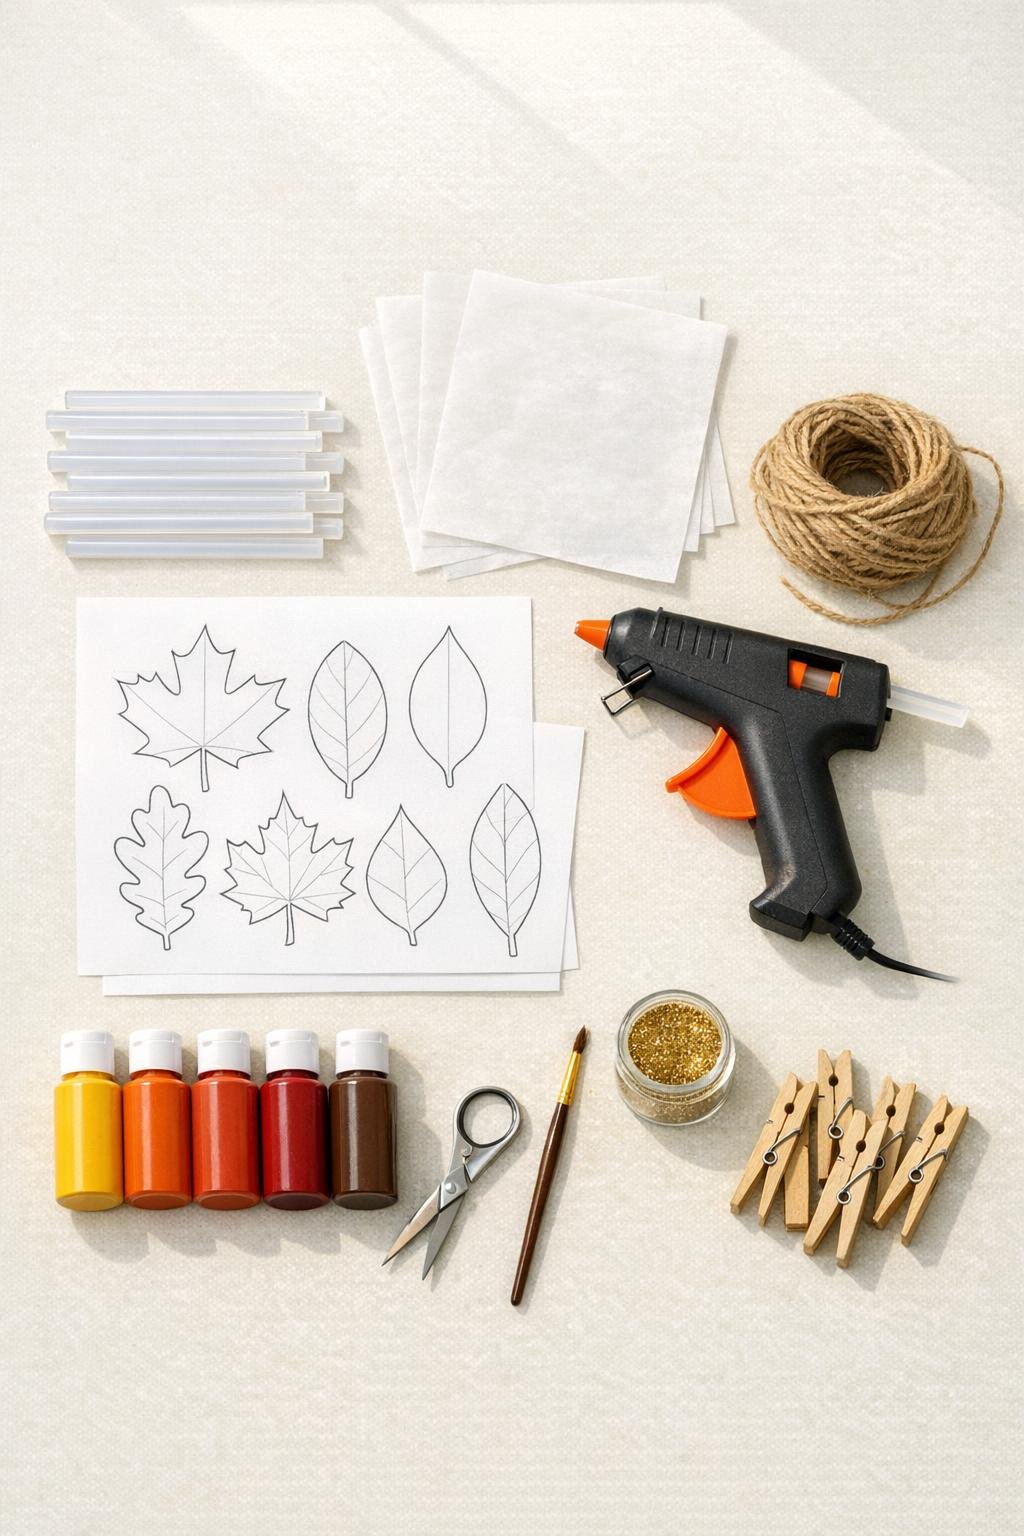
Materials
24 clear mini glue sticks, including short leftover pieces and partially used sticks
Instructions
1. Slide your leaf templates under a sheet of parchment paper so the shapes are visible through it, then plug in the glue gun and let it heat fully. Keep the parchment flat on your work surface so your leaf outlines stay crisp.
2. Trace the outer edge of each leaf with hot glue, then immediately fill the center with more glue in a thin, even layer so each leaf becomes one solid piece about 1/8 inch thick. Add a center vein and a few smaller side veins while the glue is still warm for extra detail.
3. Make 12 to 16 leaves total, varying the shapes slightly so the garland looks full and natural rather than too uniform. Let the leaves cool completely for 10 to 15 minutes before peeling them off the parchment.
4. Trim away any glue strings or rough edges with small scissors once the leaves are fully set. If a leaf feels too thin or floppy, lay it back on the parchment and add another light layer of glue to strengthen it.
5. Paint the leaves in thin coats, blending burnt orange, mustard, deep red, and a little brown so each one has some variation like real fall foliage. Leave a few areas slightly translucent because that glow-through look is what makes these especially pretty.
6. Brush a tiny bit of gold glitter onto a few still-damp veins if you want a little shimmer, then let all the leaves dry completely. For a less glossy finish, add a light coat of clear matte sealer after the paint dries.
7. Cut a 5-foot length of jute twine and tie a small loop at each end for hanging. Lay out your leaves along the twine before attaching them so you can balance the colors and sizes across the full length.
8. Attach the leaves by wrapping a small dot of hot glue around the top back of each leaf and pressing it onto the twine, spacing them about 3 to 4 inches apart. Angle some leaves left and some right, and overlap a few slightly to make the garland look fuller.
9. Hold each glued spot with a clothespin or binder clip for 1 to 2 minutes so the leaves set firmly without sliding. Check that the garland hangs evenly, then add one or two extra leaves anywhere it looks sparse.
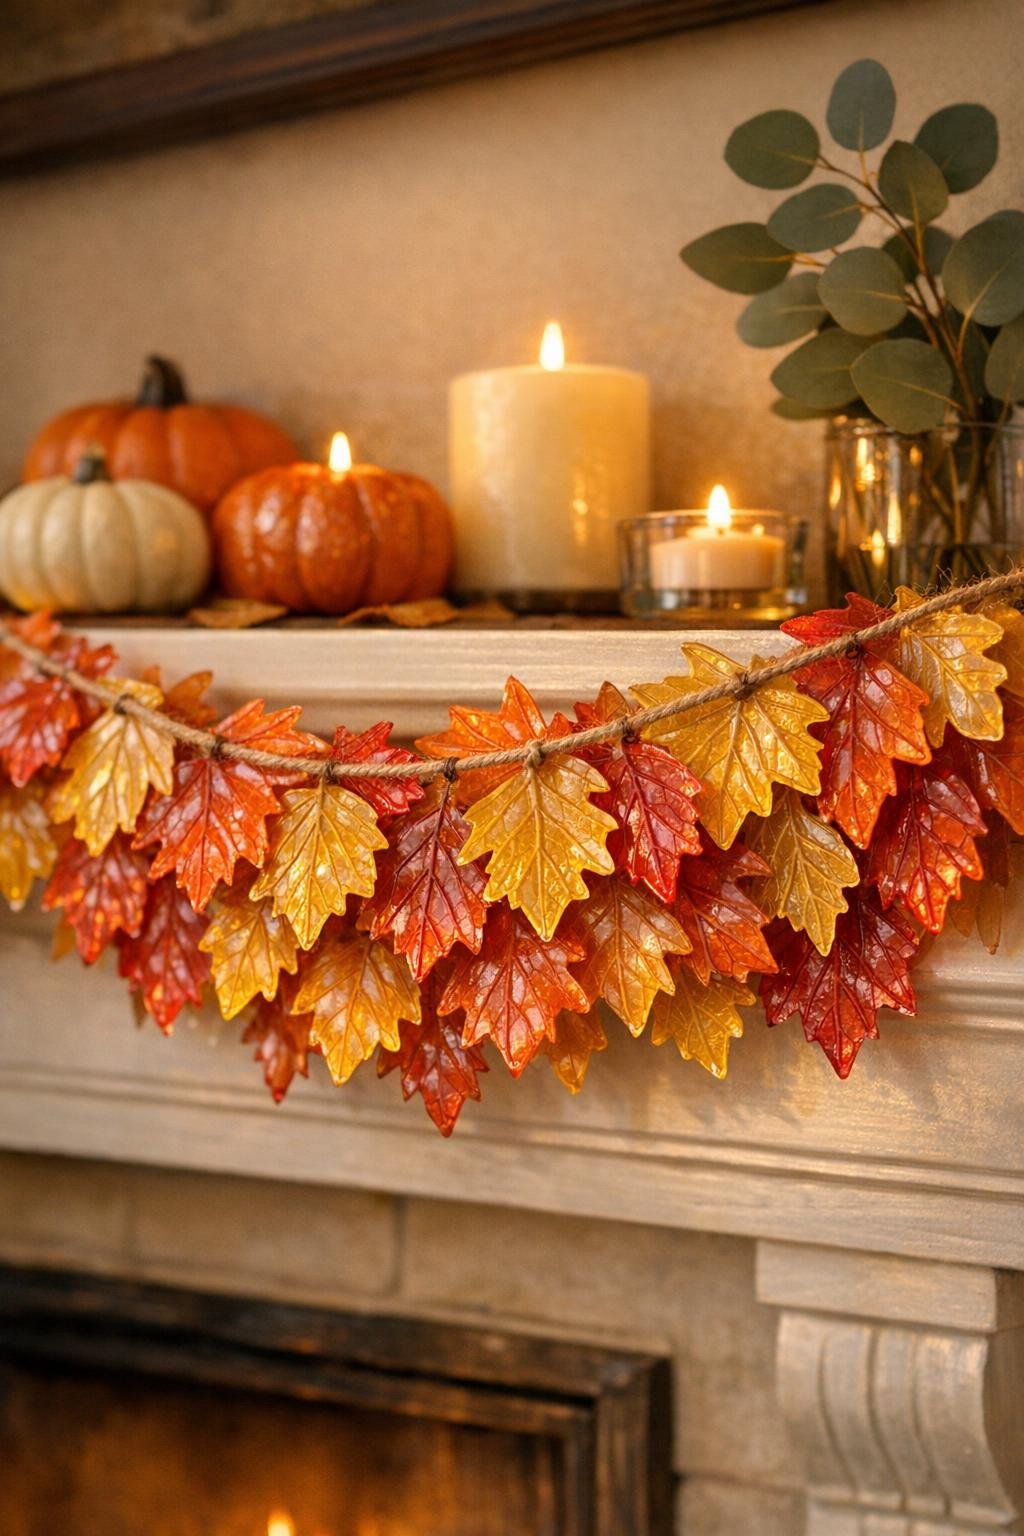
10. Hang the finished garland across a mantel, window, shelf, or buffet edge, and gently fluff the spacing with your fingers once it’s up. If you want a more finished look, tie a small twine bow at one end or weave in a few faux berry sprigs.
Variations & Tips
Keep them clear: If you love a more delicate look, skip the paint entirely and leave the leaves transparent. They look especially pretty in a window where the light can shine through them.
Make it holiday-neutral: Use sage green, olive, and a touch of brown instead of autumn tones if you want something that works through more of the year. I’d hang that version on a kitchen window or open shelf.
Use leftover glue sticks first: This is one of my favorite “clean out the drawer” projects because even the too-short glue stick pieces work fine once they melt. I usually save the full-size sticks for bigger repair jobs and use the random leftovers here.
Work in small batches: If your schedule is anything like mine on weeknights, make the leaves one evening and paint and assemble the garland the next. Breaking it up keeps the project easy and a lot more relaxing.
Prevent curling: If a leaf lifts as it cools, press it under a book between two clean sheets of parchment for 10 minutes. That flattens it nicely without damaging the shape.
Add more texture: For extra dimension, build a second smaller leaf on top of a few larger ones before painting. It gives the garland a fuller, layered look without adding much extra work.