
I think most of us have a small, slightly embarrassing stash of burnt-out light bulbs somewhere. Mine tend to collect in a box under the sink until I feel guilty enough to deal with them, and this is finally a reason to save them. The shape already does most of the heavy lifting, so turning old bulbs into painted ornaments is one of those satisfying projects where a little paint and a few simple details go a very long way.
This is an easy, charming adult-hands project, especially if you want handmade holiday ornaments with personality. I do want to be honest about the material: these are still thin glass bulbs, so I work over a folded towel and treat a dropped bulb as a sweep-up situation, not a tragedy. Once you know that going in, the process is simple, affordable, and surprisingly polished.
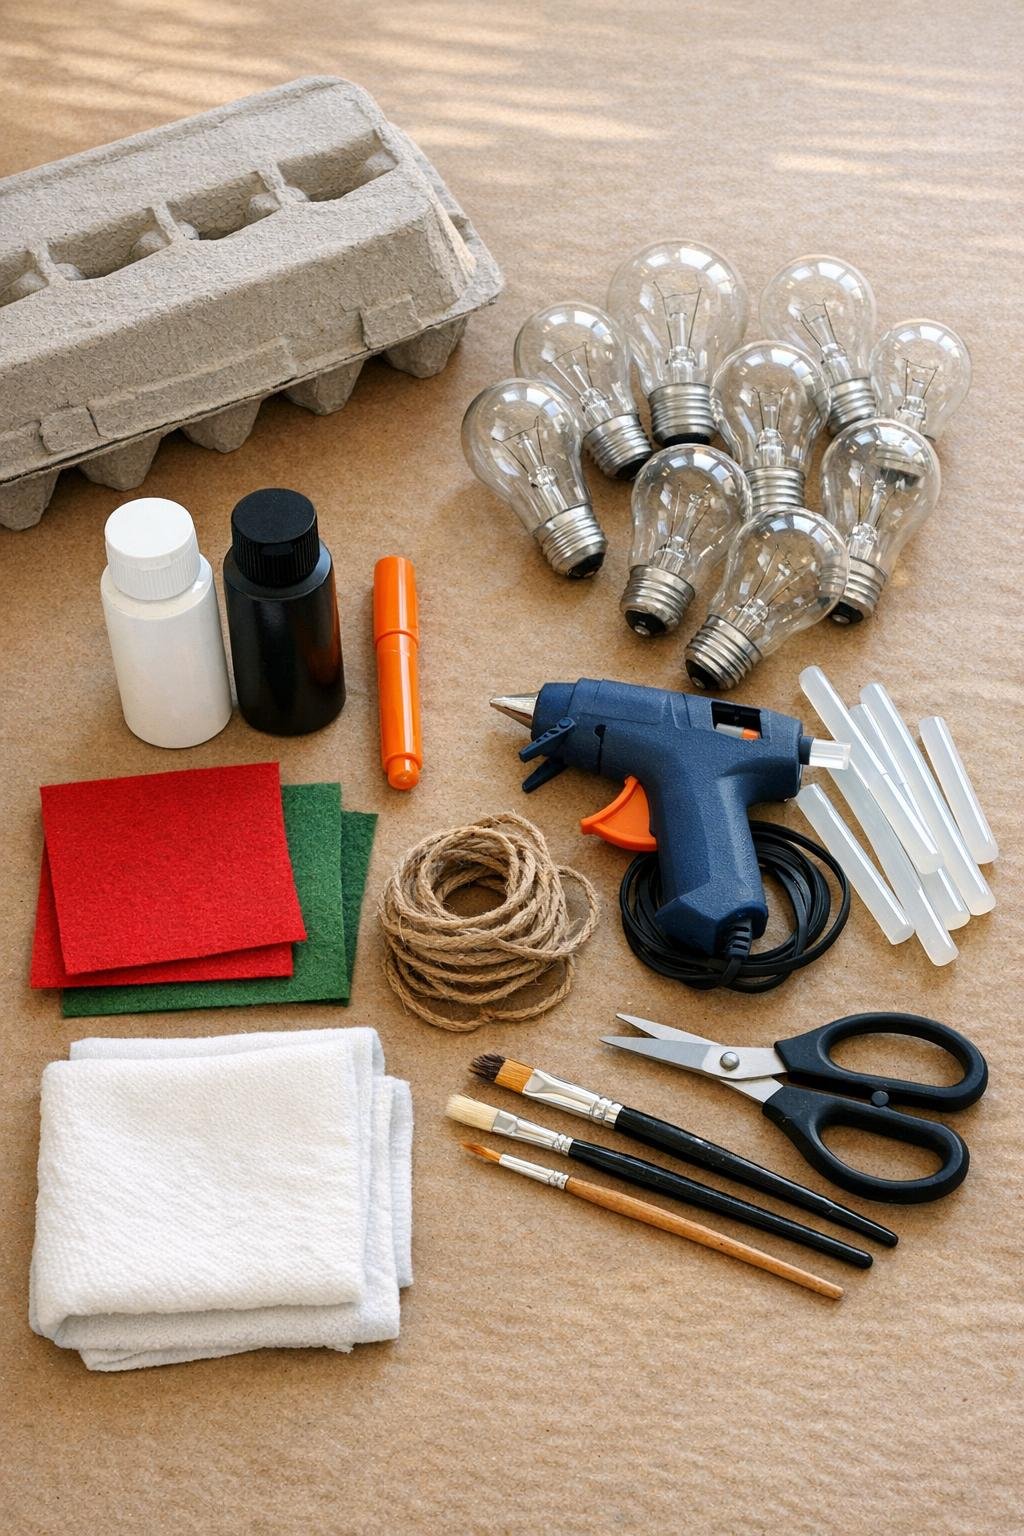
Materials
Instructions
1. Spread the folded towel over your table and set the egg carton upside down nearby to use as a drying stand. Wipe each burnt-out bulb with the cloth so the paint can grip the glass cleanly.
2. Stand the bulbs in the egg carton, metal screw cap down, and brush on the first full coat of white paint over the round glass body. Let that coat dry completely; glass really drinks the first coat, so don’t judge it yet.
3. Paint on a second coat of white over the glass body for an even, solid base, then let it dry fully in the egg carton. This second coat is what makes the finish look clean instead of patchy.
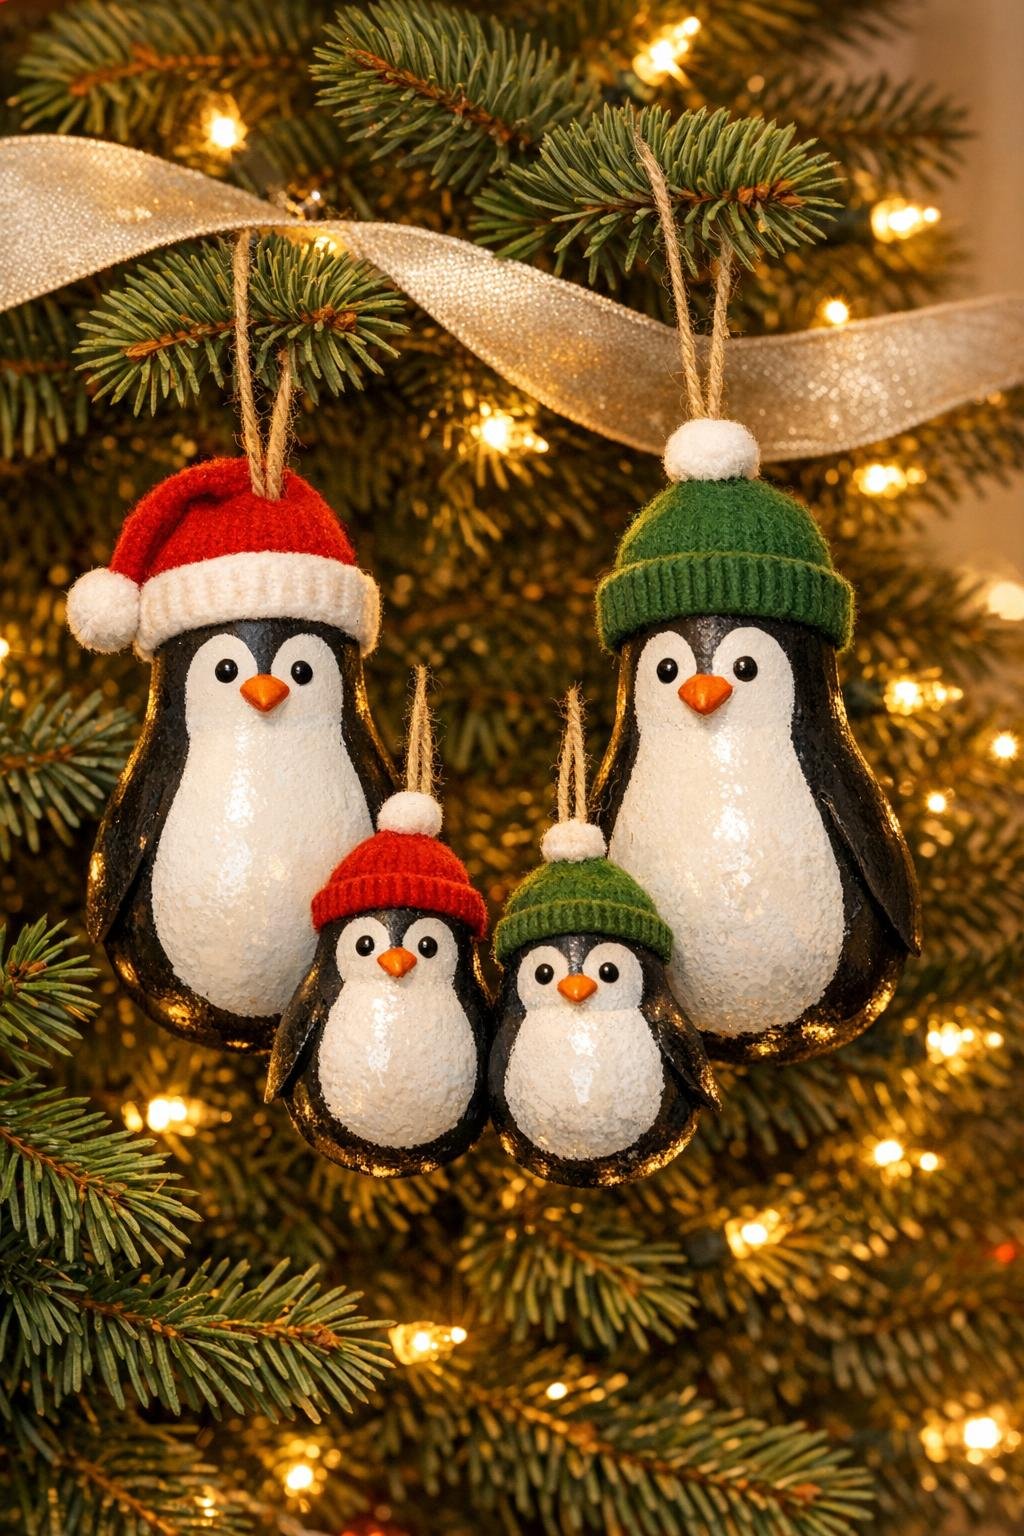
4. Paint black along both sides and across the back of each bulb, leaving a rounded white belly showing down the center front. Follow the natural curve of the bulb so the penguin shape looks soft and full.
5. Add two small black eyes near the top of the white belly area on each bulb. Draw a tiny orange beak just below the eyes with the paint pen, keeping the features simple so the group looks sweet and consistent.
6. Cut twelve simple felt hats: each one needs a rectangle about 1 1/2 by 3 inches for the band and a circle about 3 inches across for the top. Glue the circle into a loose cone or cap shape, wrap the rectangle around the base, and trim until it fits neatly over the metal screw cap.
7. Glue one twine loop to the top of each bulb at the screw cap, anchoring both cut ends securely. Immediately glue the felt hat over the cap so the hardware disappears and the hanger is tucked neatly into place.
8. Add a small pom-pom to the top of each hat if you like, then let every ornament dry undisturbed for at least 30 minutes. Once set, hang them on high tree branches where they can be admired without getting bumped.
Variations & Tips
Use what you have: If your bulbs are all one size, the ornaments will still look adorable together. I like mixed shapes best because a taller bulb beside a rounder one gives that family-group payoff instantly, but matching bulbs make a very tidy set.
Hat colors: Red and green feel classic, but navy, cream, plaid felt, or even tiny fleece scraps also work. In cooking and crafting alike, contrast is what makes a finished piece feel intentional, so choose hat colors that stand out against the black-and-white penguins.
Safer painting setup: Always work over a towel, not a hard bare table. It cushions the bulbs while you paint, and if one slips, you’re much less likely to chase rolling glass.
Drying trick: An upside-down egg carton is the perfect free stand for this project. I love a kitchen-adjacent solution like that; it keeps the bulbs upright, separated, and easy to rotate while painting.
Face placement: Keep the eyes and beak a little higher than you think. On a bulb, a high face looks cuter and leaves more clean white belly showing, which helps the penguin read clearly from across the room.
Finish and storage: If you want a little extra durability, brush on a thin clear matte sealer after the paint dries. Store each ornament wrapped in tissue or nestled in the same egg carton, because they are still glass ornaments at the end of the day.