
There is something deeply satisfying about giving old chair parts a second life, especially when they come from a thrift store find that might otherwise end up in the burn pile. These chair spindle candle holders are one of those projects that look far fancier than the effort involved, and because the spindles are already turned and shaped, all the hard design work is done for you before you even begin. I love that kind of project.
This is a good one for beginners, for anyone decorating a mantel or dining table on a budget, or for folks like me who can’t bear to waste solid old wood. With four oak chair spindles, a few wood rounds, and a little paint or stain, you can make a handsome stacked set that looks warm, collected, and polished rather than crafty.
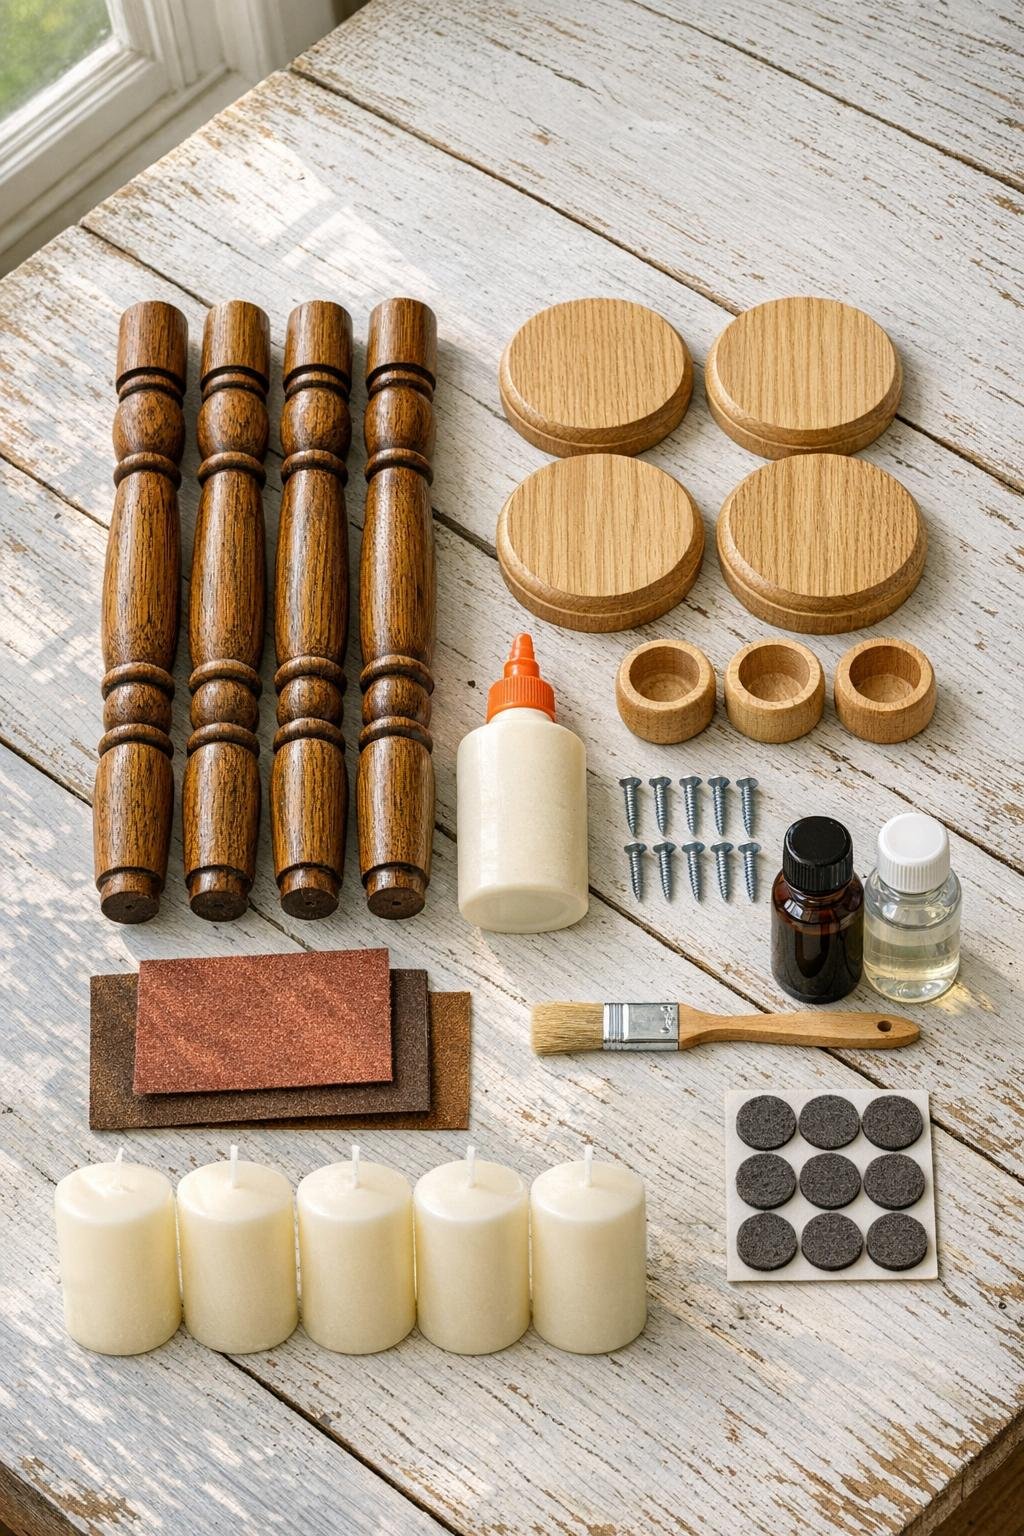
Materials
4 wooden chair spindles, approximately 14 to 18 inches long each, removed from one thrifted oak chair
Instructions
1. Clean the chair spindles well and remove any remaining screws, glue lumps, or rough chair fragments from the ends. If one end is badly splintered, trim or sand it flat so it will stack squarely.
2. Sand each spindle, base, and top wood disc with 120-grit paper first, then smooth everything with 220-grit. I like to keep some of the old character marks, but I do take off flaky finish so the new surface looks intentional.
3. Dry-fit one spindle onto one large wood base and one small wood disc on top to check balance and proportion. If a spindle leans, sand the contact points a little more until it sits straight.
4. Run a generous bead of wood glue on the bottom end of the spindle and center it on a 5-inch base. Let it grab for a minute, then flip the piece carefully and drive one screw up through the underside of the base into the spindle for strength.
5. Glue a 3-inch top disc onto the upper end of the spindle and center it carefully so the candle has a proper platform. Once the glue holds, drive one screw down through the top disc into the spindle, countersinking it slightly if needed.
6. Repeat the assembly for the other three candle holders, varying the spindle shapes and heights if you have different ones. That little bit of mismatch is what makes a grouped set look collected and generous on a table or mantel.
7. Fill any deep screw holes or cracks if you want a smoother painted finish, then let all glue and filler dry completely. Wipe away dust with a clean cloth before adding color.
8. Paint or stain all four candle holders, covering the turned details well but not so heavily that you lose the pretty grooves and rings. For a cottage look, use two light coats of paint; for a richer old-house look, use stain and wipe back the excess.
9. Brush on a clear matte or satin topcoat and let it cure fully so the finish can handle regular decorating and dusting. If you want a timeworn look, lightly distress the edges after painting and before the clear coat.
10. Add a metal candle pan to each top if you are using real pillar candles, then place the candles on the holders and press felt pads under each base. Step back and arrange the set together with the tallest in the back and the shortest in front for the fullest display.
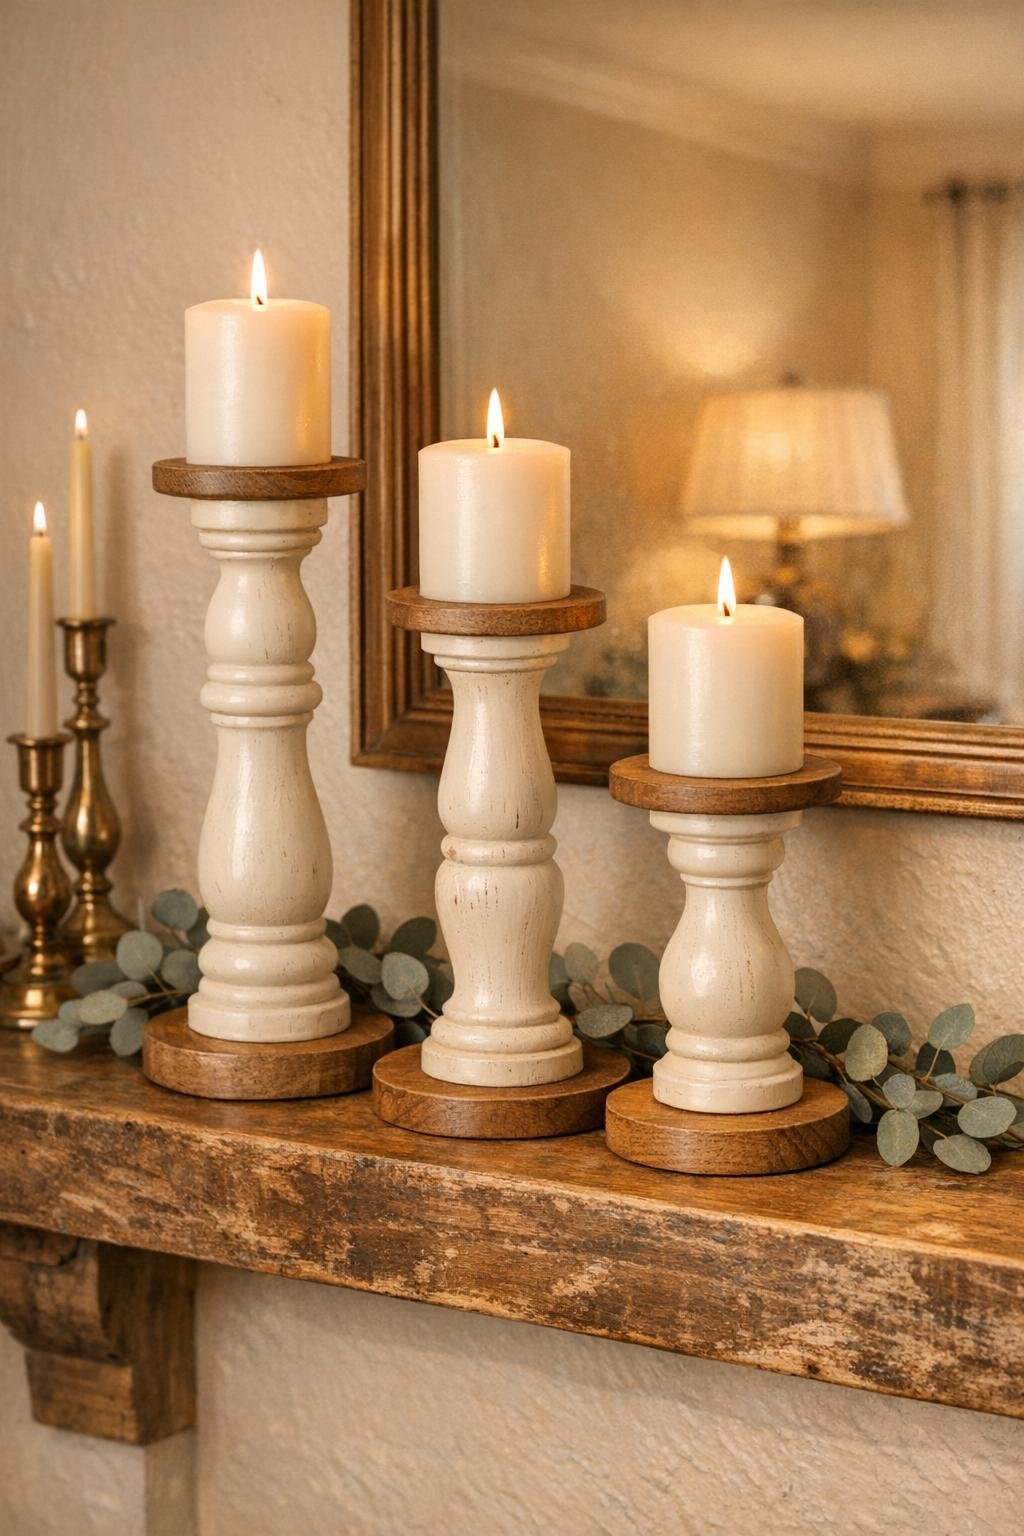
Variations & Tips
Natural wood version: If your thrifted chair has beautiful oak grain, skip the paint and use a medium walnut or natural stain with a satin topcoat. It gives the holders a more formal, old-dining-room feel.
Safer candle option: I often use good-quality LED pillar candles, especially when decorating a buffet or mantel with greenery nearby. You still get the glow without worrying over drips or open flame.
Holiday styling: Dress the bases with a ring of faux cedar, dried orange slices, or a tied velvet ribbon in winter. In summer, I like them with plain white candles and a few garden clippings for a simpler look.
Height planning: A set looks best when the finished holders are not all identical. If your four spindles match exactly, trim one or two shorter before assembly or use slightly taller and shorter candles to create a graceful stagger.
Base size tip: Don’t go smaller than a 5-inch base unless your spindles are unusually thick. That wider footing keeps the candle holders stable and makes them feel substantial instead of tippy.
Finishing touch: A little dark wax over cream paint settles into the grooves and brings out every turned detail. It is the same sort of gentle aging I used to admire on old church furniture and dining chairs all across our part of the Midwest.