
I love a project that looks dramatic at the end but is wonderfully repetitive while you make it, and this one absolutely fits that bill. Cutting a plain PVC pipe into neat little rings gives you a sturdy building material that’s easy to arrange into something beautiful, and because PVC is weatherproof, the finished piece can hang right out on the porch all winter without sagging, wilting, or turning to mush after one storm.
This is a great project for anyone who likes budget-friendly seasonal decorating and doesn’t mind a little assembly-line cutting. I especially appreciate that one inexpensive stick of pipe can make two large snowflakes and still leave enough for a few smaller ornaments, so it feels like the kind of craft that really pays you back for your effort.
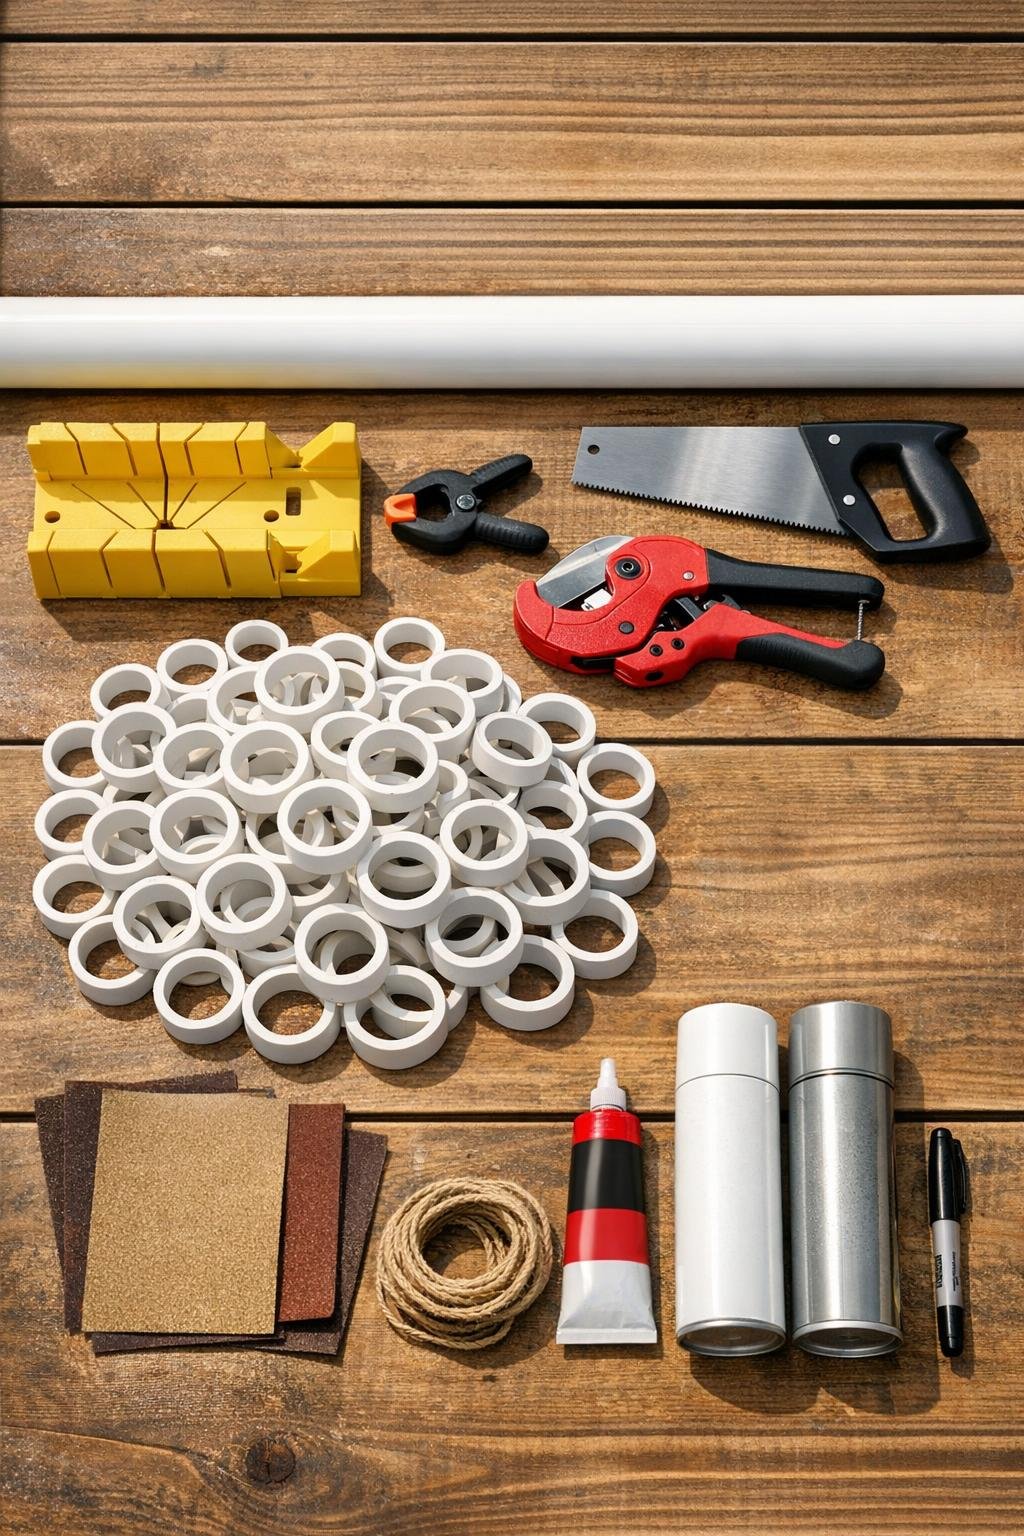
Materials
1 piece 3-inch diameter white PVC pipe, 10 feet long
Instructions
1. Set the PVC pipe into a miter box and clamp it securely to your workbench before making any cuts; this is what keeps the 1/2-inch rings even and your fingers safely away from the blade. If you have a cheap ratcheting pipe cutter, use it for the easiest and quietest cutting, then use the miter box as your spacing guide.
2. Mark the pipe every 1/2 inch along the length you plan to cut so you can work quickly without remeasuring each ring. I like to mark a whole section at once and then count out loud as I cut so I stay on track for 50 rings.
3. Cut 50 rings, each 1/2 inch wide, keeping the pipe snug in the box for every cut so the slices stay consistent. Set the rings in a pile as you go and trim off any obviously uneven edges right away.
4. Sand both cut edges of every ring with 120-grit sandpaper, then smooth again with 220-grit to remove all the fuzzy burrs. This step matters more than it seems because clean edges fit together better and take paint more nicely.
5. Wipe all the rings with rubbing alcohol and a lint-free rag to remove dust before assembly. Let them dry for a few minutes on wax paper.
6. Build the snowflake flat on the floor or on a large table, starting with 1 center ring and placing 6 rings evenly around it so every ring touches the center. Check the spacing from across the room before you glue anything, because that first round sets the whole shape.
7. Add one ring to the outside of each of those 6 outer rings, extending the design into 6 arms. Count each addition out loud as you place it—one on each arm, then repeat—so the symmetry stays true.
8. Fill in the spaces between the arms with curved pairs of rings, making 6 matching arcs around the center. Work your way around the design one repeated move at a time rather than finishing one side first.
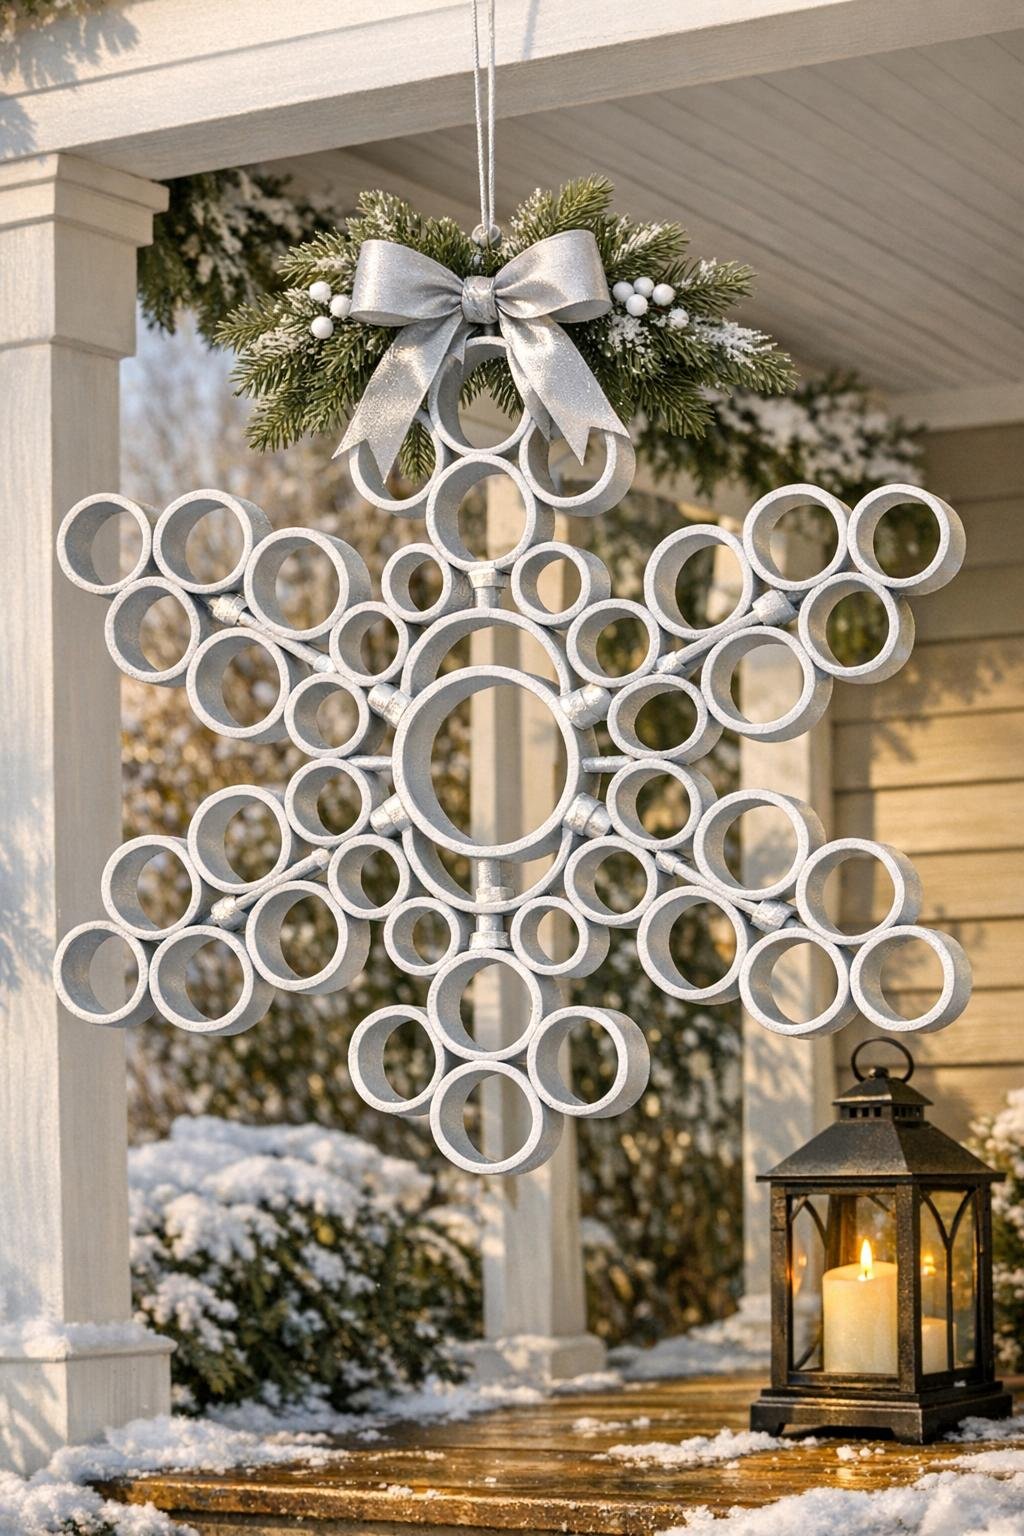
9. Add petal shapes near the outer half of each arm by gluing 2 rings side by side off each arm tip, then 1 ring above them to close the petal. Repeat the same petal on all 6 points so the snowflake reads clearly from a distance.
10. Once you’re happy with the full layout, glue every touching edge generously, pressing each contact point together for a few seconds. Don’t skimp here—the strength comes from all those little joints working together.
11. Let the snowflake cure completely on the flat surface according to your glue directions before trying to lift it. If any joints look dry or weak after curing, add a little more glue and give it extra time.
12. Carefully lift the snowflake and spray it with white paint in light coats, covering the front, back, and inner ring edges. After the white dries, mist on a little silver spray or glitter topcoat for an icy finish.
13. Tie a loop of jute twine or fishing line through one outer ring, then hang the snowflake on a porch, fence, or front window. If you’re making a set, repeat the same process with the remaining pipe for a second large snowflake and use leftover rings for smaller matching ornaments.
Variations & Tips
Silver finish: If you want more sparkle, skip the full white topcoat and do white first with a heavier silver mist on the front only. It catches porch light beautifully in the evening without looking too flashy in daylight.
Smaller ornaments: Use 7 to 12 rings for mini snowflakes to hang in windows, on a wreath, or from a porch garland. They’re a nice way to use every last piece of pipe instead of tossing the extras.
For windy spots: Fishing line is a better hanger than twine if your porch gets a lot of winter wind. It’s less visible and tends to let the snowflake move a little without drawing attention to the hanger.
Kid-friendly helper job: If your kids like to join in, let them help count rings into sets of six and hand you pieces during layout. I always find that repetitive counting jobs keep little helpers engaged without putting them near the cutting step.
Adhesive choice: Thick glue works better than runny glue because it bridges the curved edges more easily. If your first test joint slides apart, switch to a construction adhesive with a little grab.
Picky decorator tip: In my house, everybody has an opinion about holiday colors, so I keep one snowflake crisp white and give the second one a silver shimmer. That way the porch still feels coordinated, and nobody has to argue over which version looks best.