
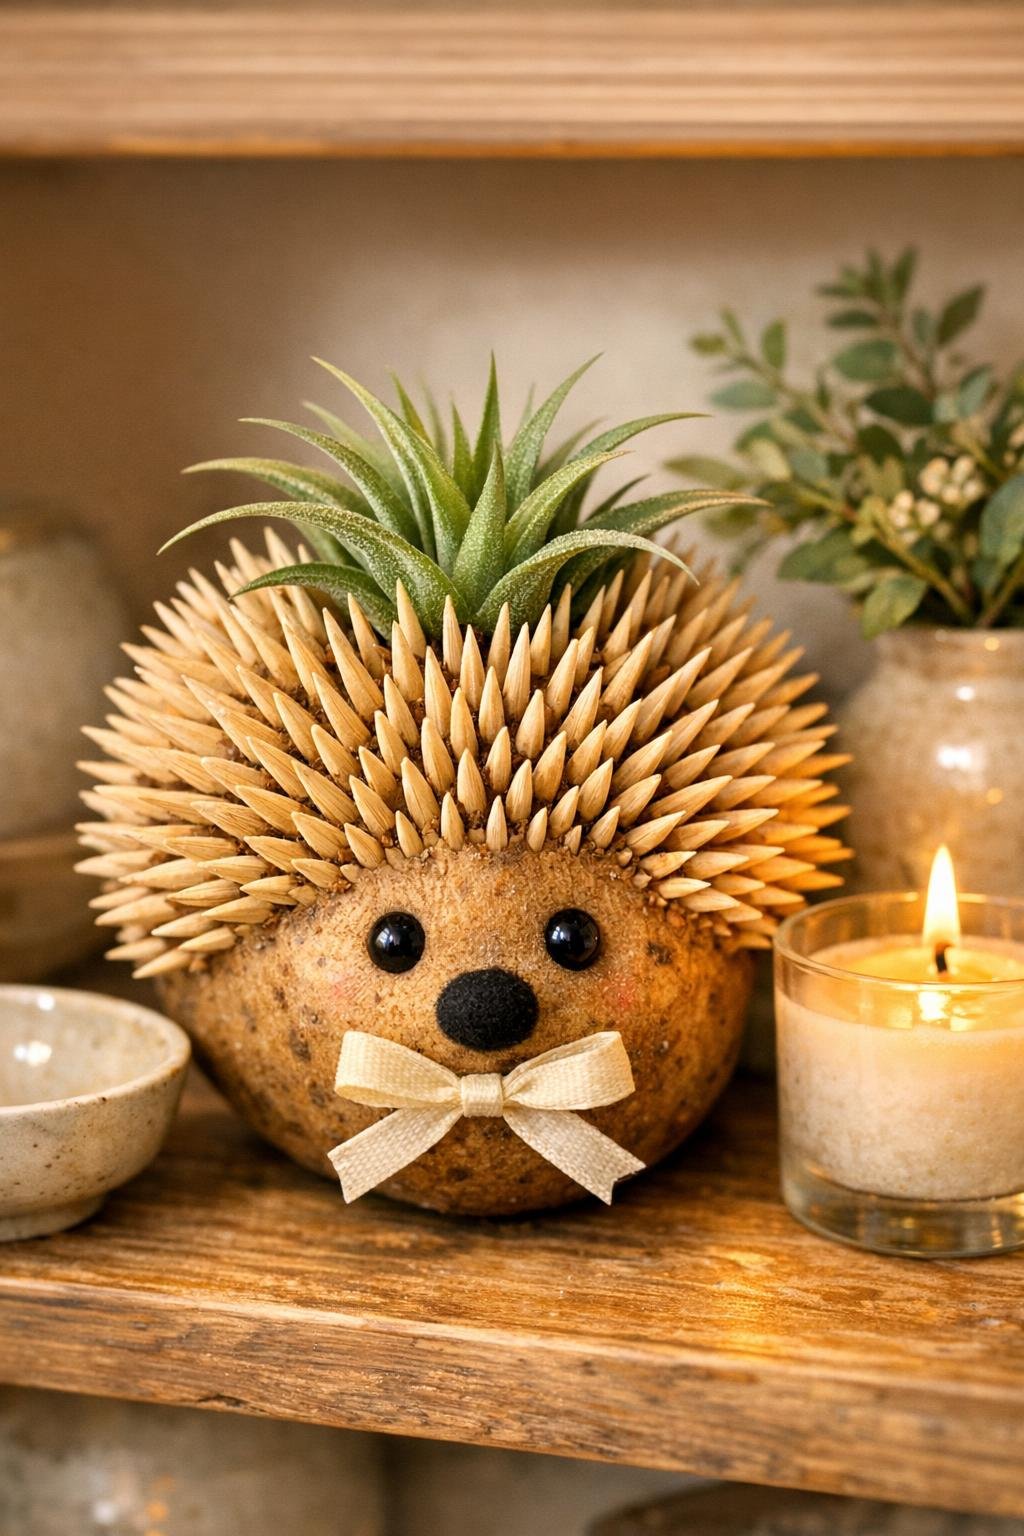
This little project turns one humble potato half and a whole lot of toothpicks into a hedgehog-style planter that honestly looks far fancier than it has any right to. Once the toothpicks are packed in and the potato dries out, you’re left with a wonderfully textured base that cradles a small air plant or faux greenery, and the finished piece has that quirky, crafty charm that always gets comments.
I love projects like this because they feel almost like kitchen-table magic—simple materials, very low commitment, and a surprisingly decorative result. If you like easy nature-inspired crafts, need a conversation-starting shelf accent, or just want something fun to make on a quiet evening after work, this one is absolutely for you.
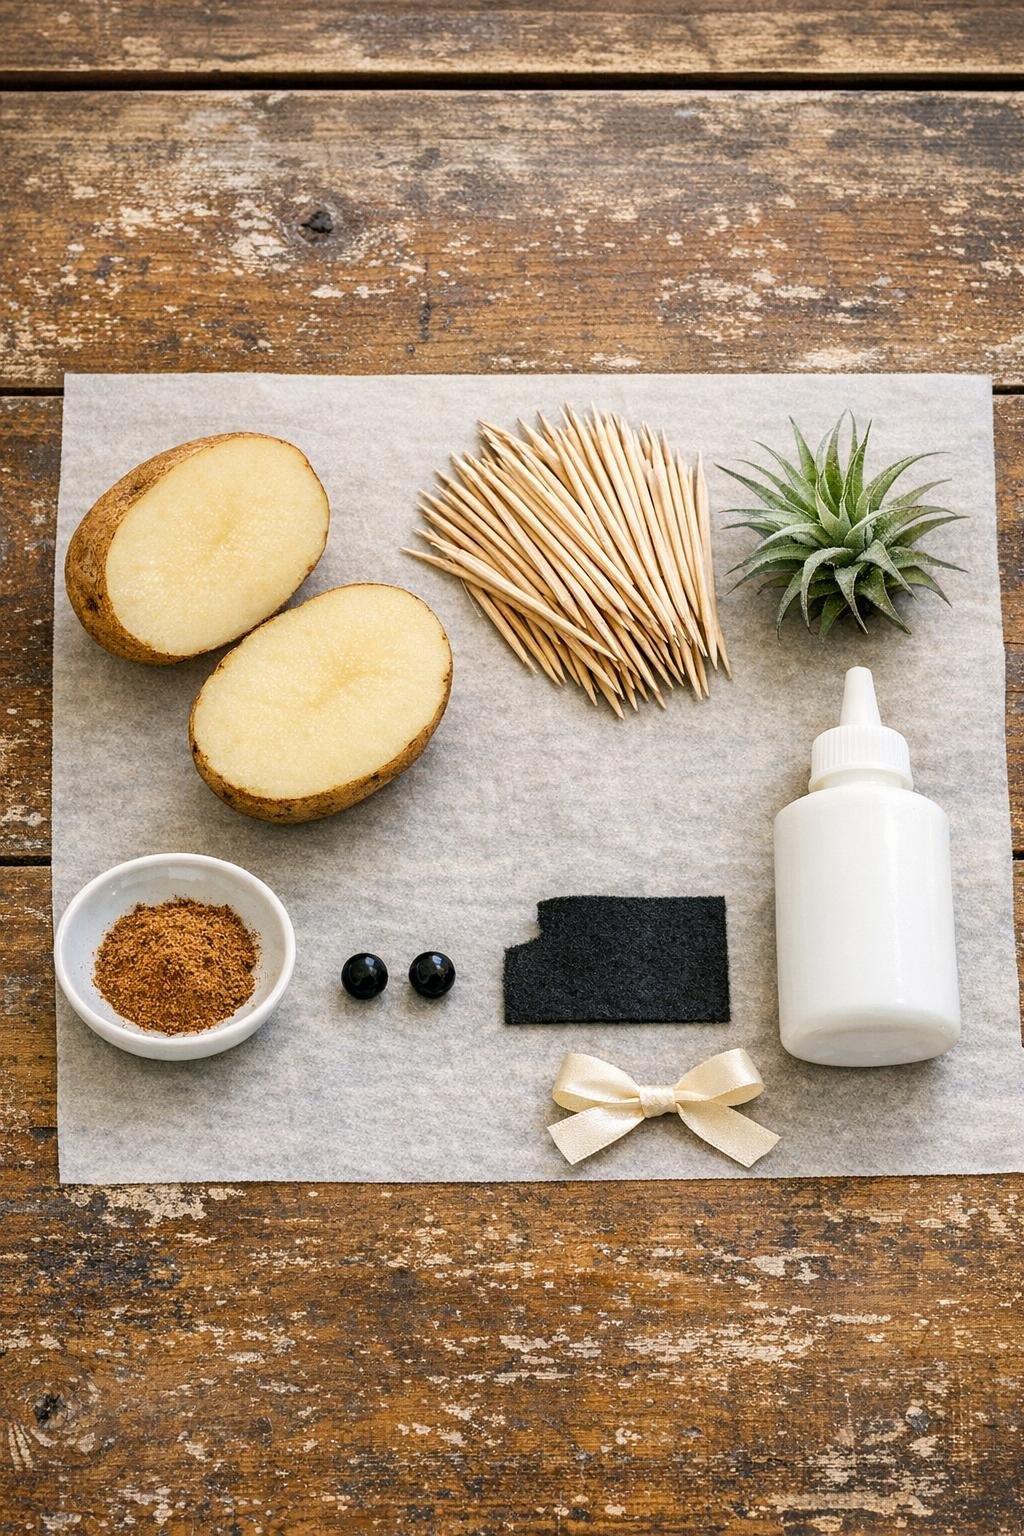
Materials
1 medium russet potato, cut in half lengthwise
Instructions
1. Cut the potato lengthwise and choose the nicer half with the most rounded shape; pat the cut side dry with a paper towel so it sits steadily without slipping.
2. Set the potato half cut-side down on parchment paper, then lightly dust the cut edge and bottom with cinnamon to help absorb moisture and discourage mold while it dries.
3. Start inserting toothpicks into the curved side, angling them slightly backward so they radiate like hedgehog spines; begin at the lower edge and work in tight rows.
4. Continue adding toothpicks until the entire curved surface is densely covered, using about 200 total so the potato looks full and bristly rather than patchy.
5. Leave a small open area at the narrow front end for the face, and keep the toothpicks slightly shorter-looking there by inserting them a bit deeper.
6. Cut a tiny oval nose from the black felt and glue it onto the front tip; glue on the two black beads just above it for eyes.
7. Let the toothpick-covered potato dry in a cool, airy spot for 3 to 5 days, or until the potato shrinks slightly and feels firm instead of freshly moist.
8. Check that the toothpicks are secure after drying, then gently press the air plant or faux succulent into the center top, nestling it between the toothpicks so it looks like a little garden growing from the hedgehog’s back.
9. If you want a polished finish, tie the ribbon into a small bow and place it loosely around the base or set the finished hedgehog on a small dish for display.
Variations & Tips
Use faux greenery: If you’re worried about moisture or upkeep, a faux succulent pick is the easiest option and still gives the planter a lush finished look.
Pack in the toothpicks: The more densely you place them, the better the finished hedgehog looks. I tried a sparser version first, and it just didn’t have the same dramatic texture.
Choose the right potato: A medium russet works best because the oval shape naturally reads as a hedgehog and the skin has a nice rustic finish once dried.
Let it dry fully: Don’t rush the drying time. If the potato is still too soft, the toothpicks can loosen and the planter won’t hold its shape as neatly.
Display it smartly: Keep the finished piece in a dry indoor spot out of direct sun. I like setting it on a little saucer near cookbooks or by a windowsill herb pot for a playful touch.