
When you slice a pinecone crosswise, the scales open up into the prettiest little woodsy “blooms,” and that simple trick is what makes these pinecone flower stems so clever. I love projects like this because they look charming and creative, but they’re made from materials that are easy to find, inexpensive, and wonderfully forgiving.
These stems are perfect if you want a handmade arrangement for a table, mantel, porch, or even a little gift bouquet in a mason jar. I’m always looking for crafts that feel special without becoming fussy, and this one checks every box—especially if you enjoy nature-inspired décor with a polished finish.
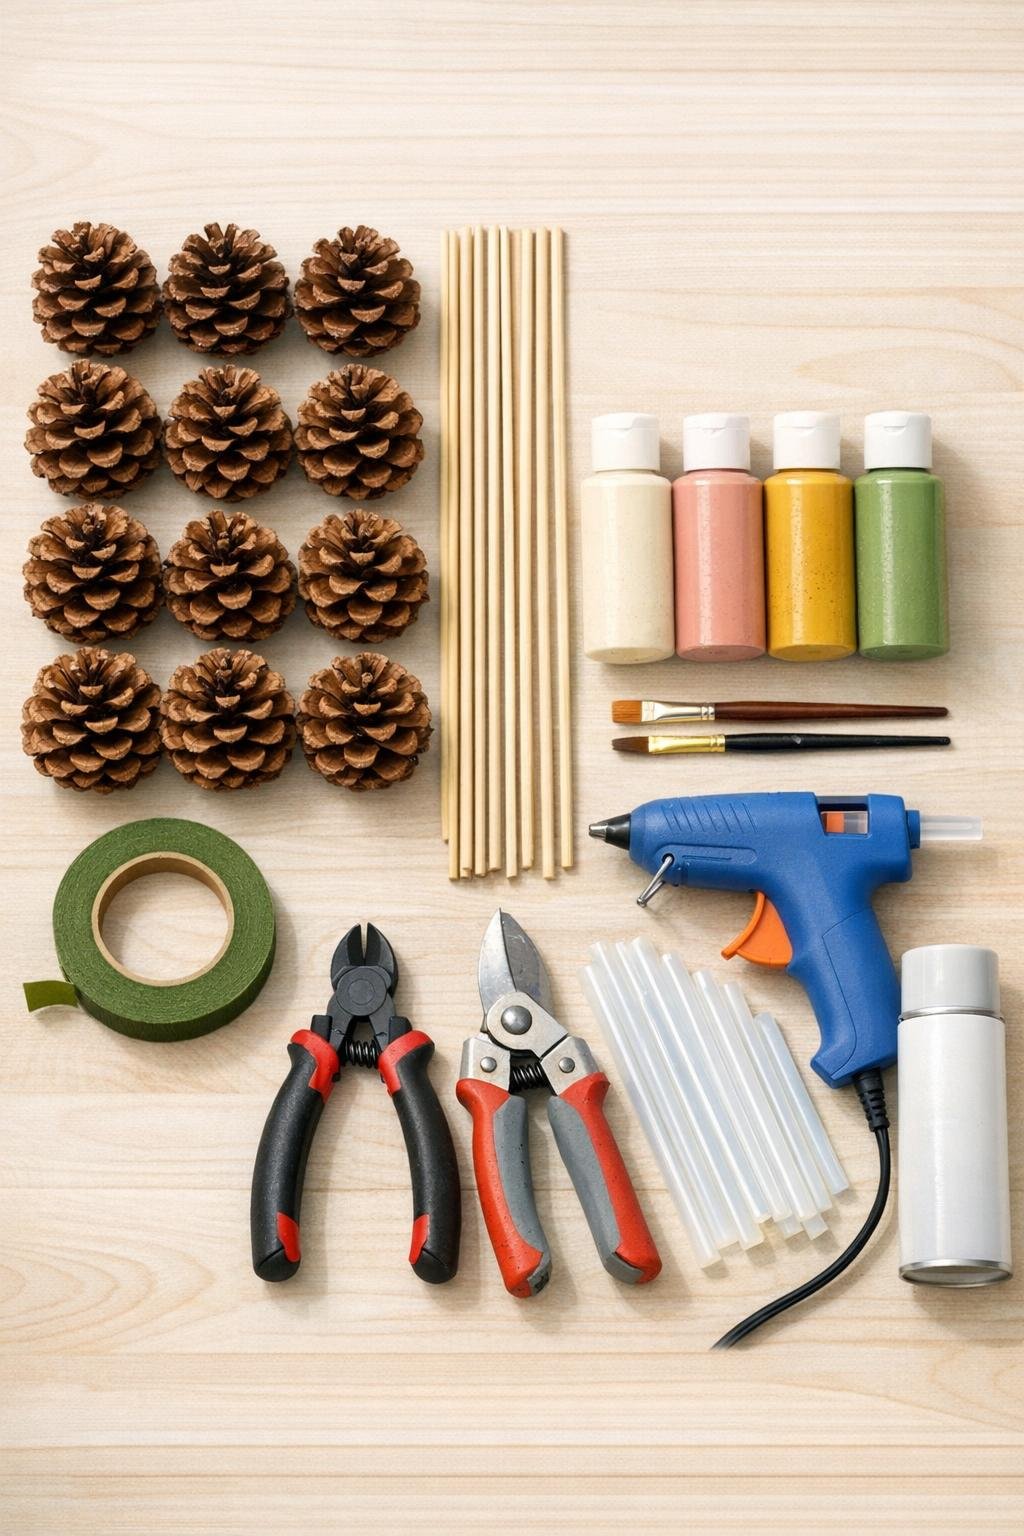
Materials
Instructions
1. Cover your work surface with kraft paper or cardboard, then sort the pinecones by size so your finished bouquet has a nice full, balanced look.
2. Hold one pinecone firmly at the base and use garden shears to slice straight across the middle, cutting horizontally to create a flat flower-shaped top section with open scales.
3. Repeat with the remaining pinecones, keeping the prettier top halves for flowers and setting aside any extra bottoms for another craft or kindling.
4. Trim the point of each wooden stem if needed, then hot glue one stem to the flat cut back of each pinecone flower and hold it in place for 20 to 30 seconds until secure.
5. Wrap each stem with green floral tape from just under the pinecone down to the bottom, stretching the tape slightly as you go so it grips neatly and gives the stems a finished floral look.
6. Paint the outer scales of the pinecone flowers in soft, petal-like strokes using cream and blush pink, leaving some natural brown showing in the creases for depth and a more realistic bloom.
7. Add mustard yellow paint to the center of each pinecone flower, dabbing it into the middle to mimic a cheerful flower center and make the shape really pop.
8. Brush sage green paint lightly along parts of the stems or the base under the bloom if you want a little extra leafy color and a fuller finished arrangement.
9. Let the paint dry completely, then seal the flowers with a thin coat of matte sealer or mod podge to protect the finish without making them look too shiny.
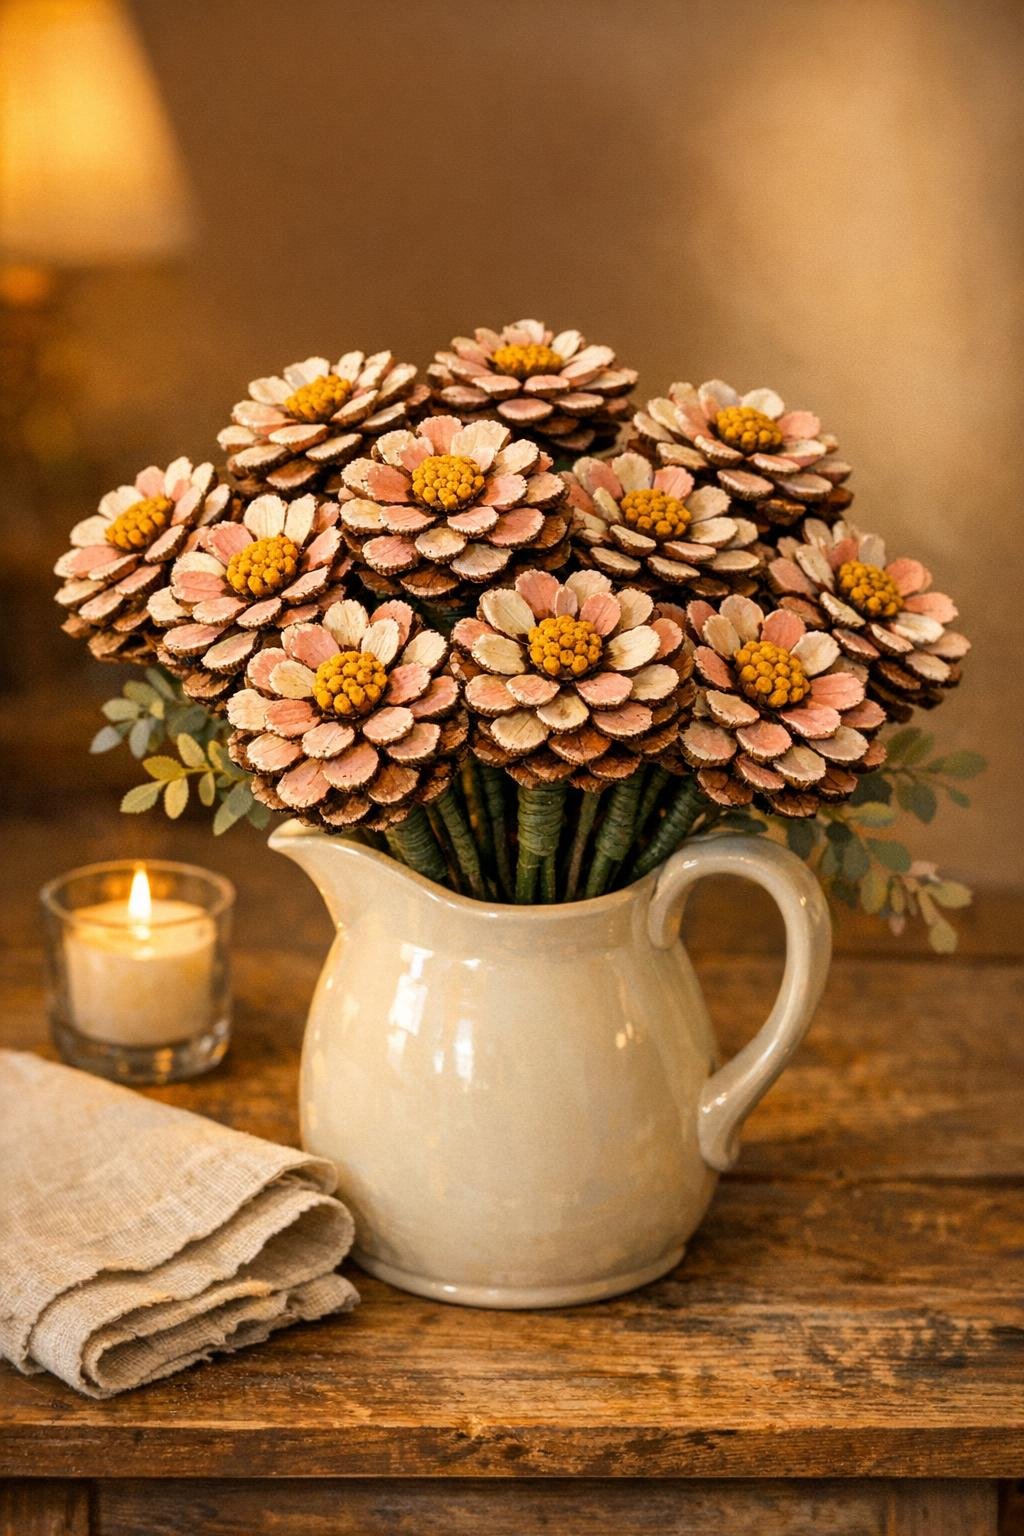
10. Arrange the finished stems in a pitcher, vase, or mason jar, mixing heights and colors so the bouquet looks full, layered, and gathered like a fresh-picked bunch.
Variations & Tips
For a fuller bouquet: Make 15 to 18 stems instead of 12 if you’re filling a wider vase. I like an arrangement to look generous and abundant, especially on a dining table or entry table.
Natural look: If you prefer a more rustic style, skip most of the paint and just add a soft cream dry-brush on the tips with a yellow center. You’ll still get the flower effect while keeping more of the woodland texture.
Brighter color palette: Try coral, peach, sunflower yellow, or even white petals with golden centers if you want something that feels more summery. This is a fun way to match seasonal décor without changing the method.
For picky decorators: In my house, not everyone likes the same colors, so I’d make half the stems in soft neutrals and half in brighter shades. That way the bouquet still feels playful, but it can fit different rooms and tastes.
Best pinecones to use: Large, dry, open pinecones give the prettiest flower shape. If your pinecones are closed, let them sit in a warm dry spot for a day or two before cutting.
Safer cutting tip: Slice slowly and work one scale layer at a time with sturdy shears. If a pinecone feels too tough, score around it first instead of forcing the cut.
Pretty finishing touch: Tie a soft ribbon around the vase or tuck in a few faux leaves, dried grasses, or eucalyptus stems. It gives the arrangement that extra “finished” look without taking attention away from the pinecone flowers.