
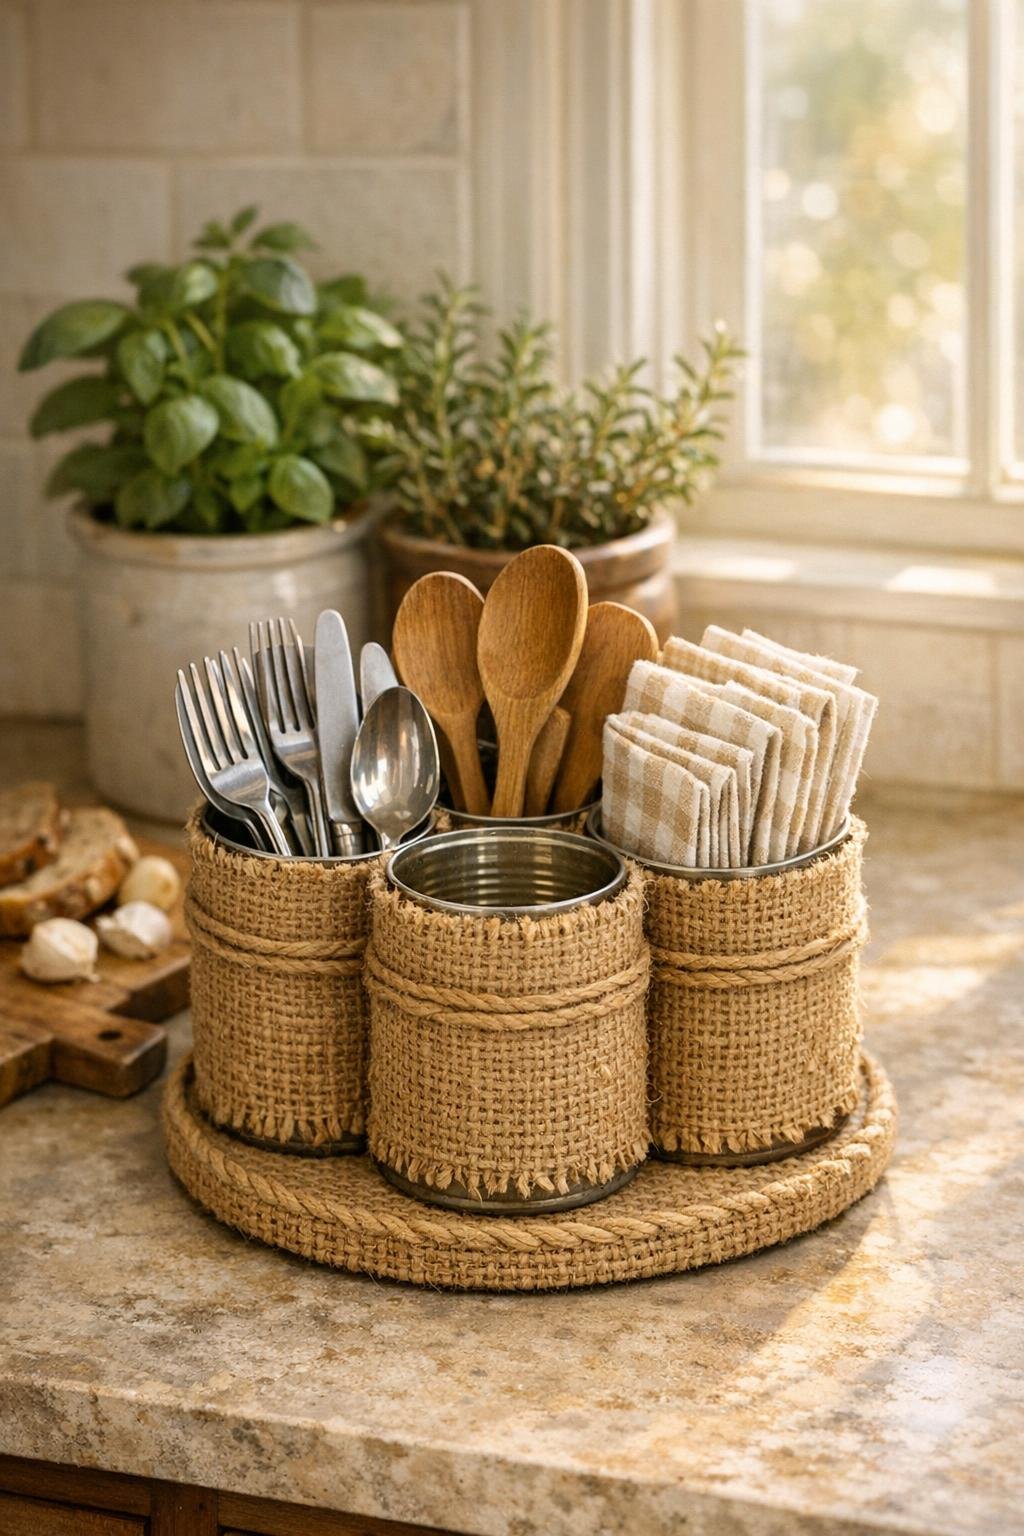
This is one of those projects I love because it uses the kind of “I should probably save that” supplies most of us already have on hand and turns them into something that looks surprisingly pulled together. A soup can utensil caddy made from six burlap-wrapped cans glued into a circle gives you a roomy, sturdy organizer that works beautifully for flatware, cooking tools, craft supplies, or even picnic essentials.
As someone who is always trying to keep my kitchen functional without spending a fortune, I’m especially fond of projects like this. It’s easy enough to make on a weeknight after dinner, but the finished result looks charming and intentional instead of crafty in the unfinished sense. If you like simple upcycles with a cozy farmhouse feel, this one is absolutely worth an hour of your time.
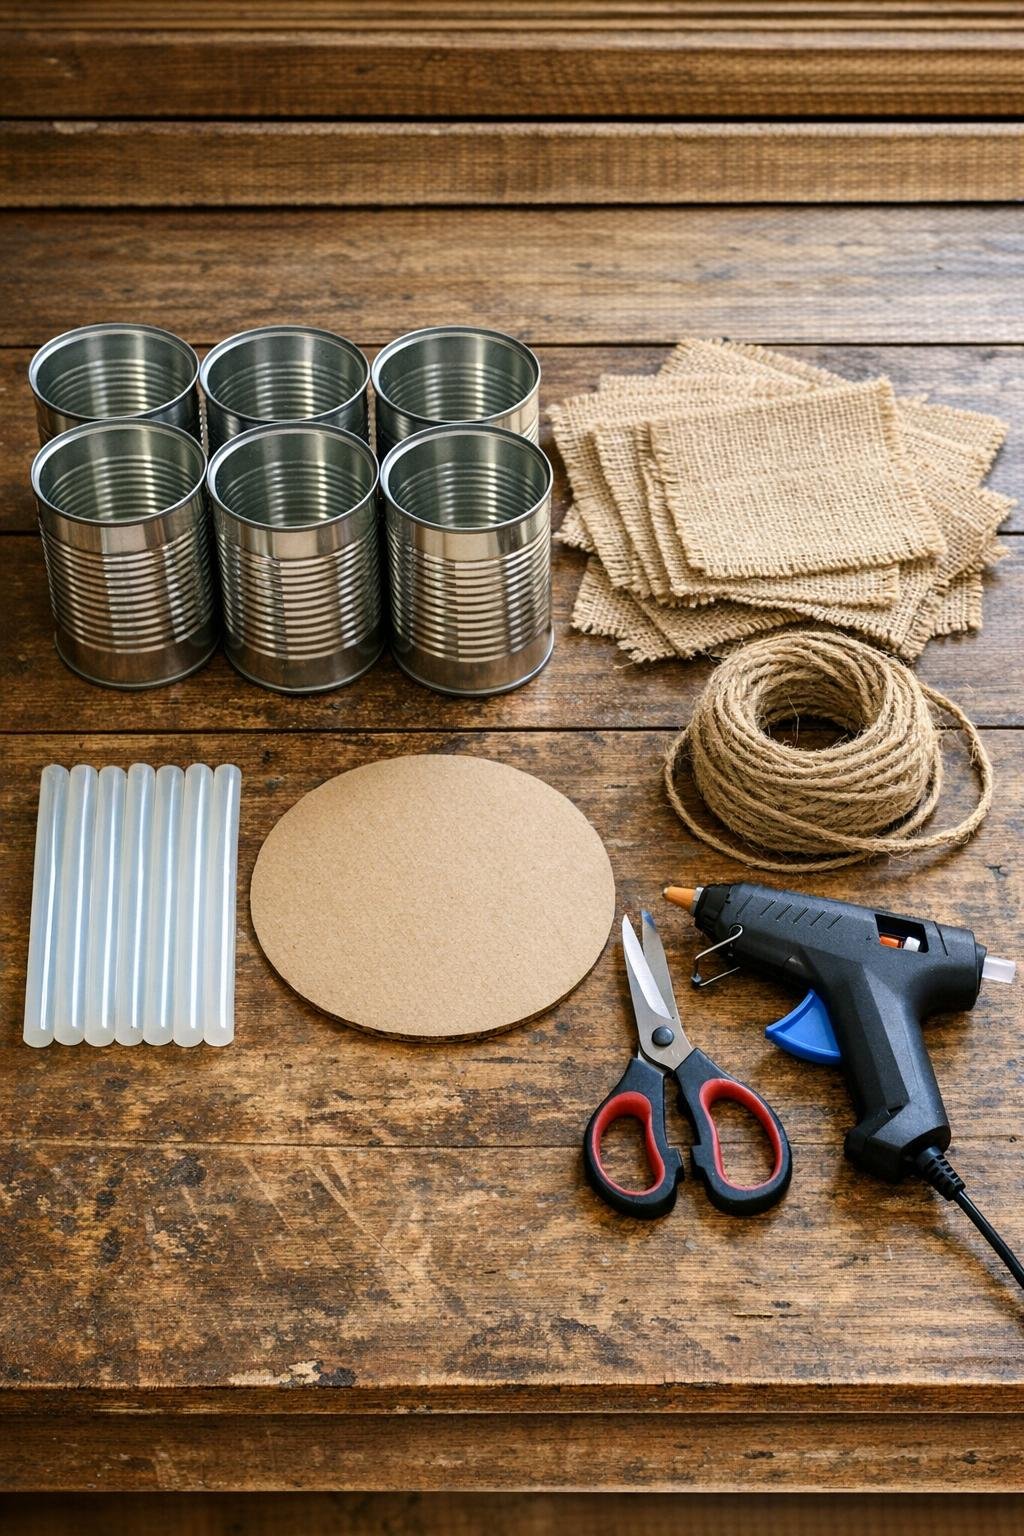
Materials
6 standard soup cans, 10.5-ounce size, labels removed and edges checked for smoothness
Instructions
1. Wash the soup cans thoroughly, remove all labels and adhesive, and make sure the top cut edges are smooth and safe to handle before you start wrapping.
2. Cut six burlap rectangles to 6 by 10 inches so each piece wraps fully around one can with a slight overlap and a little extra height to fold neatly at the top and bottom.
3. Run a vertical line of hot glue on one can, press the short edge of a burlap piece into it, then wrap the burlap tightly around the can and glue the overlap closed.
4. Snip the extra burlap at the top and bottom every 1 inch to make small tabs, then fold and glue those tabs inward so the can looks finished instead of frayed.
5. Repeat the wrapping process for the remaining five cans, keeping the burlap seam on each can lined up in roughly the same place so the caddy assembles more neatly.
6. If you want a cleaner inside finish, glue one felt circle into the bottom of each can to cover the folded burlap tabs and soften the base.
7. Set the six wrapped cans upright in a ring shape on your work surface, adjusting them until the circle looks even and the center opening is nicely balanced.
8. Add a thick line of hot glue where each can touches the next, pressing them together one pair at a time until all six cans are firmly joined into one cluster.
9. Place the glued can cluster onto the 8-inch cardboard circle, trace the contact points lightly if needed, then hot glue the entire cluster down to the base for stability.
10. Center the base on the 10-inch burlap square, snip the corners into rounded wedges, and glue the burlap up and around the cardboard edge so the base is fully covered.
11. Wrap jute twine around the outside middle of the entire can cluster two to three times, pull it snug, and glue it in place at the back for a finished banded look that also adds support.
12. Add a second twine wrap near the top or bottom if you want extra detail, and glue on a small ribbon bow only if it suits the room where you’ll use it.
13. Brush on a light coat of clear matte sealer if you want to reduce burlap shedding, then let the whole piece cool and cure completely before filling it.
14. Load the cans with utensils, wooden spoons, napkins, straws, or markers, spreading the weight around the circle so the caddy stays balanced and easy to carry.
Variations & Tips
Picnic station version: Fill one can with forks, one with spoons, one with knives, one with straws, one with napkins, and one with seasoning packets. I’ve done this for backyard dinners, and it makes the whole setup feel more organized with almost no extra effort.
Kitchen tool version: Use the caddy for wooden spoons, spatulas, whisks, and measuring tools near the stove. If you’re storing heavier utensils, be generous with the glue between cans and don’t skip the cardboard base.
Cleaner edge tip: If your burlap frays a lot, run a very thin line of hot glue along the cut edges before wrapping. It keeps the project looking tidy and saves you from pulling off loose threads later.
Style swap: Trade the jute twine for black-and-white gingham ribbon, lace trim, or thin cotton rope if you want a softer or more modern look. The basic can cluster stays the same, so it’s easy to match your own kitchen.
Easy care: Because burlap is textured, I keep this type of organizer in a dry spot and dust it with a dry cloth or small vacuum brush attachment. It holds up well, but it definitely likes a low-mess area better than right beside the sink.
Gift idea: This makes a genuinely cute housewarming gift if you pre-fill it with wooden utensils, recipe cards, or packets of cocoa and tea. I’m always looking for gifts that feel useful instead of random, and this one checks that box nicely.