
When I first heard this old raised-bed trick years ago, it sounded almost too simple to bother with: bury a couple of aluminum loaf pans filled with gravel and let them help steady the soil temperature before those late spring or early fall frosts nip your seedlings. But I’ve lived long enough out in the country to know that the plainest ideas are often the ones that stick around for a reason. This little heat-sink project uses two humble loaf pans to absorb daytime warmth and release it slowly back into the bed overnight, right where tender roots need the help.
If you garden in a spot where warm afternoons can turn sharp and chilly by dawn, this is an easy, low-cost trick worth trying. I like it for raised beds with lettuce, spinach, cabbage starts, onions, or early herbs, especially when I’m itching to plant a little ahead of the weather forecast. It isn’t magic, but it is a practical old-fashioned boost, and it takes only a few minutes to put together.
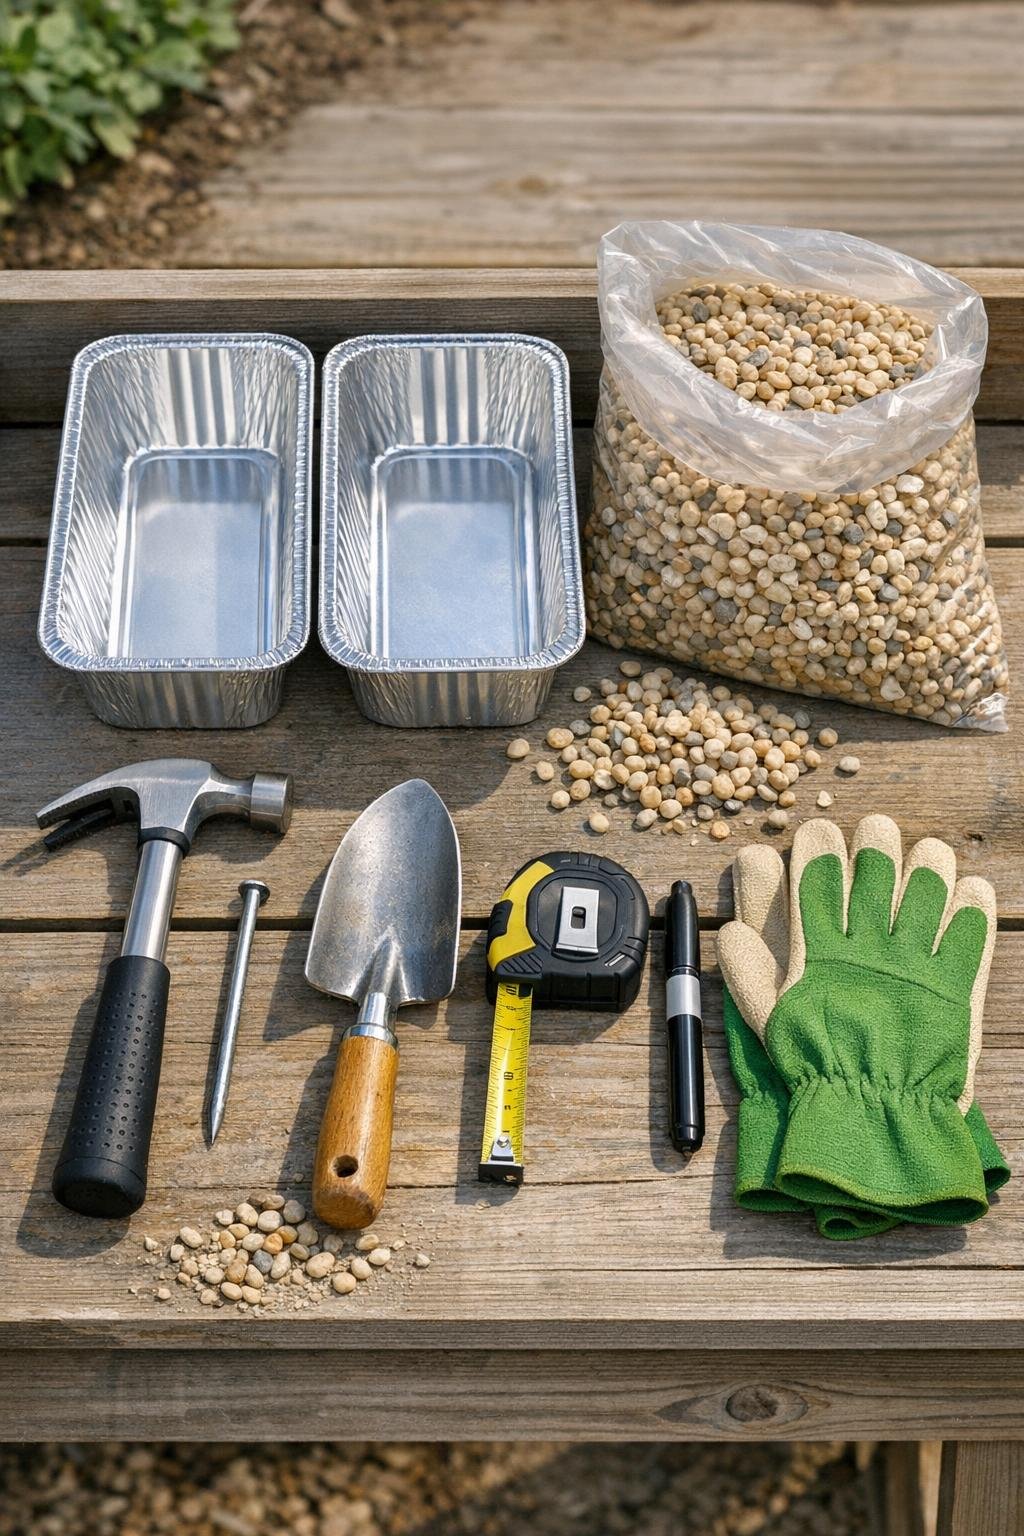
Materials
Instructions
1. Choose the part of your raised bed you want to protect, ideally near seedlings or a row of cold-sensitive starts, and pick a spot that gets several hours of direct sun so the pans can gather warmth through the day.
2. Mark and punch drainage holes around the lower side edges and a few across the bottom of each aluminum loaf pan, spacing the holes about 1 inch apart along the lower perimeter so moisture cannot collect and freeze inside.
3. Fill each pan with about 3 cups of pea gravel, stopping just below the rim so the stones do not spill out when you lower the pans into the soil.
4. Water the gravel lightly if you like, just enough to settle the stones into the corners; damp gravel holds steady contact a little better than loose, dusty stones.
5. Dig two trenches in the raised bed the same length and width as the pans, making them deep enough so the pan rims will sit about 1 inch below the soil surface once buried.
6. Set the filled pans into the trenches flat and level, placing them 6 to 10 inches apart or on either side of the plants you want to buffer, so the stored warmth spreads through the root zone instead of concentrating in one corner.
7. Backfill soil snugly around and over the pans, covering them completely with about 1 inch of soil and pressing gently so there are no large air gaps.
8. Water the bed normally after burying the pans to settle the soil, then add your usual mulch lightly over the area if you use mulch, keeping it thin enough for the sun to still warm the bed efficiently.
9. Place the pans where they can charge in the daytime sun and leave them in place through the shoulder season; they work best as a quiet helper alongside row cover, cloches, or a frost blanket on truly cold nights.
10. At the end of the cool-weather stretch, mark the area and dig the pans up carefully if you want to reuse them elsewhere, or leave them in place for the season as long as the aluminum stays intact and the bed drains well.
Variations & Tips
For longer rows: Use one pair of pans for every 2 to 3 feet of planted row if you want more even temperature buffering across a wider section of bed.
Best crops for this trick: I’ve found this most sensible for cool-season transplants and early greens, not for heat-loving summer crops that won’t appreciate cold soil no matter what you bury under them.
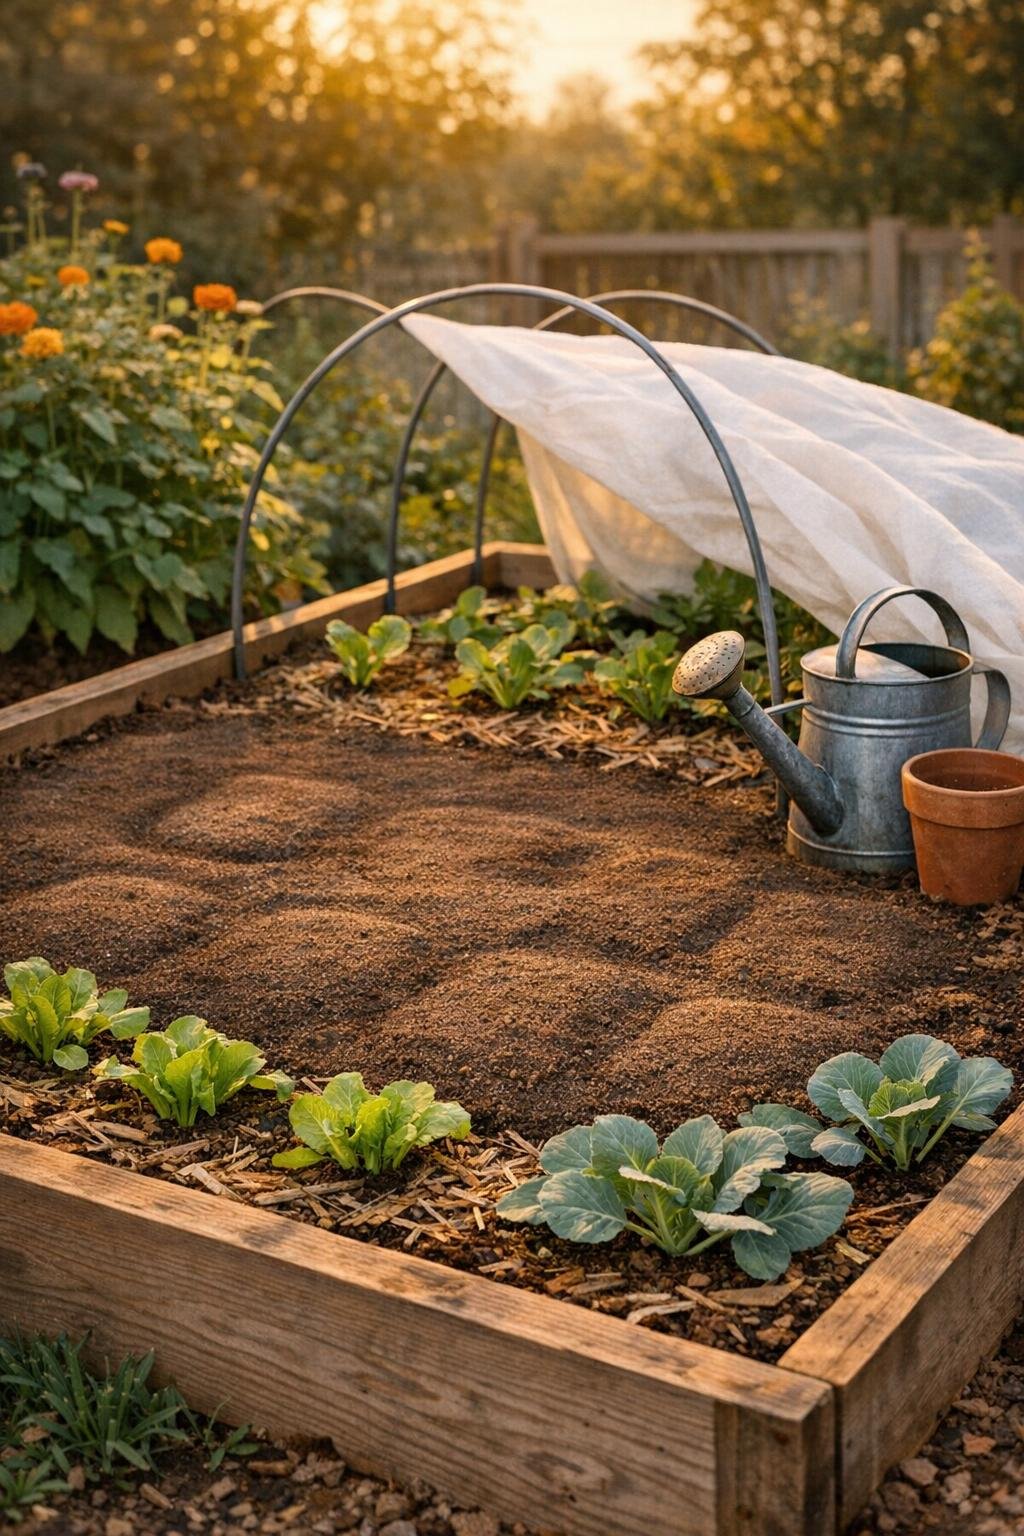
Pair it with a cover: The pans help moderate root-zone temperature, but a floating row cover or old sheet over hoops does the best job of protecting the leaves from frost settling directly on them.
Use the right gravel: Pea gravel is ideal because it packs tightly, has plenty of thermal mass for its size, and still allows little air spaces that help it warm and cool gradually.
Mind drainage: If your raised bed stays soggy, punch plenty of holes and skip burying the pans in the wettest corner; standing water is the one thing that turns this clever trick into a nuisance.
Mark the spots: I like to tuck in a small plant marker at each end of the buried pan so I don’t jab a trowel straight into the aluminum later when I’m replanting.
Keep expectations sensible: This is a frost-softening helper, not a hard-freeze guarantee. Think of it as one more layer of insurance, the same way our folks used to bank on south walls, straw mulch, and a close eye on the weather radio.