
There’s something wonderfully satisfying about taking the most ordinary craft-store supplies and turning them into something that looks rich, layered, and seasonal. This wax-dipped leaf garland uses faux fabric leaves and melted dollar store crayons to create that glossy, variegated finish you usually only see on high-end fall décor, and because each leaf is dipped individually, every one comes out a little different in the best way.
I like this project for anyone who wants a dramatic autumn decoration without sewing, complicated painting, or expensive floral supplies. If you can melt wax carefully and thread a string, you can make a full garland that looks custom and generous on a mantel, shelf, or doorway.
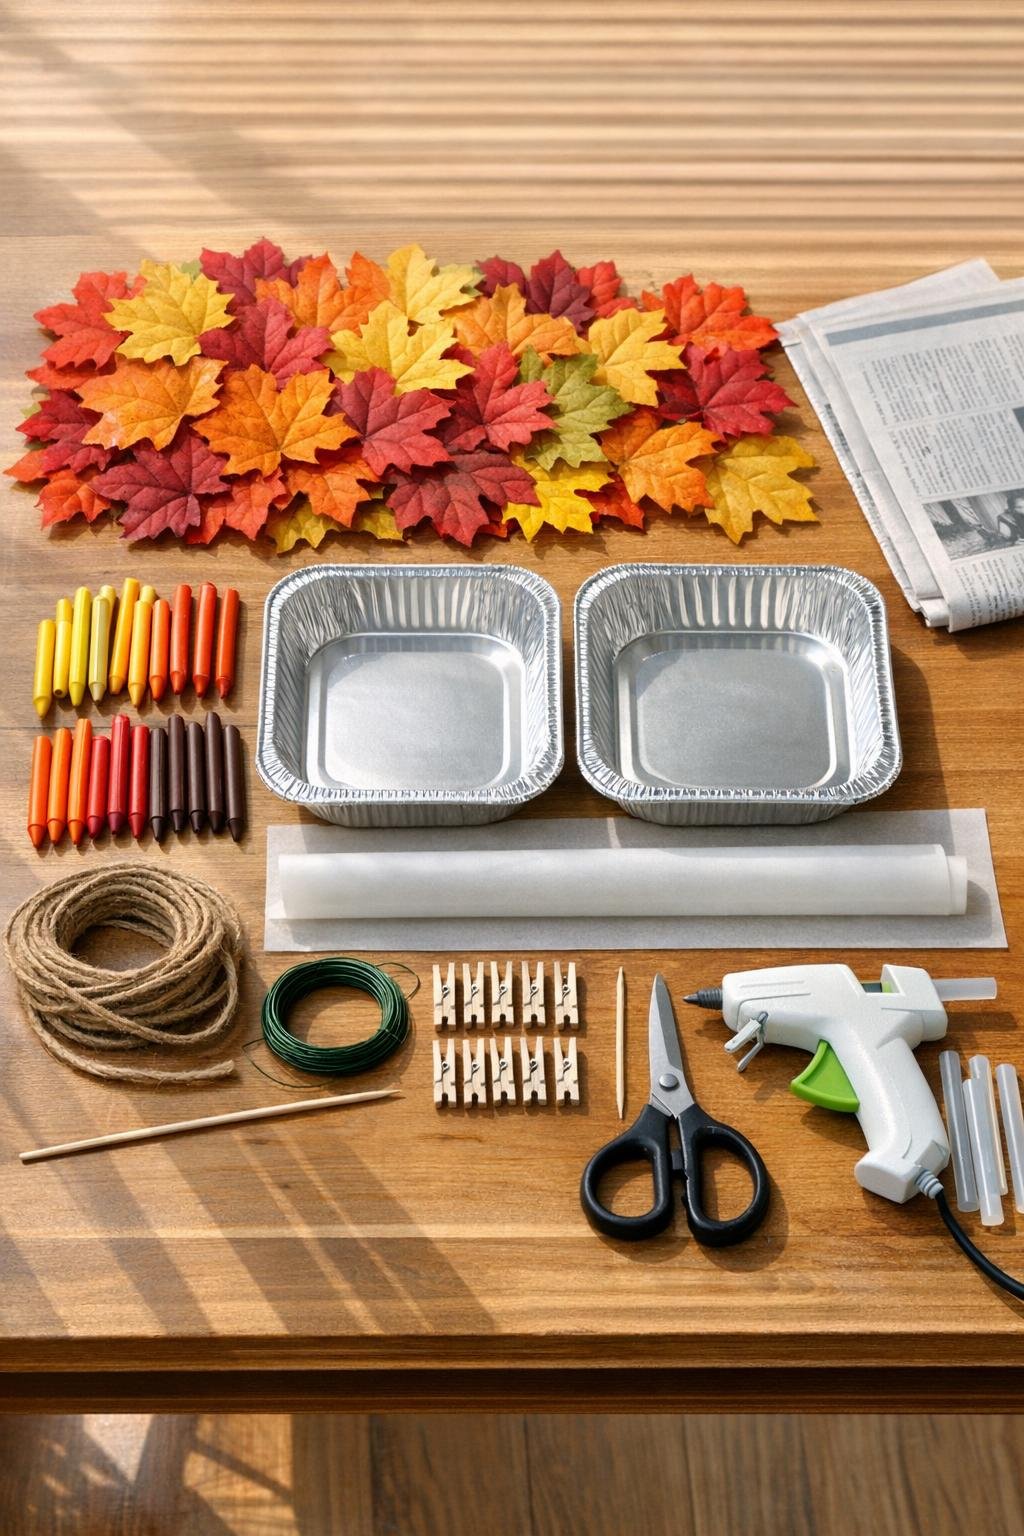
Materials
36 faux fabric maple leaves, 3 to 5 inches wide
Instructions
1. Cover your table with newspaper, line a second surface or baking tray with parchment paper, and sort the fabric leaves by size so you can alternate large and small leaves later for a fuller garland.
2. Break the crayons into small pieces, divide warm colors between the two aluminum pans, and aim for one pan to lean orange-gold and the other to lean red-rust for more color variation.
3. Melt the crayon pieces slowly using a double-boiler setup or very low heat until the wax is fully liquid, then swirl gently with a wooden skewer instead of fully mixing so the colors stay marbled.
4. Test one leaf by holding the stem end and dipping just the top half into the melted wax, then lifting it out right away so the fabric keeps its shape and the wax coats without soaking through too heavily.
5. Continue dipping the leaves one by one, varying the depth and angle so some have color concentrated at the tips and others along the sides; let excess wax drip back into the pan for a second before setting each leaf on parchment.
6. Dip about half the leaves in the orange-gold pan and half in the red-rust pan, then add a quick second dip to a few leaf edges for layered color and a more dramatic finish.
7. While the wax is still slightly tacky, sprinkle a very light touch of fine gold glitter on only 8 to 10 leaves so the final garland catches light without looking overly sparkly.
8. Let all the leaves cool completely for 15 to 20 minutes, then gently flex each one to be sure it releases cleanly from the parchment and keeps a natural curved shape.
9. Cut a 7-foot length of jute twine for the garland base and knot a small loop at each end for hanging, then lay it straight across your work surface.
10. Arrange the leaves along the twine before gluing, overlapping them by about 1 inch and alternating colors and sizes so the garland looks dense and balanced instead of flat or patchy.
11. Glue the leaf stems and lower backs onto the twine one at a time, pressing each into place for a few seconds and keeping the leaves angled in different directions for movement and fullness.
12. Reinforce any heavy leaves by wrapping a short piece of floral wire around the twine and stem, twisting it tightly at the back where it won’t show from the front.
13. Fill thin spots by gluing a second layer of smaller leaves over the first row, especially near the center and the ends, which gives the garland that lush finished look.
14. Tie 3 small ribbon bows from the gold or rust ribbon and attach them at the center and near both ends, keeping them modest so they frame the leaves rather than compete with them.
15. Hang the garland on a mantel, shelf edge, or doorway, then fluff and adjust the leaf angles once more so the waxed surfaces catch the light and the whole strand reads as full and polished.

Variations & Tips
Color blend: For a deeper late-autumn palette, add more brown and burgundy crayons to one pan and keep the other brighter with orange and golden yellow.
Leaf shapes: Maple leaves are dramatic, but mixed faux oak and birch leaves make the garland look even more natural and layered if you want a less uniform finish.
Safer melting method: I strongly prefer melting crayons in a double boiler or a heatproof bowl set over simmering water, because the wax stays fluid without scorching.
Best dipping technique: Quick dips give the prettiest result; if the leaf stays in too long, the fabric can soften too much and lose that crisp leaf outline.
No-glitter option: Skip the glitter entirely and use only the marbled wax finish if you want something a little more grown-up and closer to classic harvest décor.
Fuller garland: If you’re decorating a wide mantel, increase to 48 leaves and extend the twine to 9 feet so the drape stays lush instead of stretched thin.
Storage tip: Store the garland flat between sheets of parchment in a shallow box so the waxed leaves don’t stick to one another in warm weather.