
There’s something so charming about turning a handful of backyard finds into a little woodland scene, and this pinecone owl family is one of those crafts that looks much fancier than it is. The magic starts the minute you glue two acorn caps side by side on a pinecone—they instantly become sweet owl eyes, and from there the whole project comes together in the easiest, most satisfying way.
I love this kind of nature craft for families, classroom tables, or a quiet afternoon at the kitchen counter because it uses simple materials and still gives you a finished project that feels full and special. Instead of making just one owl, I like to make a whole family in different sizes so the display looks generous and storybook-cute on a mantel, shelf, or fall centerpiece.
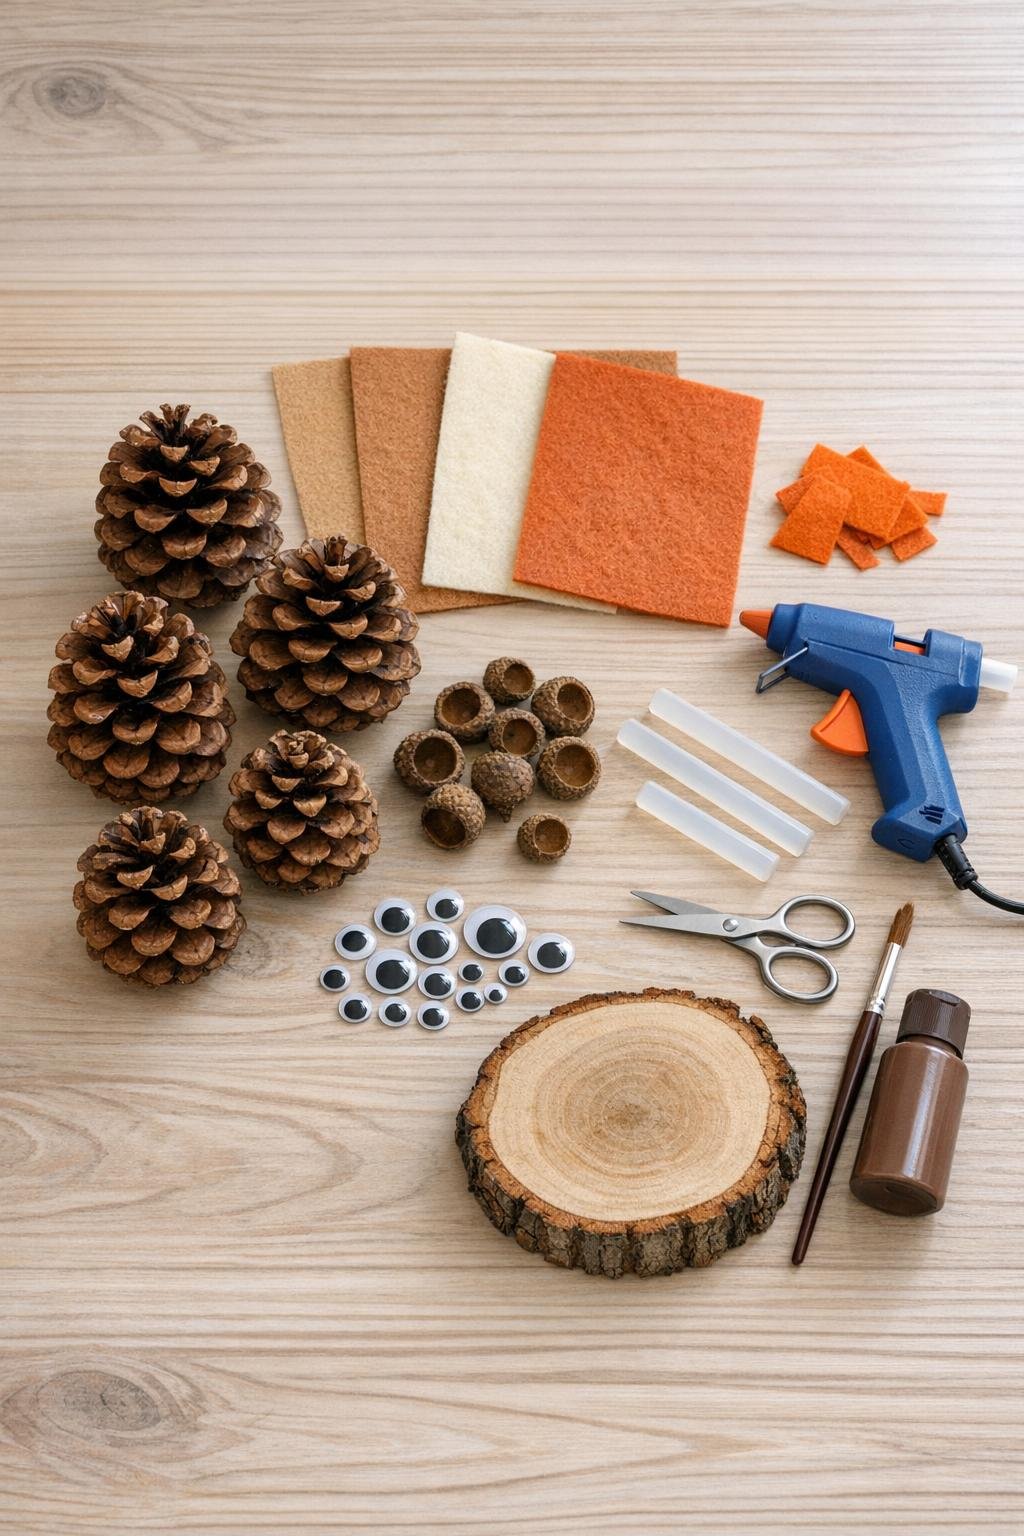
Materials
5 pinecones in assorted sizes, about 2 1/2 to 5 inches tall
Instructions
1. Sort your pinecones by size and choose one large, two medium, and two small cones so your owl family has a nice parent-and-babies look. Brush off loose dirt or needles and let them dry fully if they were collected outdoors.
2. Set each pinecone upright and decide which side looks most like a face. I usually pick the fuller, rounder side so the owl feels wide-eyed and balanced when it stands.
3. Test-fit two acorn caps side by side near the top front of each pinecone, nestling them into the scales until they sit evenly like a pair of eyes. When the placement looks right, glue the caps on one at a time and hold for a few seconds.
4. Glue one googly eye inside each acorn cap, pressing it down into the cup so it looks centered. If an eye sits too deep, add a tiny dot of glue behind it to lift it forward.
5. Cut five small diamond or triangle beaks from the orange felt, about 1/2 to 3/4 inch tall depending on the owl size. Fold each beak slightly down the middle before gluing it between the acorn-cap eyes so it sticks out just a bit.
6. Cut layered chest feathers from tan and cream felt for each owl, making them about 1 1/2 inches tall for small pinecones and up to 2 1/2 inches tall for the largest one. Snip soft scallops along the lower edge, then glue the chest piece to the front center beneath the face.
7. Cut two wings for each owl from rust brown felt or cardstock, shaping them like rounded leaves about 1 to 2 inches long. Tuck and glue the wings into the side scales so they angle outward slightly and give the owls a fuller silhouette.
8. If you want ear tufts, cut tiny pointed pieces from brown felt and glue them just above the acorn caps on the larger owls. This little step makes the family look more expressive without adding any difficulty.
9. Stand all the owls together and adjust the details so the eyes line up and the beaks point forward. Touch any visible glue strings or pale cut edges with a tiny bit of brown paint if needed for a cleaner finish.
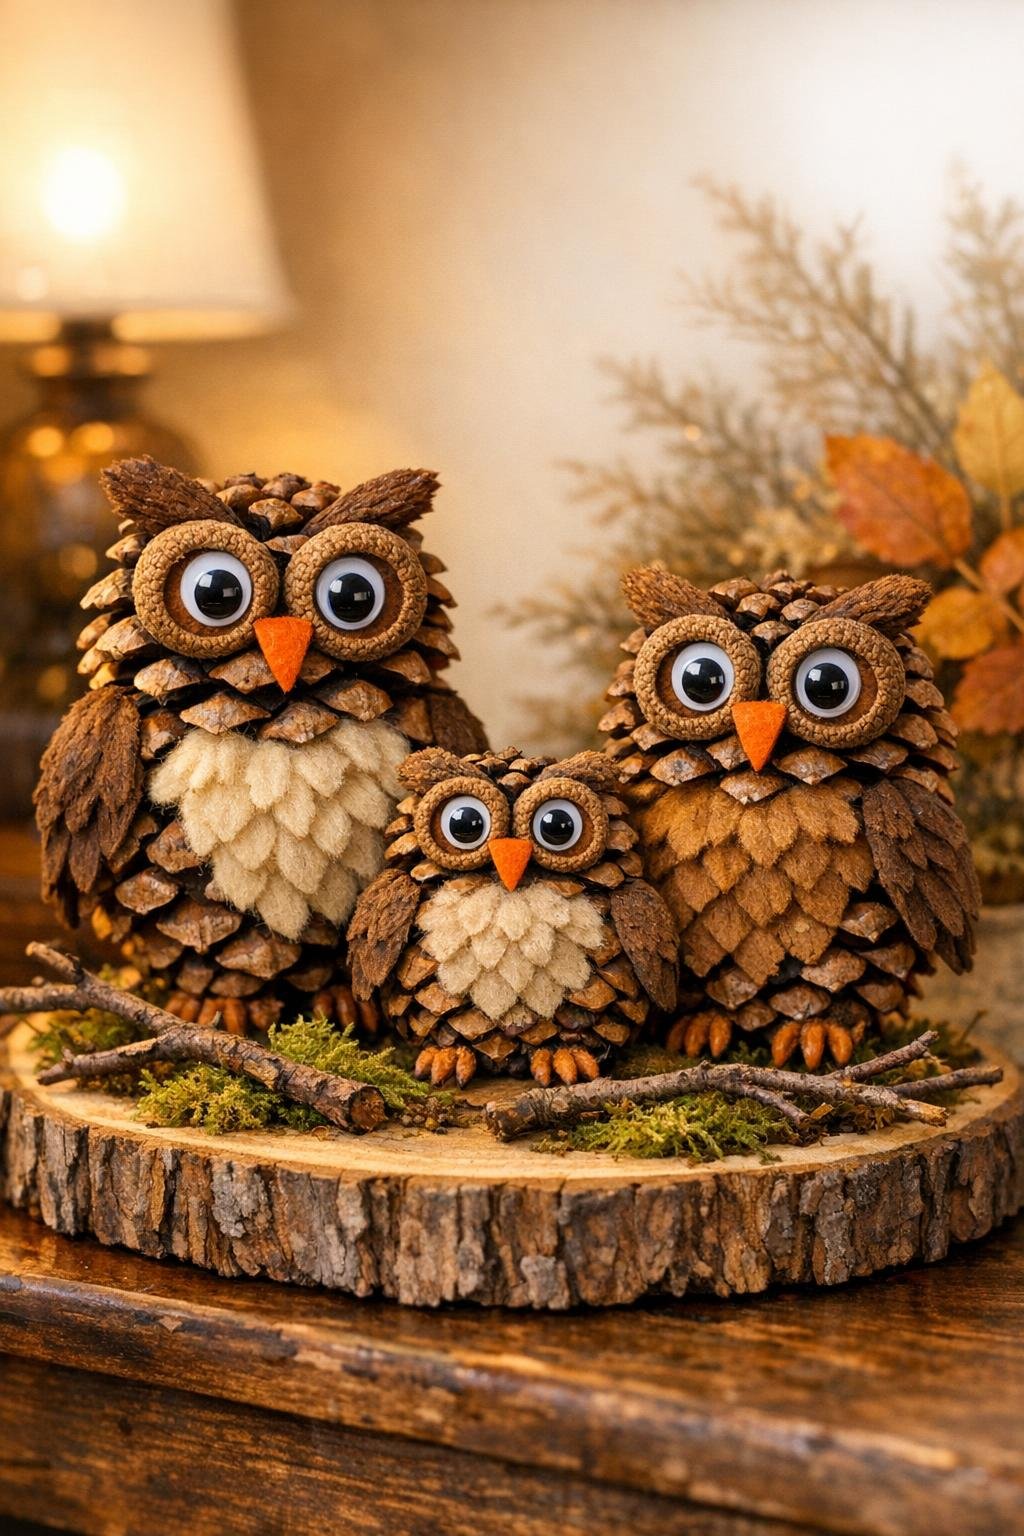
10. Arrange the owl family on a bark slab or wood round with the tallest owl in back and the smallest owls near the front. Glue them down if you want a permanent display, then tuck in a little moss and a few twigs around their feet to make the scene look finished and cozy.
Variations & Tips
For younger kids: Pre-cut the felt pieces and let kids help place the acorn caps, eyes, and beaks. I like to handle the hot glue myself and then let little hands do the fun decorating.
Natural look: Skip the googly eyes and glue in small black beads or tiny circles of dark felt inside the acorn caps for a softer woodland style.
For picky crafters: If someone in your family likes things more simple or less “cute,” make just the acorn-cap eyes and beak and leave off the chest feathers. The owls still read clearly, but the look is a little more rustic.
Best pinecones: Wide, open pinecones are easiest because the scales give you natural pockets for wings and make the owls look fluffier. If your pinecones are tightly closed, let them sit somewhere warm and dry for a day or two.
Display idea: These are especially pretty grouped in odd numbers on a mantel, tucked into a fall centerpiece, or set on a shelf beside a small candle and a mini pumpkin. Making several at once always gives the project that magical, abundant look.
Secure finish: If the owls will be handled a lot, add an extra dot of glue behind each wing and chest piece. I’ve found that a little reinforcement goes a long way, especially if they’ll be packed away with holiday decorations.