
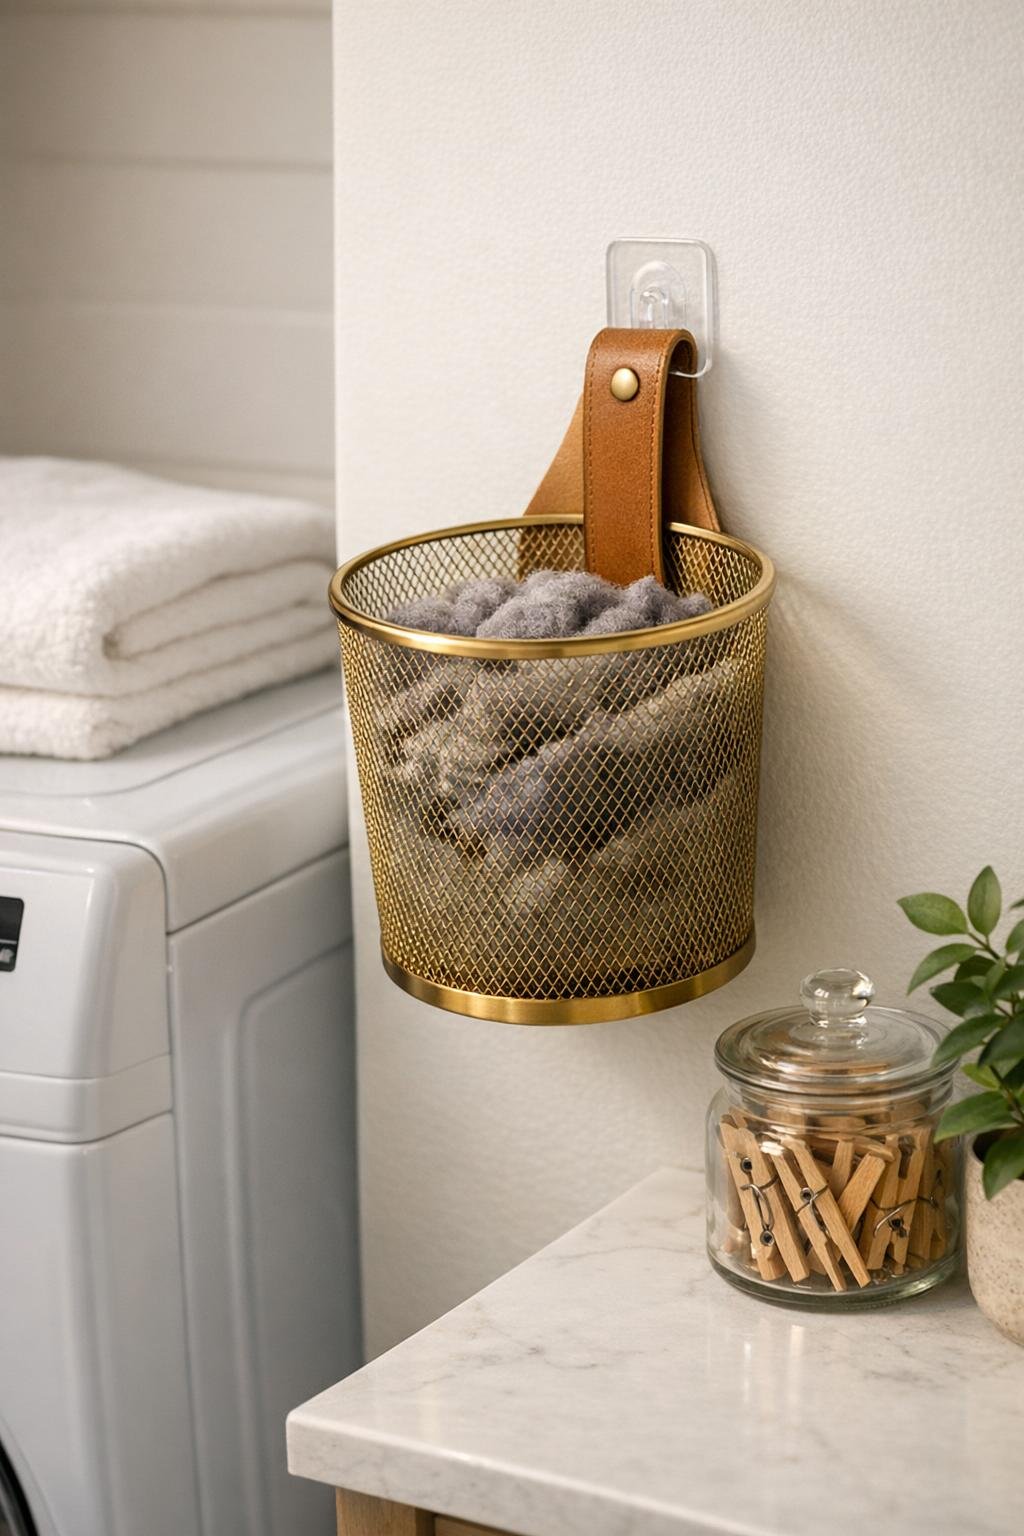
If you do laundry regularly, you know how quickly lint piles up on top of the dryer, in pockets, or balanced awkwardly on the edge of the trash can while you mean to throw it away later. This little wall-mounted lint bin solves that in the simplest possible way: a small brass mesh wastebasket gets hung right where you need it, using a leather belt loop for a warm, finished look that feels much nicer than a plastic workaround.
I love projects like this because they land squarely in that sweet spot between practical and good-looking. It takes very little time, uses easy-to-find materials, and gives the laundry room one of those thoughtful touches that makes everyday chores run more smoothly. If you want a renter-friendly option, a quick organization upgrade, or just a reason to finally stop leaving lint on the dryer lid, this is a terrific afternoon fix.
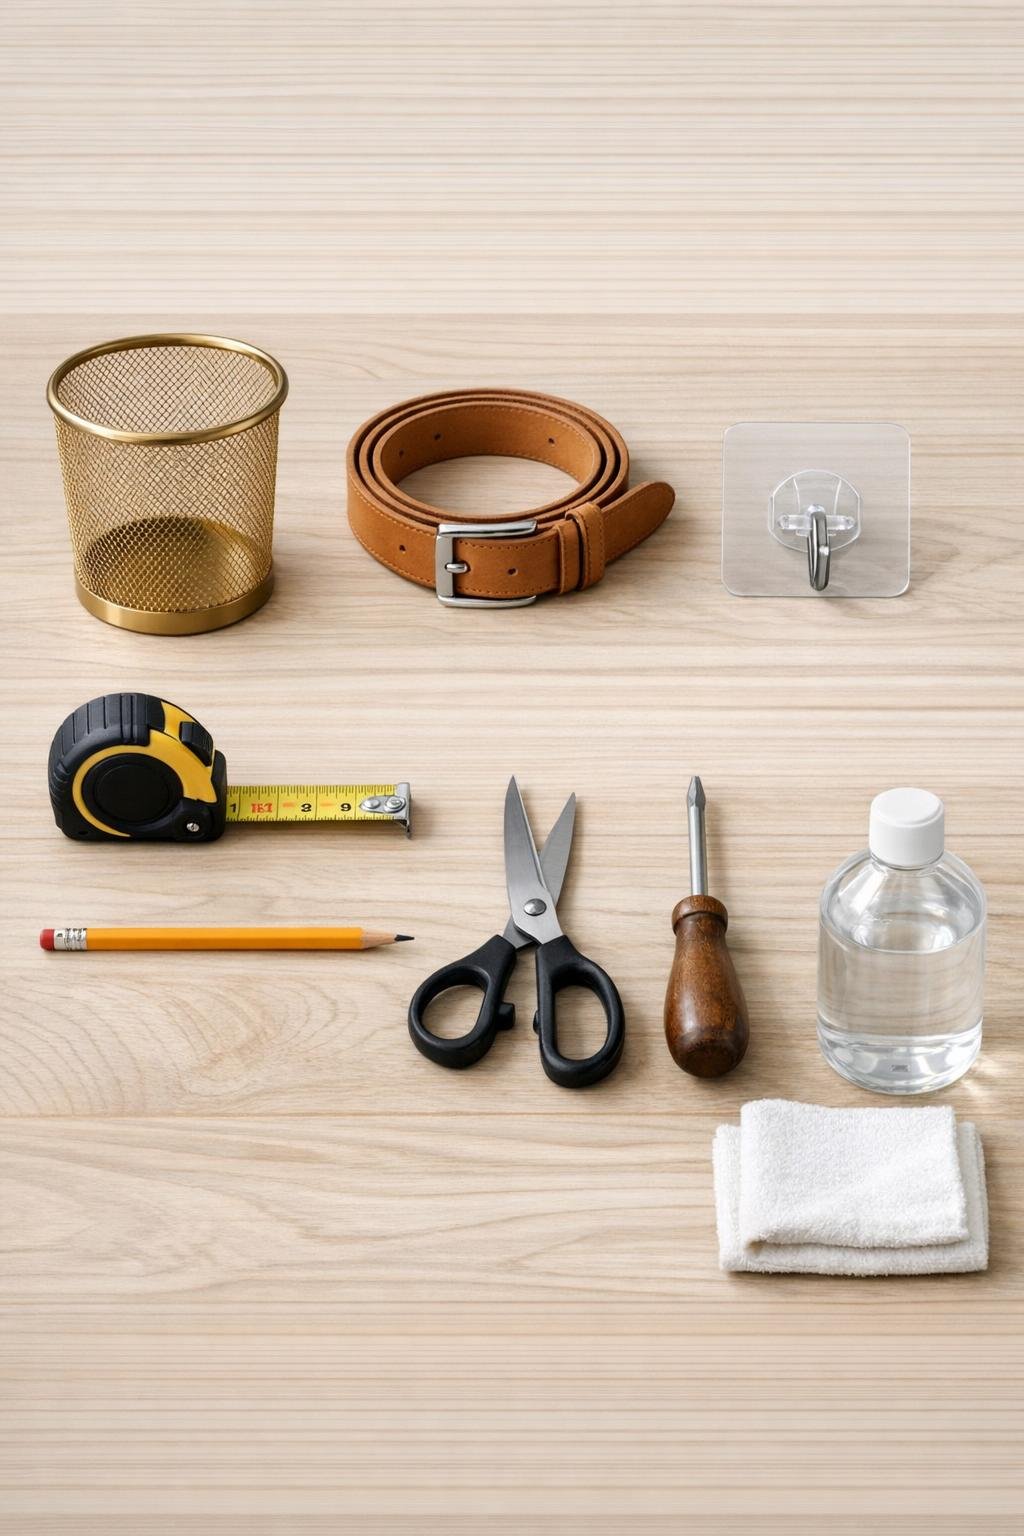
Materials
1 small brass mesh wastebasket, 9 to 11 inches tall and about 8 to 9 inches wide at the top
Instructions
1. Choose the spot for your lint bin on the wall beside or just above the dryer, keeping it easy to reach but clear of the dryer door and controls.
2. Hold the brass mesh wastebasket in place and decide how high you want it to hang; I like the rim to sit roughly 6 to 8 inches above the top of the dryer so lint drops in easily.
3. Clean the wall area thoroughly with rubbing alcohol and a cloth, then let it dry completely so the adhesive hook bonds well.
4. Remove the belt buckle if needed, then cut a 10 to 12 inch section from the tan leather belt; this gives you enough length to wrap around the basket and still create a hanging loop.
5. Wrap the leather strip around the upper third of the wastebasket and test the fit; overlap the ends by about 1 1/2 to 2 inches so the basket feels snug but not crushed.
6. Mark the overlap point with a pencil, then punch one or two holes through the leather so you can fasten the strip using the belt’s existing holes and prong, or by threading the tail firmly through itself if the belt design allows.
7. Before fully fastening it, pull up a centered section of the leather at the back to form a 2 to 3 inch hanging loop above the rim; this is what will rest on the wall hook.
8. Tighten and secure the leather around the basket, checking that the loop stays centered and that the wastebasket hangs level when lifted by the loop.
9. Apply the adhesive wall hook according to the package directions, placing it at the height you measured earlier and pressing firmly for the full recommended time.
10. Let the hook cure as directed, then hang the leather loop over the hook and adjust the basket so the open top faces slightly upward for easy lint tossing.
11. Test the bin with a few handfuls of dryer lint to make sure the hook holds securely and the basket doesn’t tip forward too much.
12. Trim any excess leather for a cleaner finish if needed, and tuck the cut end neatly so the project looks polished and intentional rather than improvised.
Variations & Tips
Renter-friendly version: Stick with the adhesive hook and avoid screws entirely if you want something removable. Just be sure the wall is clean and smooth before mounting.
Stronger hold: If your basket is a little larger or your laundry room gets humid, use an adhesive hook with a higher weight rating than you think you need. I always prefer a little insurance on utility projects.
Cleaner leather finish: If the cut end of the belt looks rough, round the corners slightly with scissors for a more finished shape. That one tiny detail makes it look surprisingly custom.
Basket size tip: A small mesh wastebasket works best because the holes keep it visually light and the shape naturally catches loose lint. Anything much deeper can start to feel bulky on the wall.
Placement advice: Mount the bin on the side where you usually stand to clean the lint trap. Good kitchen workflow matters to me when I cook, and honestly, laundry setup is no different.
Easy cleaning: If dust builds up on the brass mesh, wipe it with a dry microfiber cloth or use a vacuum brush attachment. The open mesh can collect fine fuzz over time.
Optional upgrade: Add a second adhesive hook just below the first as a stabilizer point if your basket swings. You can lightly rest the lower back edge against it without changing the simple look.