
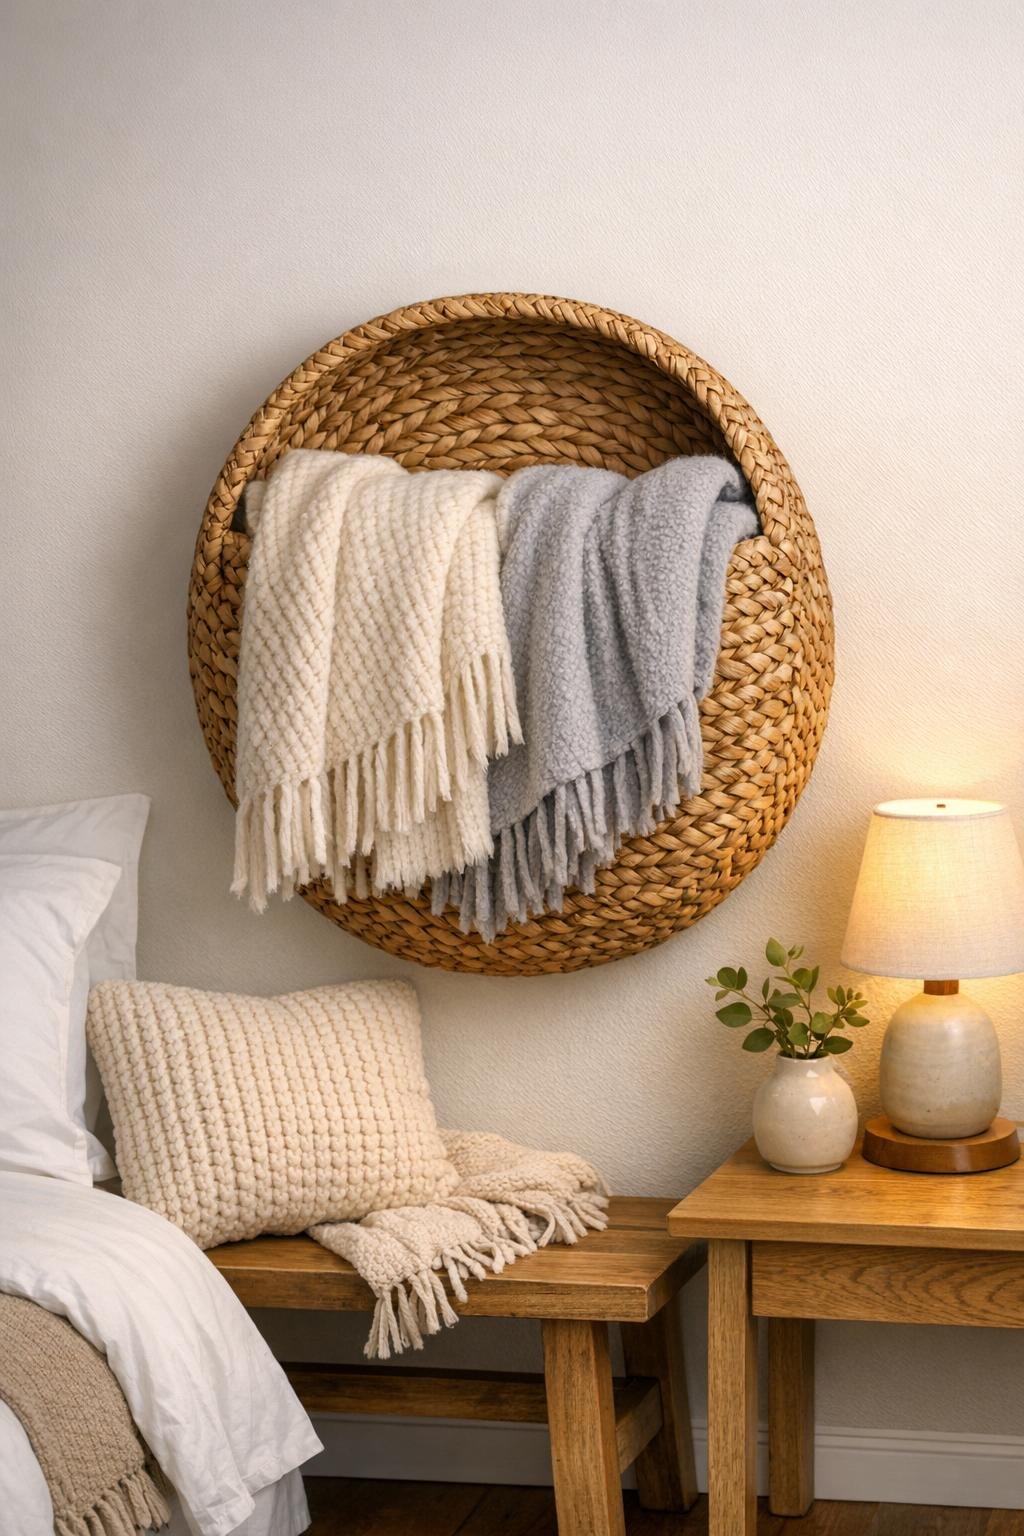
This bedroom blanket holder is one of those little projects that looks surprisingly custom once it’s up on the wall. I’m taking a round woven seagrass basket, securing it with heavy duty adhesive strips, and turning it into a soft, pretty spot to tuck throw blankets so they stay easy to grab instead of sliding off a chair or piling up at the foot of the bed.
I especially love this project for busy homes because it’s fast, renter-friendly, and doesn’t call for power tools or wall anchors. If you like a cozy bedroom that still feels tidy, this is an easy afternoon fix that makes the whole room look more finished.
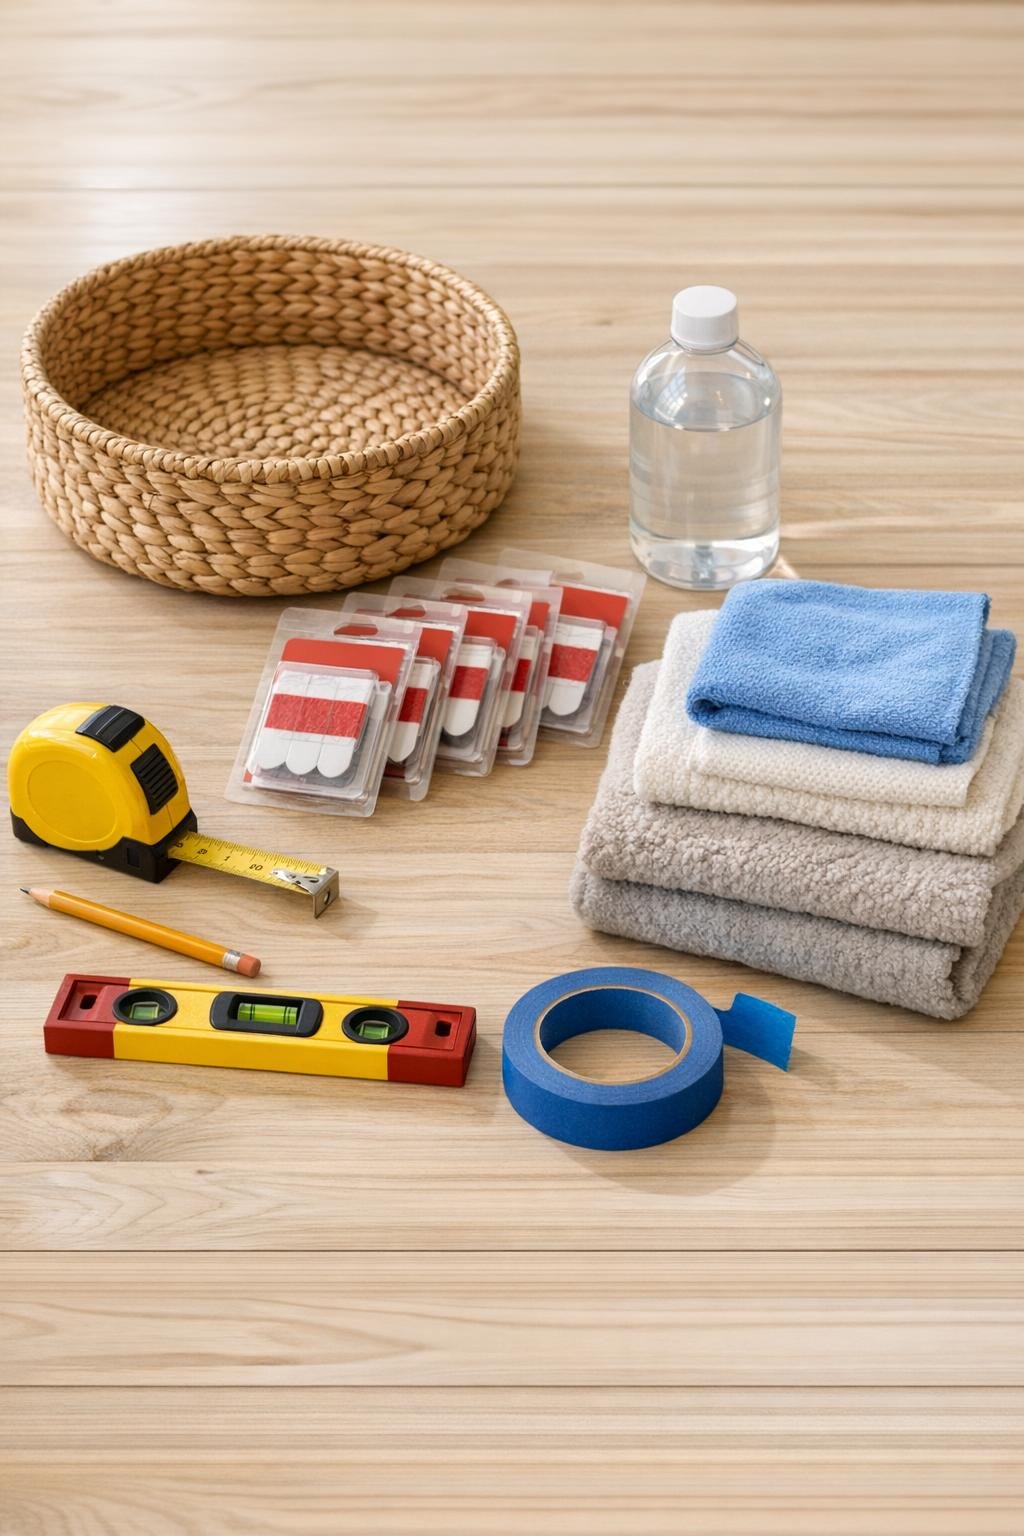
Materials
Instructions
1. Choose a sturdy round woven basket with a flat enough back area to sit against the wall and a wide open top edge that will let blankets drape in easily. A basket around 16 to 18 inches wide holds a generous amount without looking skimpy above a bed bench or beside a dresser.
2. Decide where the basket will hang, then hold it against the wall to test the height before committing. I like placing the top edge about 40 to 48 inches from the floor so the blankets are easy to grab and the basket feels anchored to the furniture around it.
3. Mark the basket’s placement lightly with pencil and use the level to keep it straight. Add short pieces of painter’s tape along the outline so you can line it back up quickly once the strips are attached.
4. Clean the wall inside the marked area with rubbing alcohol and a microfiber cloth, then clean the back contact points of the basket the same way. Let both surfaces dry fully so the adhesive can grip well.
5. Cut away any loose seagrass ends on the back of the basket so the adhesive strips can sit on the flattest, firmest spots. If the basket has a slightly raised center, focus the strips around the outer back ring where it naturally touches the wall.
6. Press the adhesive strips together in pairs, then attach 10 to 12 pairs across the back of the basket, spacing them evenly around the outer edge and adding a few through the middle support area. Use enough strips to spread the load, since blankets are soft but bulky.
7. Remove the strip liners, line the basket up with your tape guides, and press it firmly onto the wall for at least 30 seconds. Work your hands around the full basket rim and center contact points so every strip bonds well.
8. Follow the adhesive strip directions for setting time before loading the basket; if the brand allows, give it at least 1 hour, and longer is even better. This is the part I never rush, because a patient cure makes the whole project more dependable.
9. Fold each throw blanket lengthwise into thirds, then roll or drape it loosely so it fills the basket without tugging forward too hard. Start with one blanket tucked deep in the back, then add the second in front for a full, cozy look.
10. Adjust the folds until the blankets puff out evenly and the basket still reads as a round woven wall piece instead of looking overstuffed. Step back and fluff the edges a bit so it feels intentional, polished, and cozy.
Variations & Tips
For renters: Use removable heavy duty picture hanging strips and keep the blanket load light to moderate. I’d stick to one plush blanket and one lighter throw if you want the safest renter-friendly version.
For larger beds: Hang two matching baskets side by side and fill each one with a different blanket. It gives that balanced, decorated look that makes a bedroom feel thoughtfully put together.
For picky style preferences: If your family all likes different textures, mix one knit throw with one fleece or quilted blanket. That way the holder looks layered and pretty, but everyone still has a favorite option to grab.
Basket choice: A round basket with tight weaving works best because it keeps its shape and gives the adhesive more stable contact points. Avoid floppy market baskets with soft sides for this project.
Wall safety: Adhesive strips perform best on smooth, clean painted walls. Skip heavily textured walls, damp areas, or surfaces with peeling paint, because even the strongest strips need a good base.
Finishing touch: If you want it to look even more styled, tuck in a small lumbar pillow cover or a folded quilt edge behind the blankets for extra fullness. I use this trick when I want a guest room to feel especially welcoming without adding clutter.