
Old ceiling fan blades have such a nice long curve to them that I hate seeing them tossed out, and this project turns that shape into something genuinely useful and pretty. I use three blades to build a harvest-style trough centerpiece that looks right at home on a dining table, buffet, or kitchen island, and once everything is sanded and painted, it has that cozy handmade charm I always love bringing into my home.
This is a great project for anyone who wants a bigger-impact upcycle without getting into complicated woodworking. If you can sand, glue, and drill a few simple holes, you can make this. I especially love it for seasonal decorating because you can fill the finished trough with pumpkins in fall, evergreen clippings in winter, or a row of little potted herbs in spring.
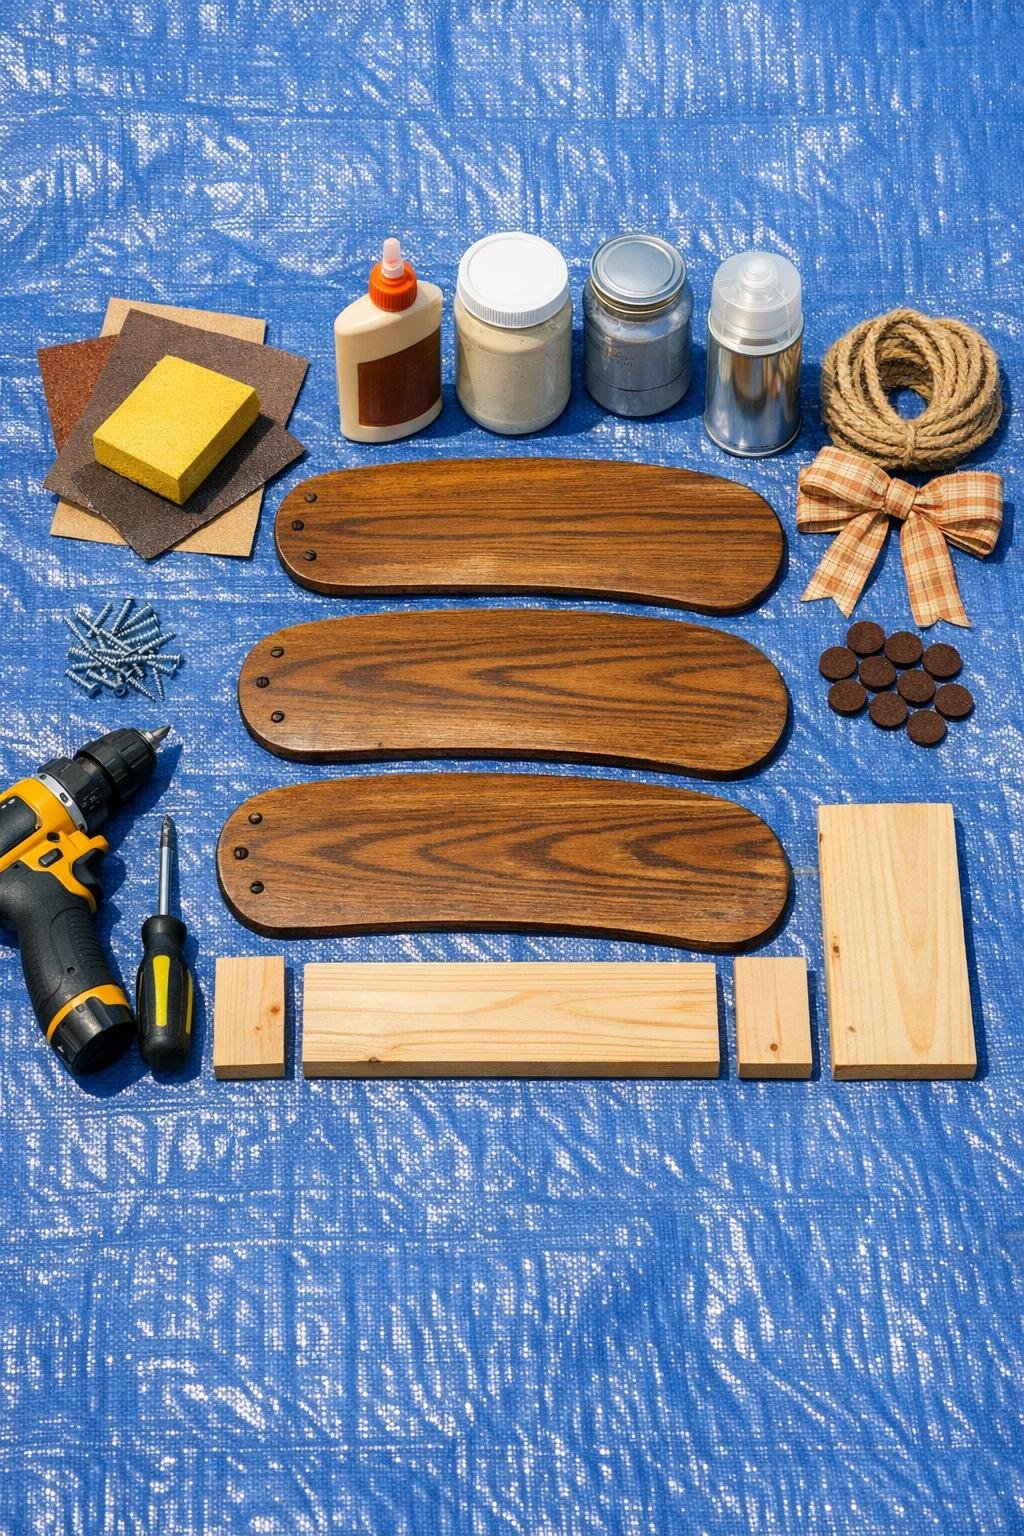
Materials
3 wooden ceiling fan blades, 20 to 22 inches long, matching size
Instructions
1. Clean the fan blades well and remove any old brackets, screws, or hardware so you are working with just the wood blades.
2. Sand each blade thoroughly with 80-grit to remove the old finish, then smooth with 120-grit and finish with 220-grit until the surface feels clean and even.
3. Fill any old mounting holes or chips with wood filler, let it dry, and sand those spots smooth so the blades look polished instead of patched together.
4. Cut the 1 x 4 board into two end pieces 4 inches long and one center base support 6 inches long, then lightly sand all cut edges.
5. Lay two blades on their long edges facing inward to form the sides of the trough, with the wide rounded ends matching and the curves cupping upward.
6. Place the third blade flat underneath as the bottom support, centered lengthwise, and test the shape until the trough looks even and sits nicely without wobbling.
7. Glue and screw one 4-inch end piece between the side blades at one end, keeping the curved blades snug against it, then repeat on the other end.
8. Attach the 6-inch base support across the underside at the center using wood glue and the 1 1/4-inch screws to lock the trough together and keep it sturdy.
9. Check for rough edges, wipe away dust, and prime if needed so the paint goes on evenly and the old fan finish does not show through.
10. Paint the entire trough, inside and out, using two thin coats, letting the first coat dry fully before adding the second.
11. Brush on a clear topcoat for a durable finish, especially if you plan to fill it with pumpkins, pinecones, or little plant pots throughout the year.
12. Wrap jute rope around each end block for a softer farmhouse look, tie it off neatly, and add a ribbon bow to one side if you want an extra finished touch.
13. Add felt pads to the underside so the centerpiece will not scratch your table and will slide easily into place.
14. Style the trough generously with seasonal filler, keeping the arrangement full and layered so the long curved shape really stands out as the star of the table.
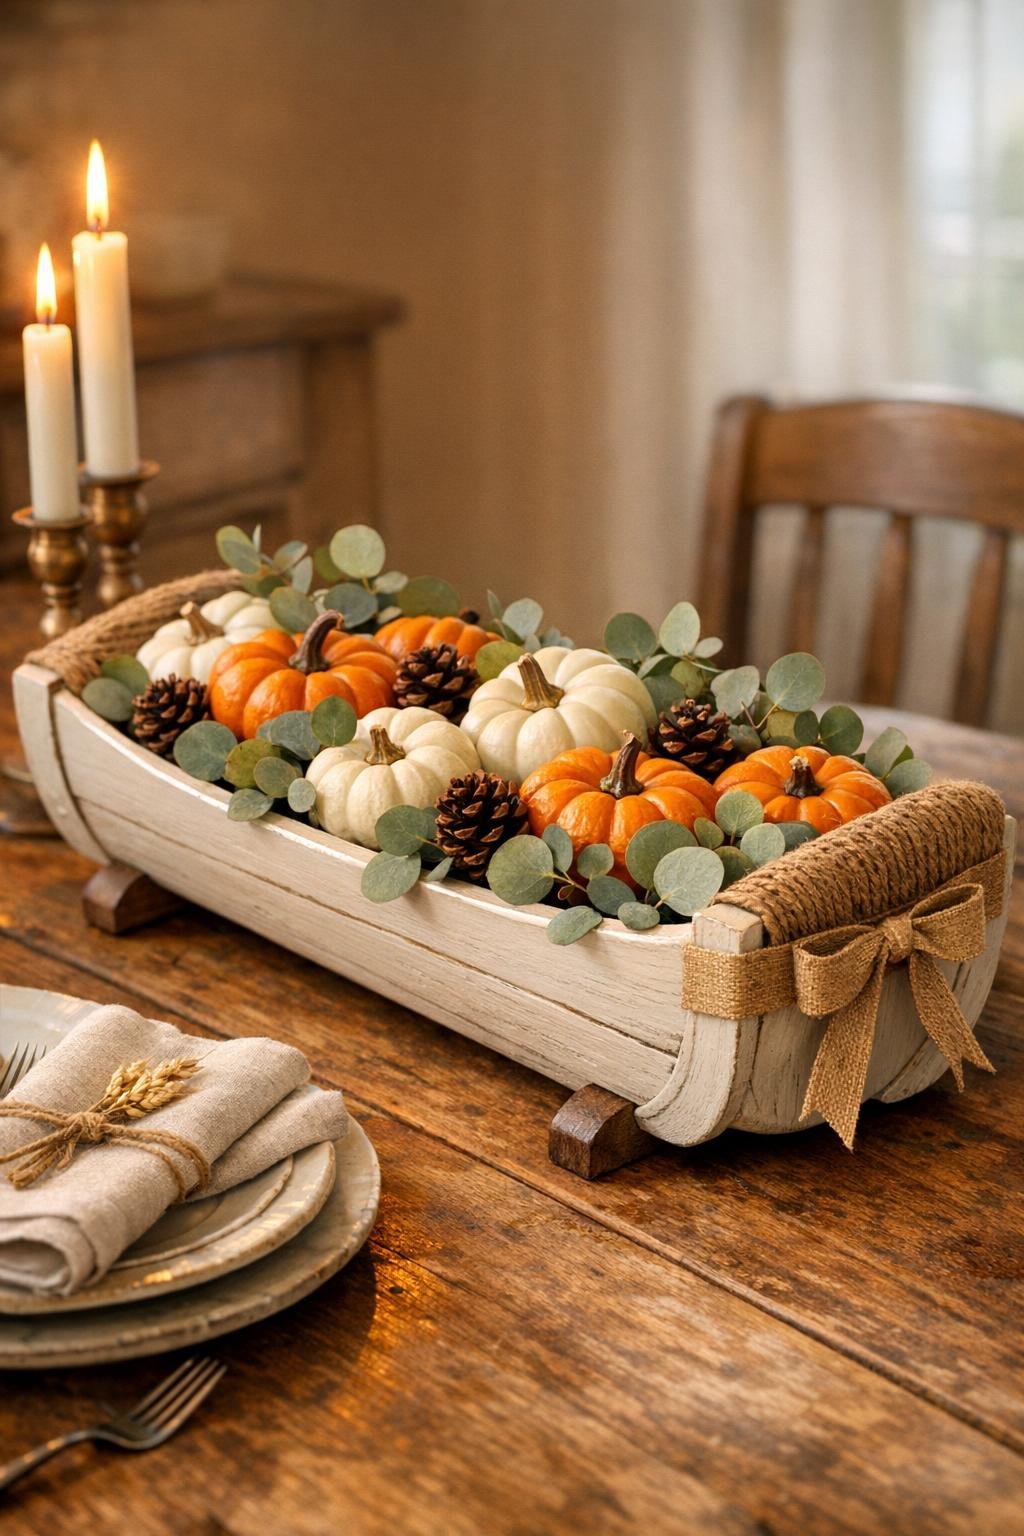
Variations & Tips
For a natural wood look: If the sanded blades have pretty grain, skip the paint and use a medium wood stain plus clear topcoat instead. It gives the centerpiece a warmer, more rustic finish.
For picky seasonal decorators: I like keeping the base neutral and changing only the filler, because it makes one project work all year. Try apples and wheat stems for fall, evergreen sprigs and battery candles for winter, or faux lemons and herbs for summer.
If your blades do not match: Use the two closest blades for the sides and the odd one as the bottom support. Once painted, small differences disappear beautifully.
For extra strength: If you plan to use real potted plants inside, line the trough with a cut piece of thin plastic tray or a narrow planter insert so moisture stays off the wood.
Best paint finish: Satin or matte looks the most high-end on a piece like this. Gloss can make old fan blades look too obviously repurposed unless that is the style you want.
Table-friendly tip: Before filling the trough, set it in place and make sure the felt pads are level. A handmade piece always looks more polished when it sits flat and steady.