
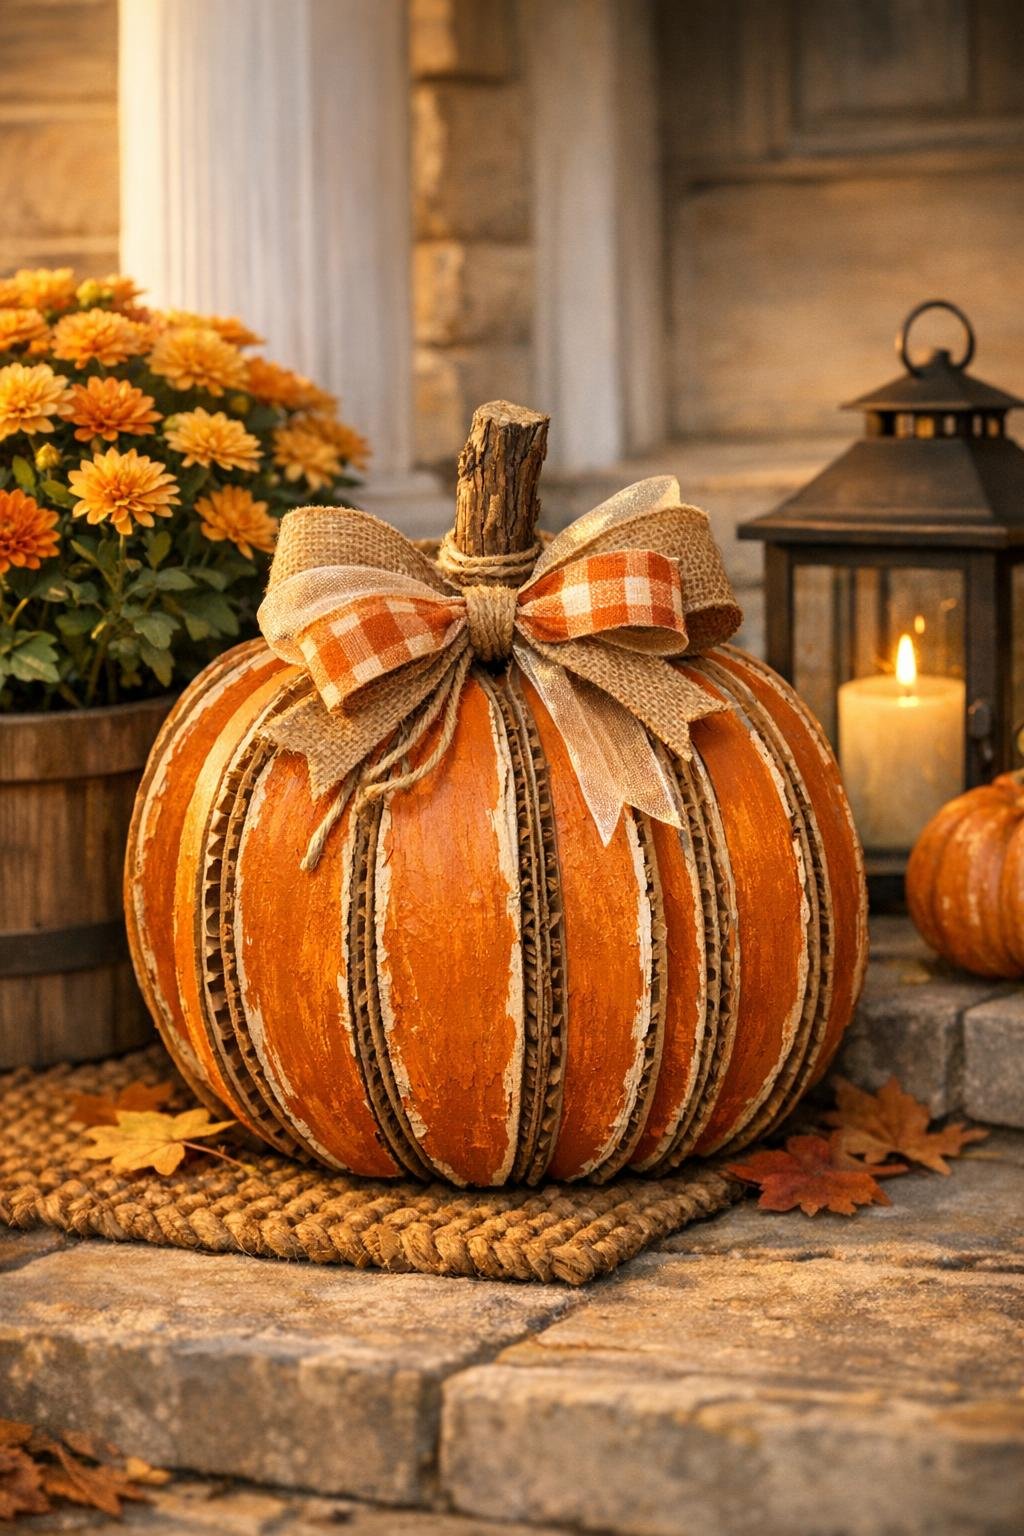
I’ve always had a soft spot for decorations that look charming and plentiful without costing a thing, and this stacked cardboard pumpkin is exactly that kind of project. You start with plain brown cardboard scraps from the recycling bin, trace a stack of circles, and before long you’ve got a full, dimensional pumpkin that looks right at home on a porch, mantel, or kitchen table all through fall.
What I like most is that this is the sort of craft anyone can manage with basic supplies and a little patience. The shape stays true to those traced cardboard rounds from the hero scene, but with a few easy finishing touches—paint, a sturdy stem, and a bow—it turns into something polished enough that folks will swear it came from a little country shop.
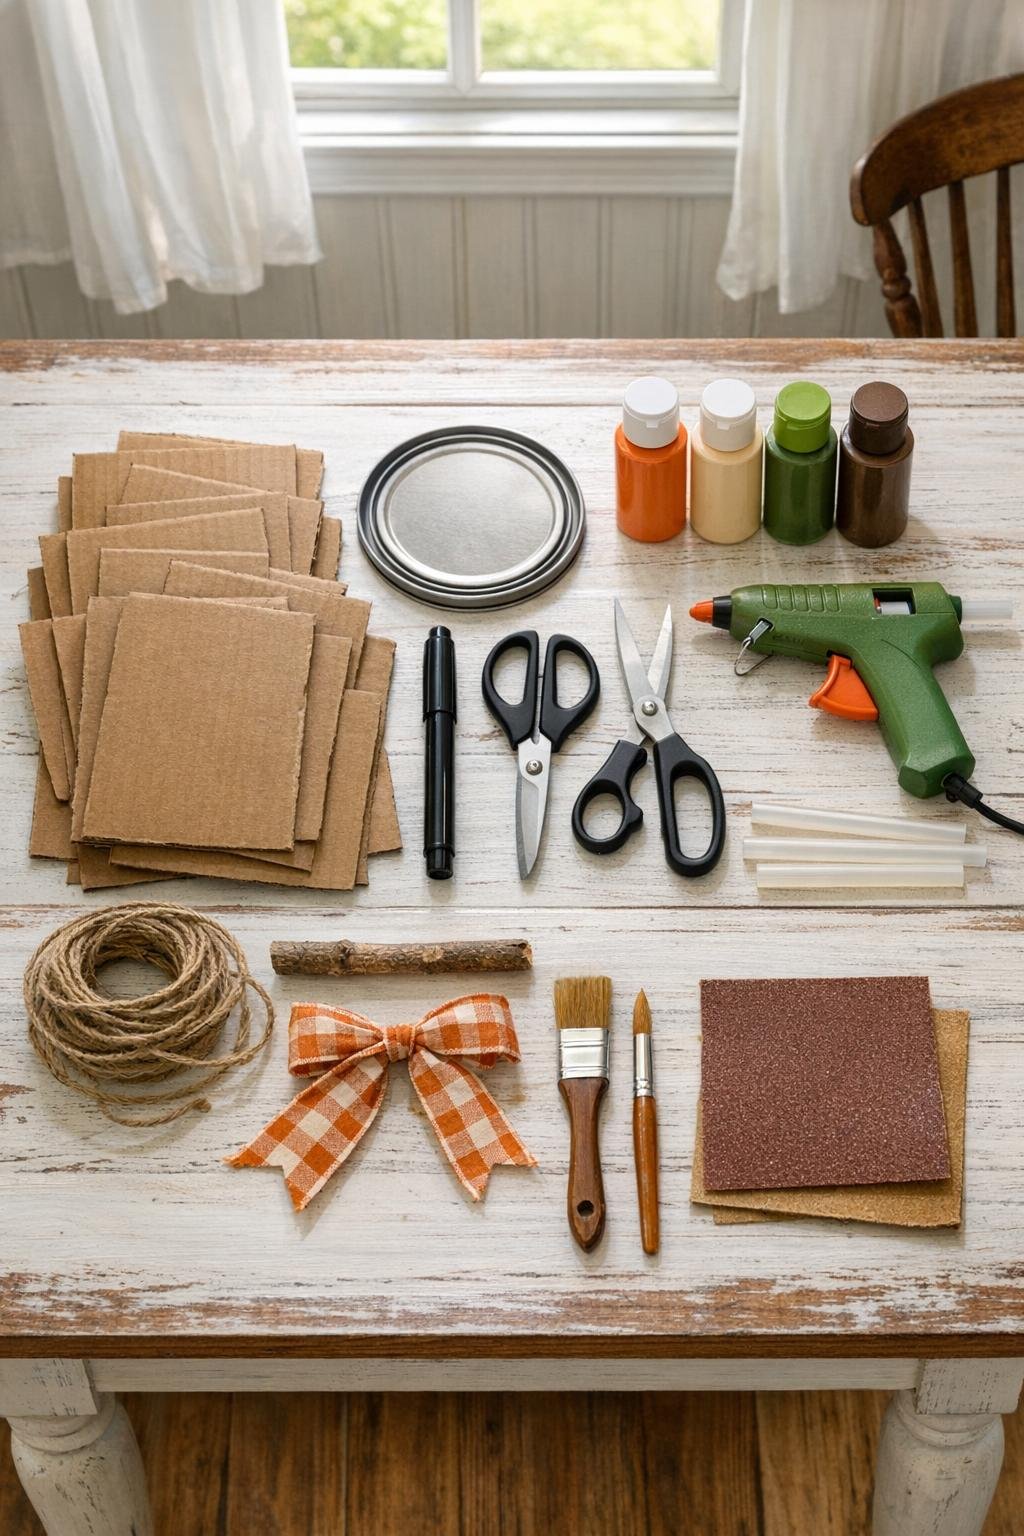
Materials
12 cardboard scraps, each at least 9 x 9 inches, flattened and clean
Instructions
1. Flatten your 12 cardboard scraps and choose the smoothest sides for the front of the pumpkin. Trace the same 7- to 8-inch circle onto each piece so your stack stays even and full.
2. Cut out all 12 circles as neatly as you can, trimming away any ragged edges. If needed, stack a few at a time and shave the edges lightly so the circles match closely.
3. Fold each circle gently in half just enough to find the center line, then reopen it. This little crease gives you a guide for gluing and helps keep the pumpkin nicely balanced.
4. Hot-glue the back of one half-circle to the back of another, matching the center creases and outside edges. Keep adding the circles one by one until all 12 are attached in a thick fan-like stack, leaving the final seam open for now.
5. Paint both sides of the stacked circles with orange paint, working the brush into the corrugated edges so the whole pumpkin looks finished. Let the first coat dry, then dry-brush a little cream or white over the ridges for a softer, heirloom-style highlight.
6. Paint the twig brown if you want a richer stem color, and paint a loose leaf shape on one top section in green. A tiny bit of cream brushed over the stem once dry gives it that old weathered look I’m fond of on porch pieces.
7. Once the paint is dry, open the stack into a full round pumpkin and glue the last two open sides together. Hold it in shape for a few seconds so the pumpkin stands rounded and full instead of collapsing.
8. Cut a small slit in the top center with the craft knife, add hot glue, and press in the twig stem. Wrap the jute twine once or twice around the stem base and knot it for a tidy finished transition.
9. Tie a full ribbon bow and glue it beside the stem, then fluff the loops so it doesn’t look skimpy. If you like, brush on a light coat of matte sealer to protect the paint and let the whole piece dry completely.
Variations & Tips
Make it taller: Use 8-inch circles for the bottom half of the stack and 7-inch circles for the top half before gluing, and the pumpkin will have a slightly more natural, squat shape with plenty of fullness.
Try a farmhouse finish: Swap bright orange for muted terracotta, sage, or soft cream, then sand the edges lightly after painting. That worn finish reminds me of old painted pieces you’d find on a back-road market table.
Add extra fall texture: Tuck in a few faux leaves, a cinnamon stick, or a curled paper vine near the stem. Just keep the accents clustered at the top so the lovely round cardboard shape still does the talking.
Use what you have: If your cardboard scraps are smaller, trace a 6-inch lid instead and make a pair of pumpkins rather than one large one. Grouped together, they still make a generous display.
Help it stand nicely: If the pumpkin wobbles, flatten the very bottom curve just a touch with your hand before the glue fully sets. That tiny adjustment makes it sit far more securely on a mantel or tabletop.
Best display idea: I like to set one of these near a crock of wooden spoons in the kitchen or beside a lantern on the porch. It has that thrifty, homespun charm that fits right in once the weather starts turning cool.