
When I’m deep into fall bulb planting, I always seem to end up with a pile of loose tulip, daffodil, and hyacinth bulbs rolling around the shed right when I need things tidy most. This little storage crate solves that problem with three humble items, and it does it in a way that’s surprisingly sturdy, roomy, and easy to grab when planting day comes. Since the nursery pots stay visible and do the real organizing work, the finished piece still looks like a clever garden hack instead of something fussy or overbuilt.
I love projects like this because they use what many of us already have on hand, and they make garden chores feel calmer. If you’re a bulb collector, a weekend gardener, or just someone who likes putting the shed back in order before winter, this is a simple afternoon project with a big payoff.
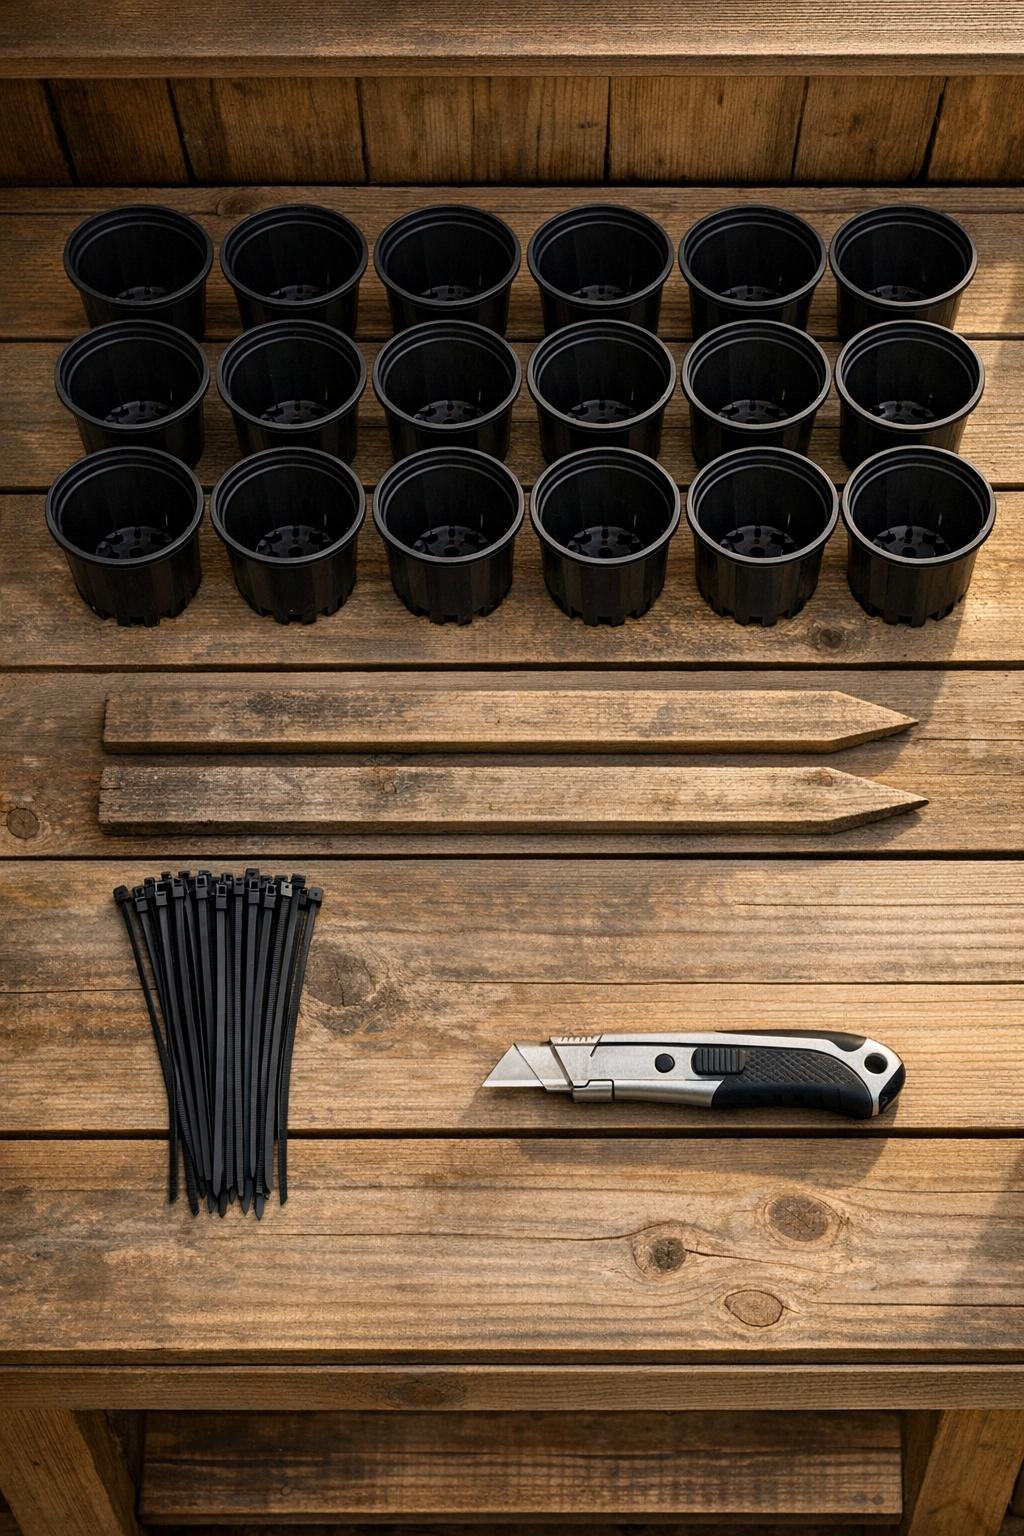
Materials
18 black plastic nursery pots, 1-gallon size, clean and dry
Instructions
1. Wash and dry all 18 nursery pots, then sort out any cracked ones so your crate stays sturdy and easy to carry.
2. Lay 6 pots on their sides in a straight row with the open ends alternating left and right, then make two more matching rows so you have a 3-by-6 block.
3. Slide the rows snugly together so each pot nestles against the next one and the overall shape looks like a compact crate.
4. Position one wooden garden stake along each long side of the pot block, centered from end to end, so the stakes act like rails holding the rows together.
5. At the top, middle, and bottom of each row, wrap zip ties around the outer stake and through the drainage holes or rim gaps of the end pots, tightening just enough to hold everything in place.
6. Add more zip ties between neighboring pots across the top and center of the crate, linking the rims or drainage holes so the rows cannot shift apart.
7. If any pot doesn’t have a good opening for a tie, use an awl or sharp nail to make a small hole near the rim, then thread the tie through and tighten it firmly.
8. Stand the crate up and check for wobble, then tighten every tie a little more until the whole piece feels solid and holds its rectangular shape.
9. Trim all the zip tie tails flush with a utility knife so there are no sharp ends catching sleeves, gloves, or bulb bags.
10. Fill the pot openings with sorted fall bulbs, keeping one variety per pot pocket if you like, and set the crate in a cool, dry shed spot with the open sides easy to reach.
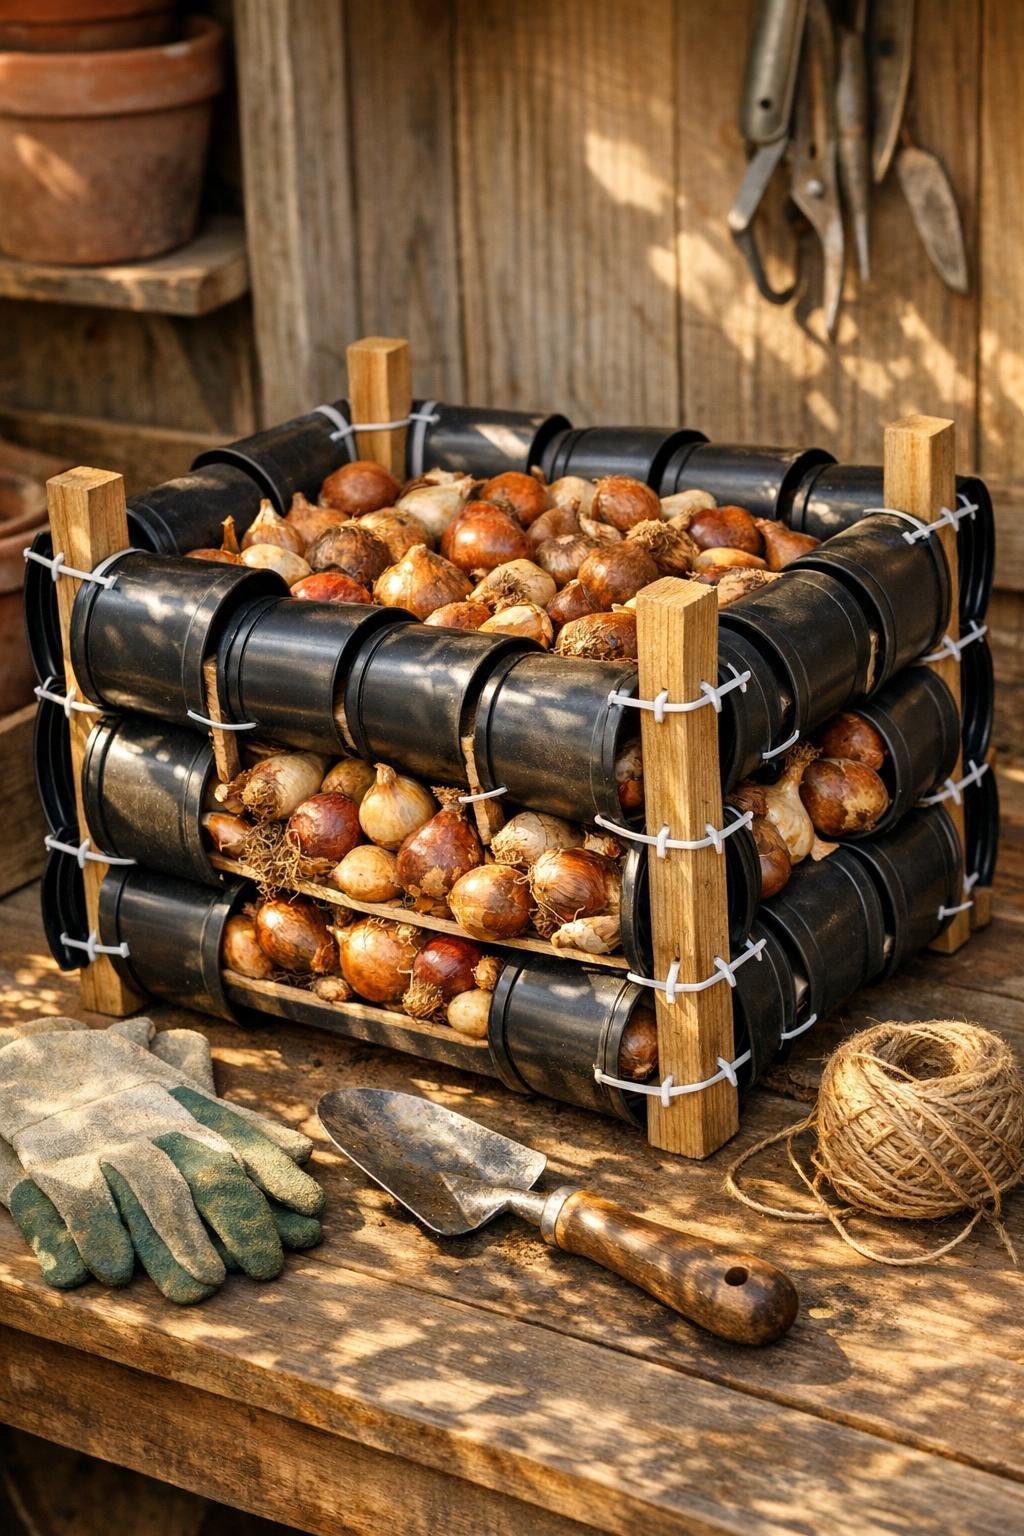
Variations & Tips
For bigger bulb collections: Use 24 pots instead of 18 and make a 4-by-6 crate if you store lots of tulips or daffodils every year. Just increase to 32 zip ties so the larger block stays tight.
For picky organizers: I like to dedicate sections by bloom time or color family, because it makes planting beds much easier later. Early spring bulbs on one side and late spring bulbs on the other saves me a lot of back-and-forth.
For damp sheds: Keep the crate raised on a scrap board or shelf so air can move underneath. That little bit of lift helps bulbs stay dry and happy.
If your pots are mixed sizes: Group matching sizes in the same row instead of mixing them randomly. The crate will stack more evenly and feel much more secure.
For easier carrying: Leave a hand-width gap near the center of each long side when placing ties, so your fingers can tuck under the stake like a handle.
To make it look neater: Use all-black zip ties and trim them close for a cleaner finish. It’s a tiny detail, but it makes the whole project look intentional instead of temporary.
Best use: This works especially well for storing clean, dry bulbs before planting or for holding labeled varieties during bed planning. I would not use it for long-term wet storage, because bulbs always do best with good airflow and dry conditions.