
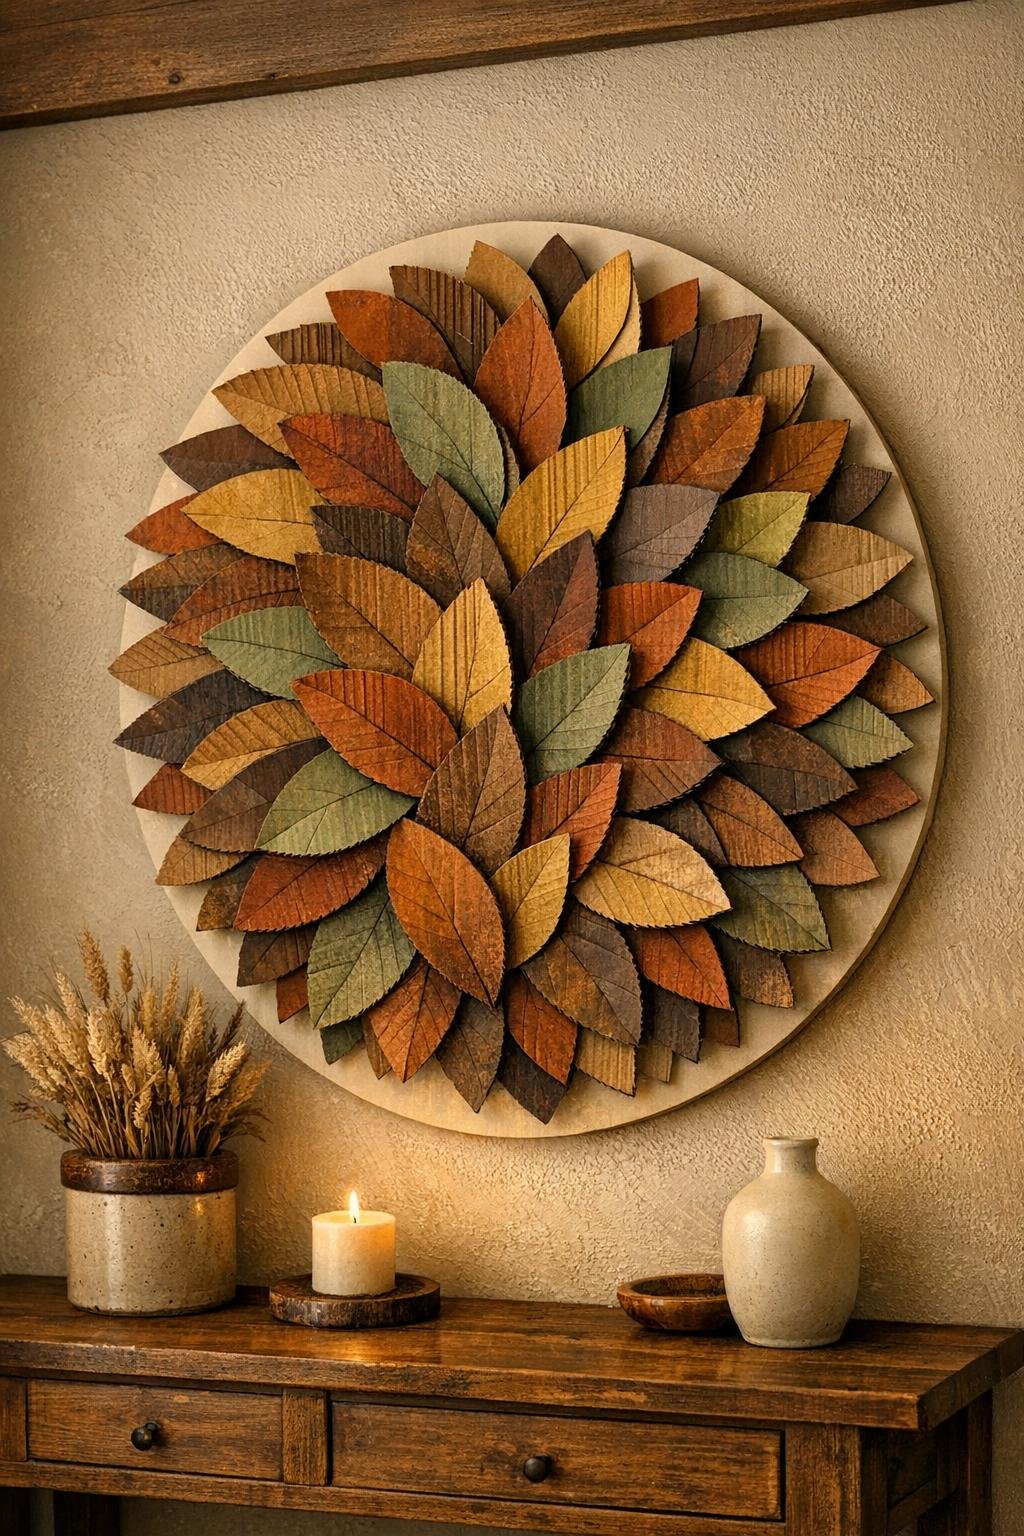
There’s something mighty satisfying about turning plain old cereal boxes into a piece of wall art that looks layered, thoughtful, and far more expensive than it has any right to be. This stacked cardboard leaf wall art is one of those projects I love because it uses humble materials, asks for very little fuss, and still gives you a finished piece with real presence on the wall.
What makes this one special is the easy trick for getting all those leaf shapes to match: a simple kitchen tool used as a tracing template so you can make a whole pile of identical leaves without measuring each one by hand. If you enjoy budget-friendly crafts, fall decorating, nature-inspired décor, or just making something beautiful out of what would usually head to the recycling bin, this is a lovely afternoon project.
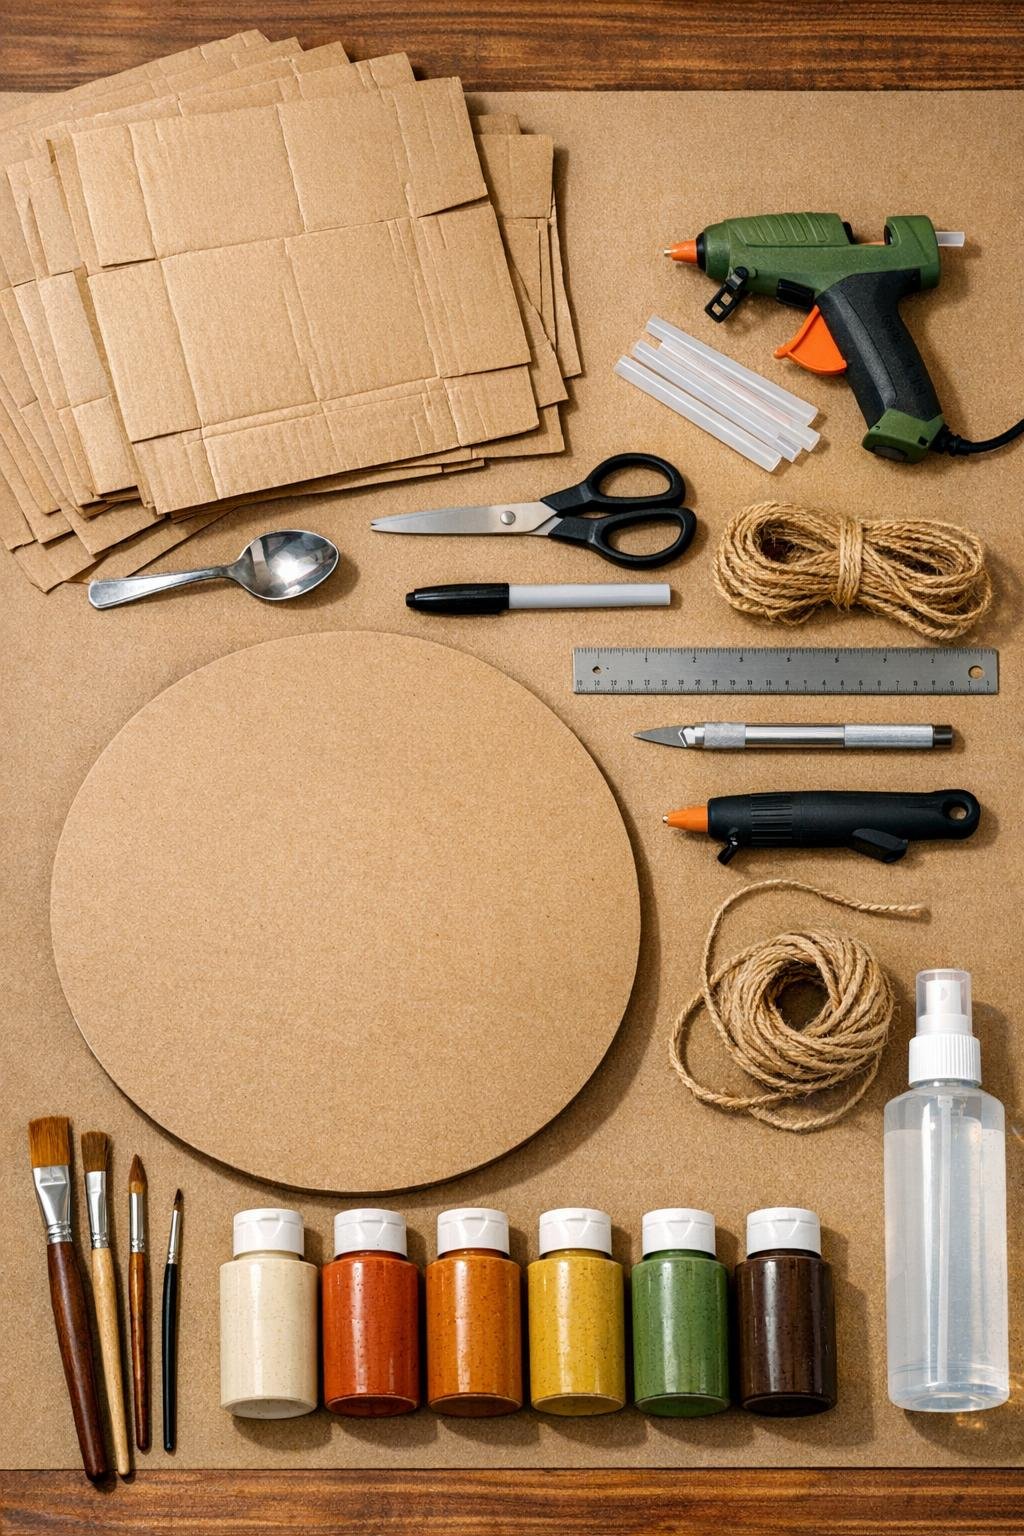
Materials
Instructions
1. Flatten the cereal boxes and cut away any glued side seams and top flaps so you’re working with smooth, open panels of cardboard.
2. Set the tablespoon on the brown cardboard and trace around the bowl of the spoon 40 times, then add a short pointed tip at one end and a gentle stem end at the other so each shape reads like a simple leaf.
3. Cut out all 40 leaves with scissors, keeping the edges as even as you can; trim any rough spots and lightly sand fuzzed edges if needed.
4. Score a light line down the center of each leaf with the back of the craft knife or closed scissors, then pinch gently along that line to give every leaf a slight bend and a more natural lifted shape.
5. Paint the front of the backing board cream or soft beige and let it dry fully; this light base helps the layered leaves stand out instead of disappearing into the wall.
6. Divide the leaves into four groups of 10 and paint them in warm rust, golden ochre, muted sage, and unpainted or lightly dry-brushed brown, leaving some brush variation so the finished piece has depth.
7. Use the small round brush and dark brown paint to add a simple center vein and a few short angled side veins to each leaf, then let them dry flat.
8. Arrange the leaves on the backing board before gluing, starting with an outer ring of 18 leaves, a middle ring of 14 leaves, and an inner cluster of 8 leaves, overlapping them slightly and turning the points in a gentle swirling pattern.
9. Hot-glue the outer ring in place first, applying glue only at the lower third of each leaf so the tips stay free and lifted from the board.
10. Glue down the middle ring over the gaps of the first layer, mixing colors as you go so no two matching shades bunch together too heavily.
11. Finish with the inner cluster, stacking the last 8 leaves a bit tighter and higher in the center to create the full, sculpted look that makes the piece feel rich instead of flat.
12. Touch up any visible glue strings or bare spots with paint, then brush a thin coat of matte sealer over the leaves to unify the finish and protect the surface.
13. Glue or staple a loop of twine to the back for hanging, then let the whole piece rest until fully cool and dry before putting it on the wall.
Variations & Tips
For a farmhouse look: Stick to creams, soft greens, weathered brown, and a little black distressing around the edges. It gives the piece that old-homestead character I’ve always loved in rural homes.
For fall decorating: Lean into burnt orange, deep gold, olive, and burgundy tones. Hung in an entryway or above a mantel, it makes the whole room feel ready for cooler weather.
For more dimension: Curl some leaf tips around a marker barrel before gluing. That tiny extra shaping catches the light beautifully and makes the layers look almost carved.
If your boxes are printed brightly: Just be sure the plain brown side faces out when you trace and build. If any printed edges show, a quick dab of dark brown paint covers them right up.
To make it larger: Use a 16- or 18-inch backing board and increase to 50 or 60 leaves, keeping the same layered ring approach. That’s a good choice if you’re filling a big empty wall.
My best glue tip: Don’t glue the whole leaf flat. Leaving the top half loose is what gives this project its mind-blowing texture, and that little bit of lift is what makes recycled cardboard look like intentional art instead of simple cutouts.