
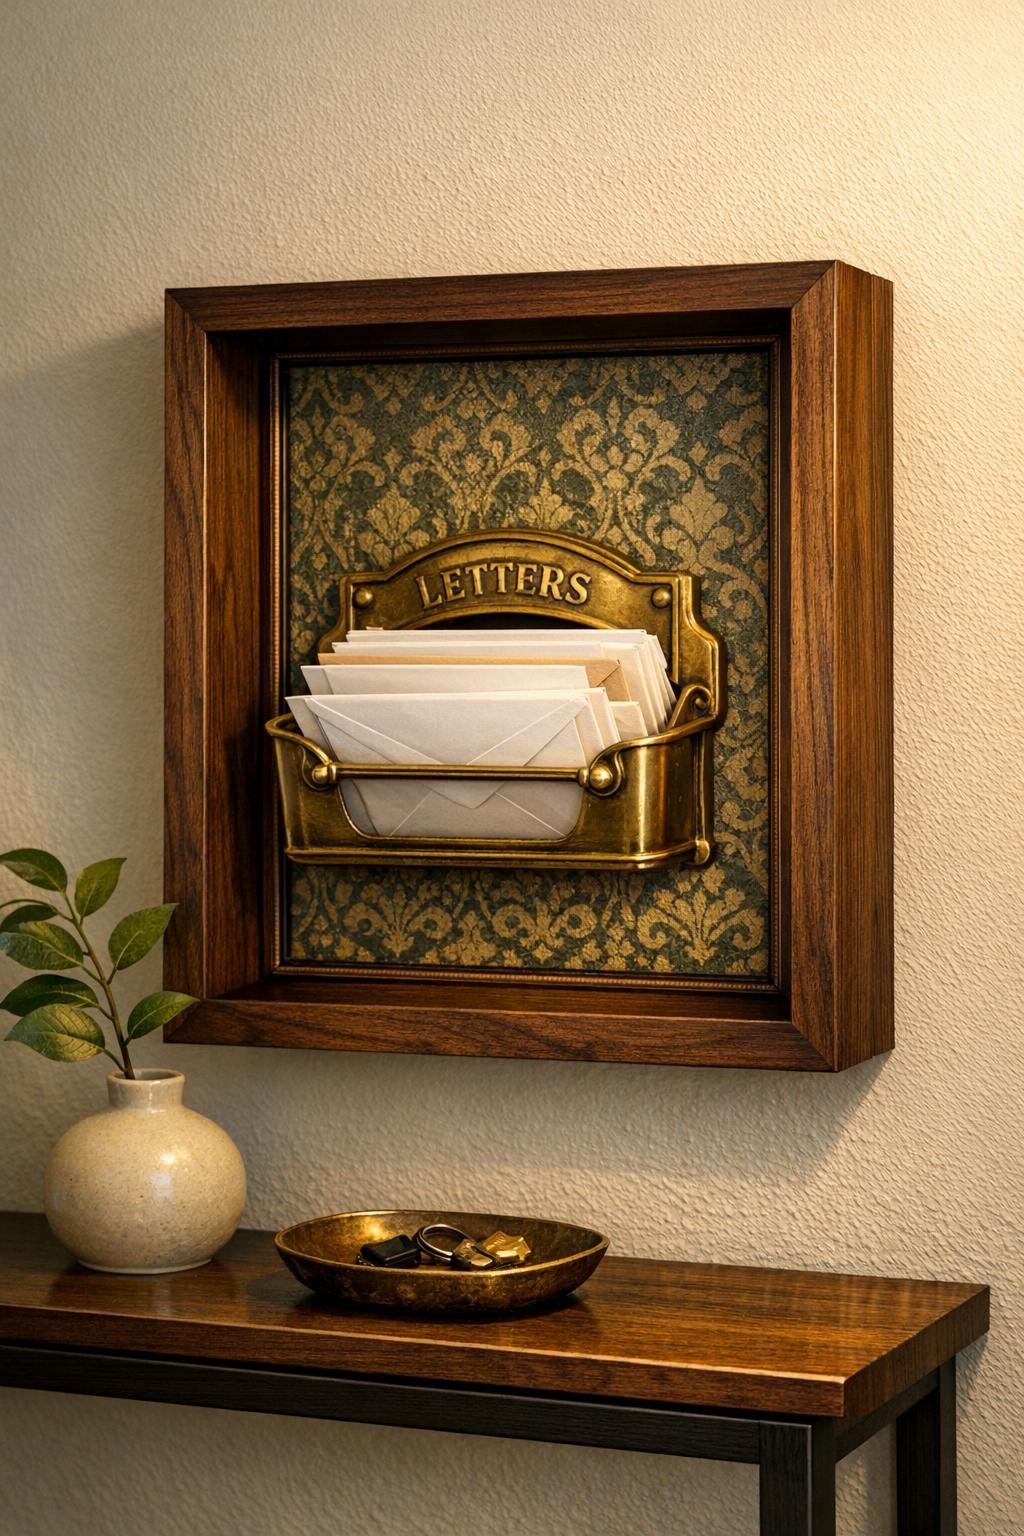
If your entryway is anything like mine, paper clutter somehow multiplies the second I walk in the door. This project turns that daily mess into something actually pretty: a decorative wall-mounted mail slot made by attaching a brass letter holder inside a deep shadow box frame. It gives you a place for incoming mail, cards, coupons, and even a pen or notepad nearby, but it still looks like intentional décor instead of office storage.
I love projects like this because they solve a real problem without asking for a full weekend or a garage full of tools. If you have a small entryway, apartment wall, or narrow spot near the door that needs to work harder, this is one of those simple upgrades that feels way more custom than it is.
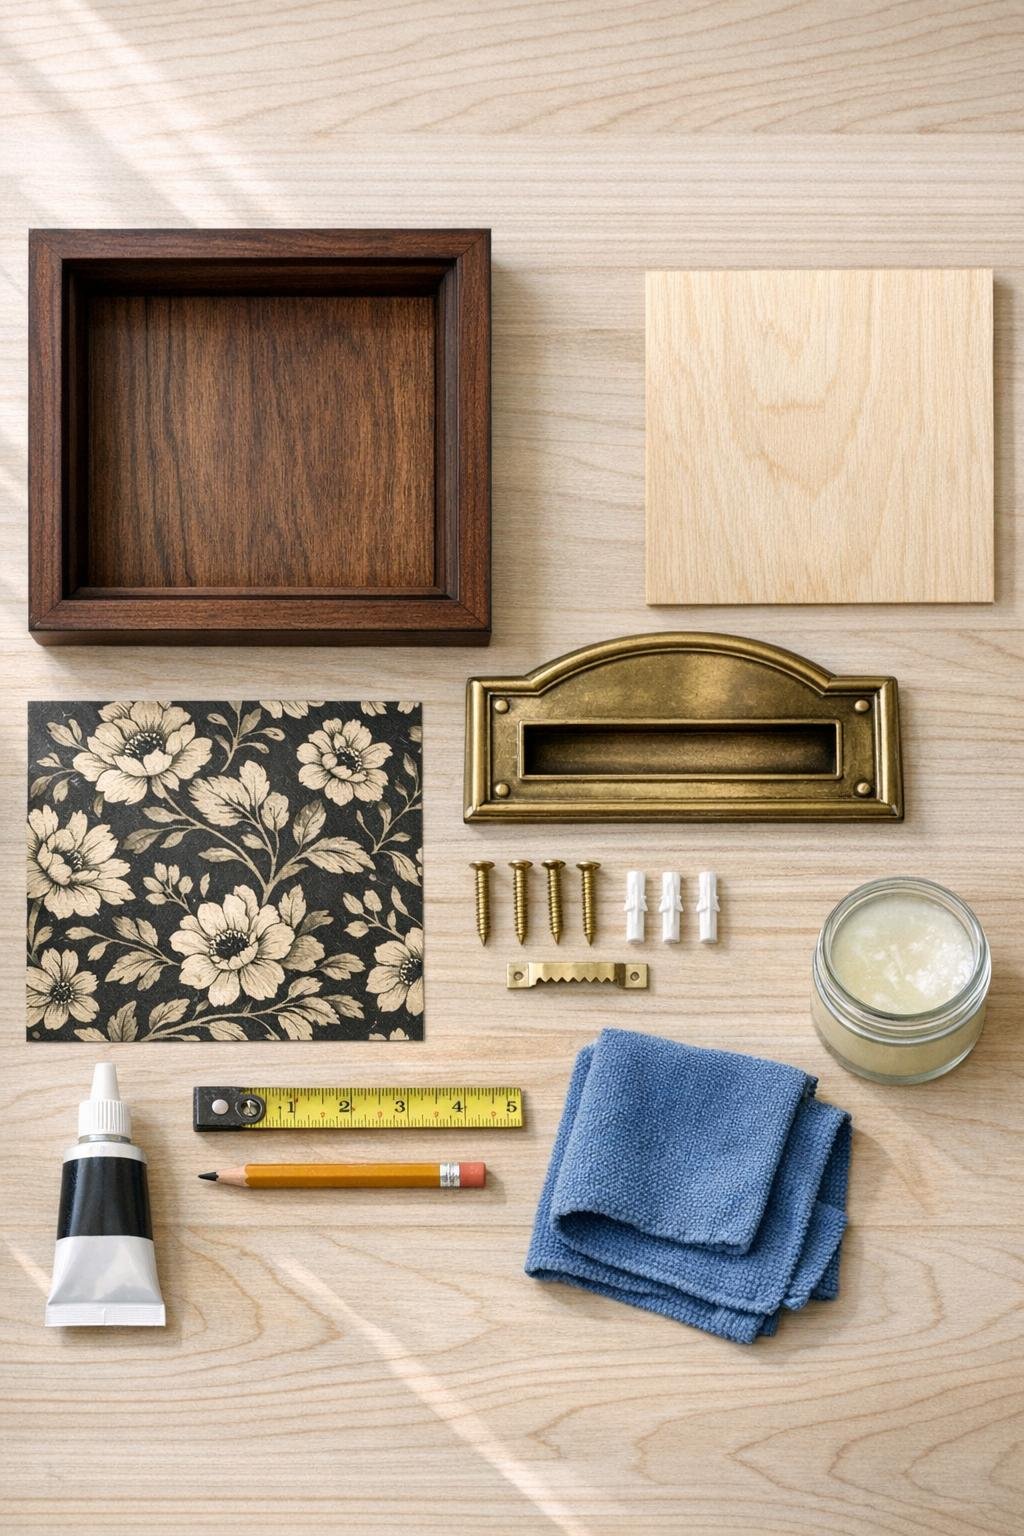
Materials
Instructions
1. Remove the backing and glass from the shadow box frame, and set the glass aside for another project since you want the mail holder open and easy to access.
2. Lightly sand any rough spots on the walnut frame and wipe it clean with the microfiber cloth so the finish looks fresh and polished once it goes up.
3. Cut the decorative paper to fit the 11 x 14 inch backing board, then glue it down smoothly from the center out to prevent bubbles and wrinkles.
4. Center the brass letter holder on the lower half of the covered backing board, leaving about 3 inches above it so the frame still shows plenty of the decorative background.
5. Mark the screw holes with a pencil, then pre-start the holes carefully if needed and attach the brass holder to the backing using the brass screws and washers.
6. Add a thin bead of clear craft adhesive along the back contact points of the brass holder where it meets the board for extra strength, then let it set for the time recommended on the adhesive.
7. Slide the finished backing board into the shadow box frame and secure it in place so the brass holder sits fully inside the frame opening without rubbing the edges.
8. Rub a light coat of clear furniture wax or wipe-on poly onto the walnut frame and buff it gently to bring out the color and give the whole piece a finished, furniture-like look.
9. Attach the sawtooth hanger to the back top edge of the frame, then add felt pads to the lower back corners so it hangs flat and does not mark the wall.
10. Install the wall anchors near your entryway at a comfortable grab height, hang the frame, and load the brass holder with mail, small envelopes, and folded notes without overstuffing it.
Variations & Tips
Use a thrifted frame: If you find a deep picture frame secondhand, that is honestly my favorite version of this project. Just make sure the interior depth is enough for the brass holder plus a stack of mail.
Pick a bold backing: Wallpaper scraps, linen-look paper, or a subtle botanical print all work beautifully. In a tiny entryway, I like a darker backing because it makes the brass pop and helps the piece read more like décor.
Keep the holder low: Mounting the brass holder in the lower half makes the proportions feel balanced and leaves enough negative space above it so the frame does not look crowded.
Add a matching hook below: If you have a little more wall room, add a brass hook under the frame for keys or a dog leash. That gives you a whole drop zone without visually taking over the wall.
Do not rely on glue alone: Even if your brass holder feels lightweight, screws are what make this practical for real daily use. I think of the adhesive as backup insurance, not the main support.
Protect the finish: Felt pads are a tiny detail, but they really help the piece sit neatly against the wall. It is one of those little finishing touches that makes a DIY look more polished and less homemade in the rushed sense.
Style it without clutter: Once it is hung, keep only active mail in the holder so it stays attractive. I try to sort junk mail right away, because even the prettiest organizer cannot survive a week of pizza coupons and random flyers.