
Empty glue sticks look like trash, but they’re one of those little craft leftovers I hate throwing away because they melt into something surprisingly pretty. In this project, I turn them into flat, lacy doily-style mats by drawing swirled hot glue patterns right onto parchment paper, then peeling them up once they cool. The result is delicate-looking but sturdy enough to use under candles, jars, soap dispensers, or little seasonal displays.
I love projects like this because they feel low-risk and oddly satisfying, especially on a weeknight when I want to make something with my hands without committing to a full afternoon craft session. If you’ve got a pile of half-used or nearly empty glue sticks rolling around a drawer, this is an easy way to turn them into a polished handmade accent instead of more clutter.
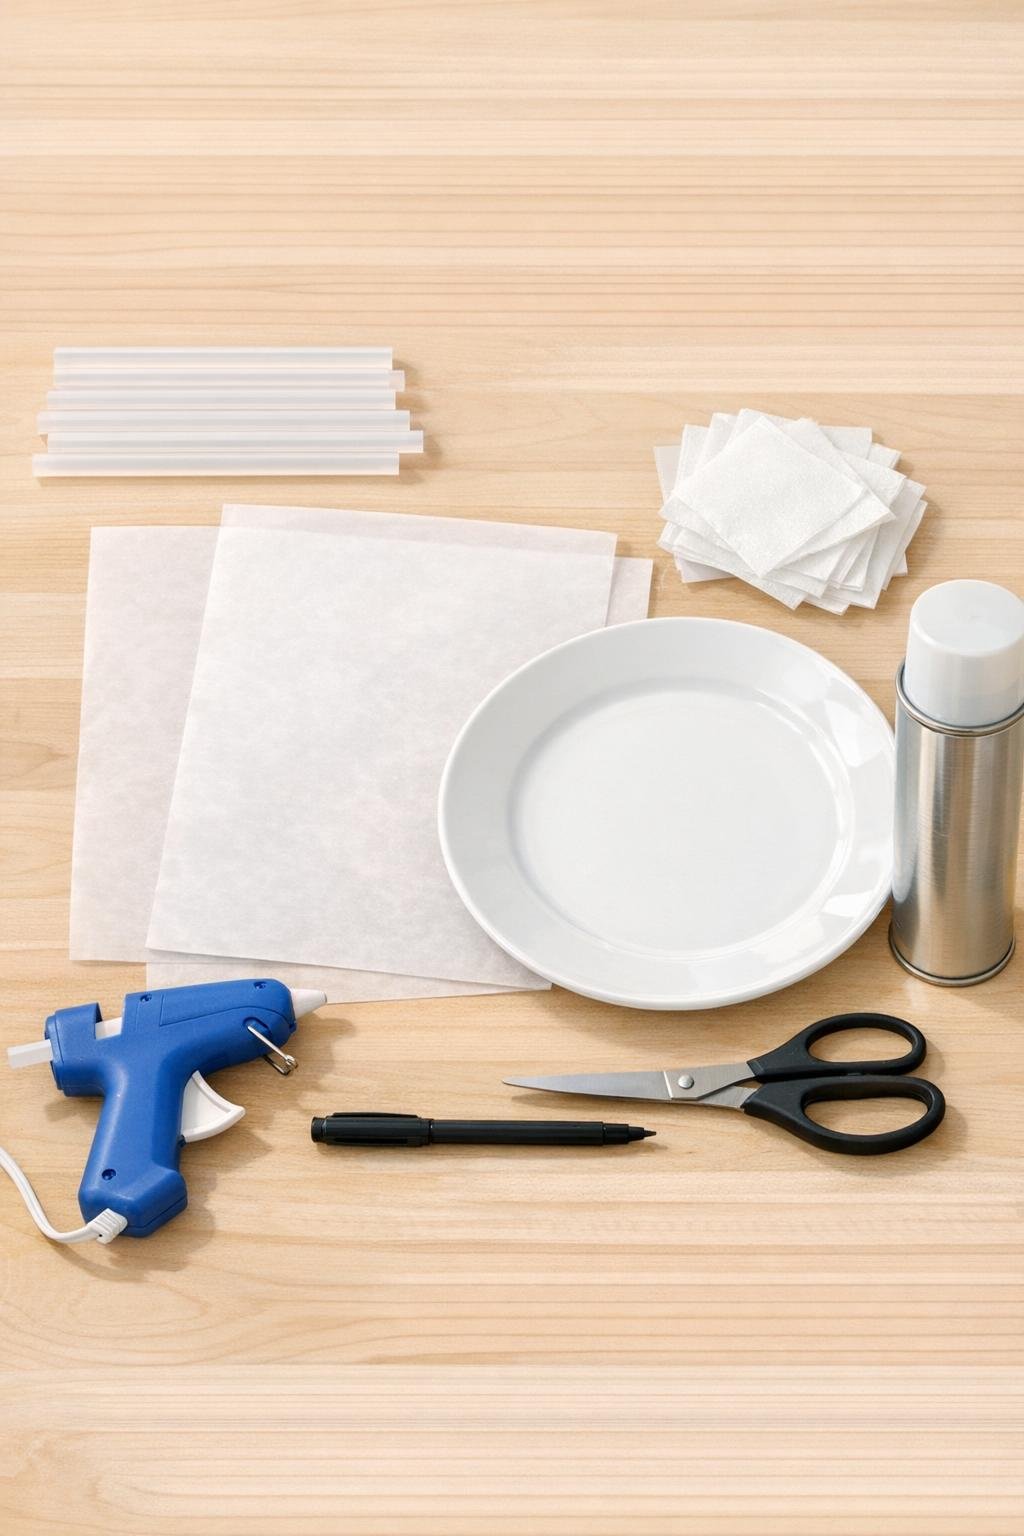
Materials
Instructions
1. Wipe down your craft surface and plug in the low-temp glue gun, then place a sheet of parchment paper over your work area. Trace a 10-inch circle onto the dull side of a second sheet of parchment so you have a visible guide under the top sheet.
2. Slide the traced circle underneath your clean top sheet of parchment so the marker line shows through but won’t touch the glue. This gives you a pattern to follow while keeping the finished doily clean and clear.
3. Test the glue flow on a scrap of wax paper or parchment to make sure the glue is melting smoothly and not bubbling. If the lines come out too thick and blobby, let the gun rest for a minute so it doesn’t overheat.
4. Start in the center of the circle and draw tight swirls, loops, and little connected curls with the glue, working outward in a continuous pattern. Keep every line touching another line so the doily becomes one solid piece instead of separate strands.
5. Build out the outer edge with scallops about 1 inch wide, connecting each scallop back into the main design so the rim looks finished and sturdy. Fill any large empty gaps with small loops or teardrop shapes to give the doily fuller coverage.
6. Let the piece cool completely for 5 to 7 minutes without moving it. Once it’s firm, gently peel the parchment away from the glue instead of lifting the glue off the paper.
7. Trim away any thin glue strings with scissors and press down any raised bits while the piece is still slightly warm. Clean, connected edges make the doily look much more intentional.
8. Repeat the pattern to make a matching set, using about 3 mini glue sticks per 10-inch doily for dense coverage. For a fuller finished collection, make 3 to 4 doilies in slightly different swirl patterns.
9. Take the pieces outside or to a well-ventilated area and spray both sides with a light coat of clear acrylic sealer. This cuts down on stickiness, gives the surface a more finished feel, and helps the doilies hold up better under decor items.
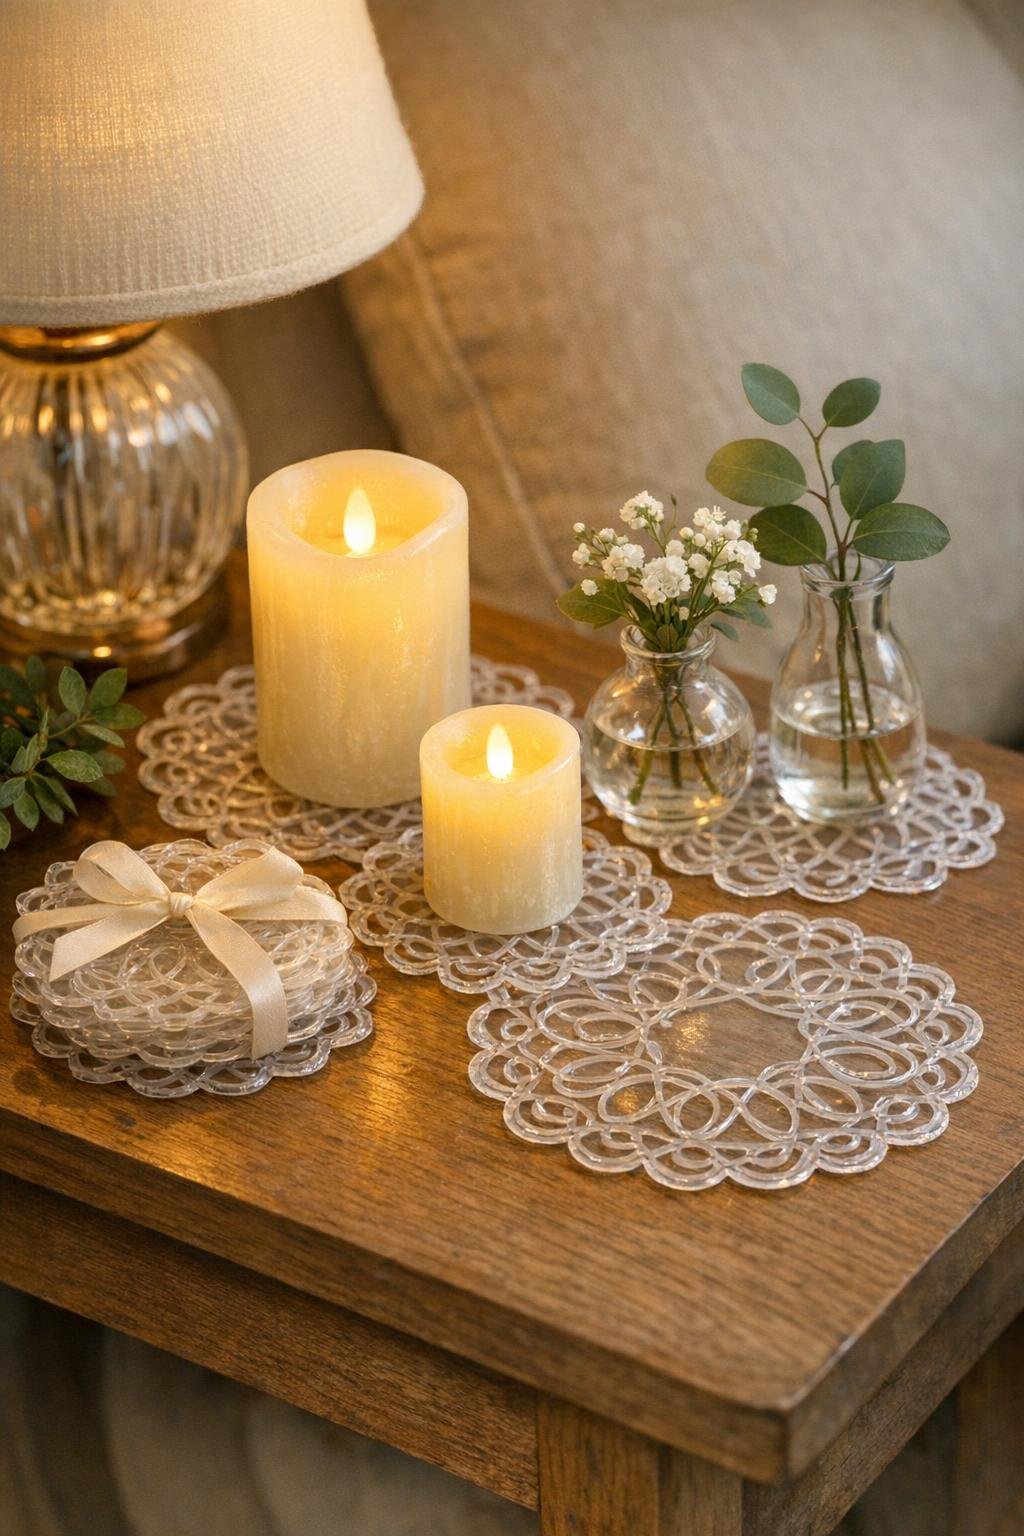
10. Use the finished doilies under flameless candles, small vases, soap bottles, or stacked on a shelf tied with ribbon for storage. They look best when layered where light can catch the glossy lace pattern.
Variations & Tips
Frosted look: If you want a softer finish, use cloudy glue sticks instead of crystal-clear ones. The pattern still shows up beautifully, but the doily reads a little more vintage.
Metallic accent: After sealing, lightly dry-brush the raised glue lines with silver, gold, or pearl acrylic paint. I’d keep it subtle so the lace detail stays pretty instead of turning heavy.
Holiday version: Make smaller 4- to 6-inch rounds and use them as ornaments, gift toppers, or accents on a wrapped candle ring. A tiny ribbon loop added to the edge works well for hanging.
Best glue gun choice: A low-temperature gun gives you more control and fewer strings than a very hot full-size gun. I learned this the messy way after trying to rush a batch with my heavy-duty glue gun and ending up with glue puddles instead of lace.
Keep the pattern sturdy: If any area branches too far without reconnecting, it can snap when peeled up. Think of the design like a web, with lots of little bridges linking every swirl together.
Where to use them: These are best for decorative use under lightweight items, not for food contact or high heat. I use mine under soap dispensers in the guest bath and under battery candles on a shelf, and they always catch the light in a really pretty way.