
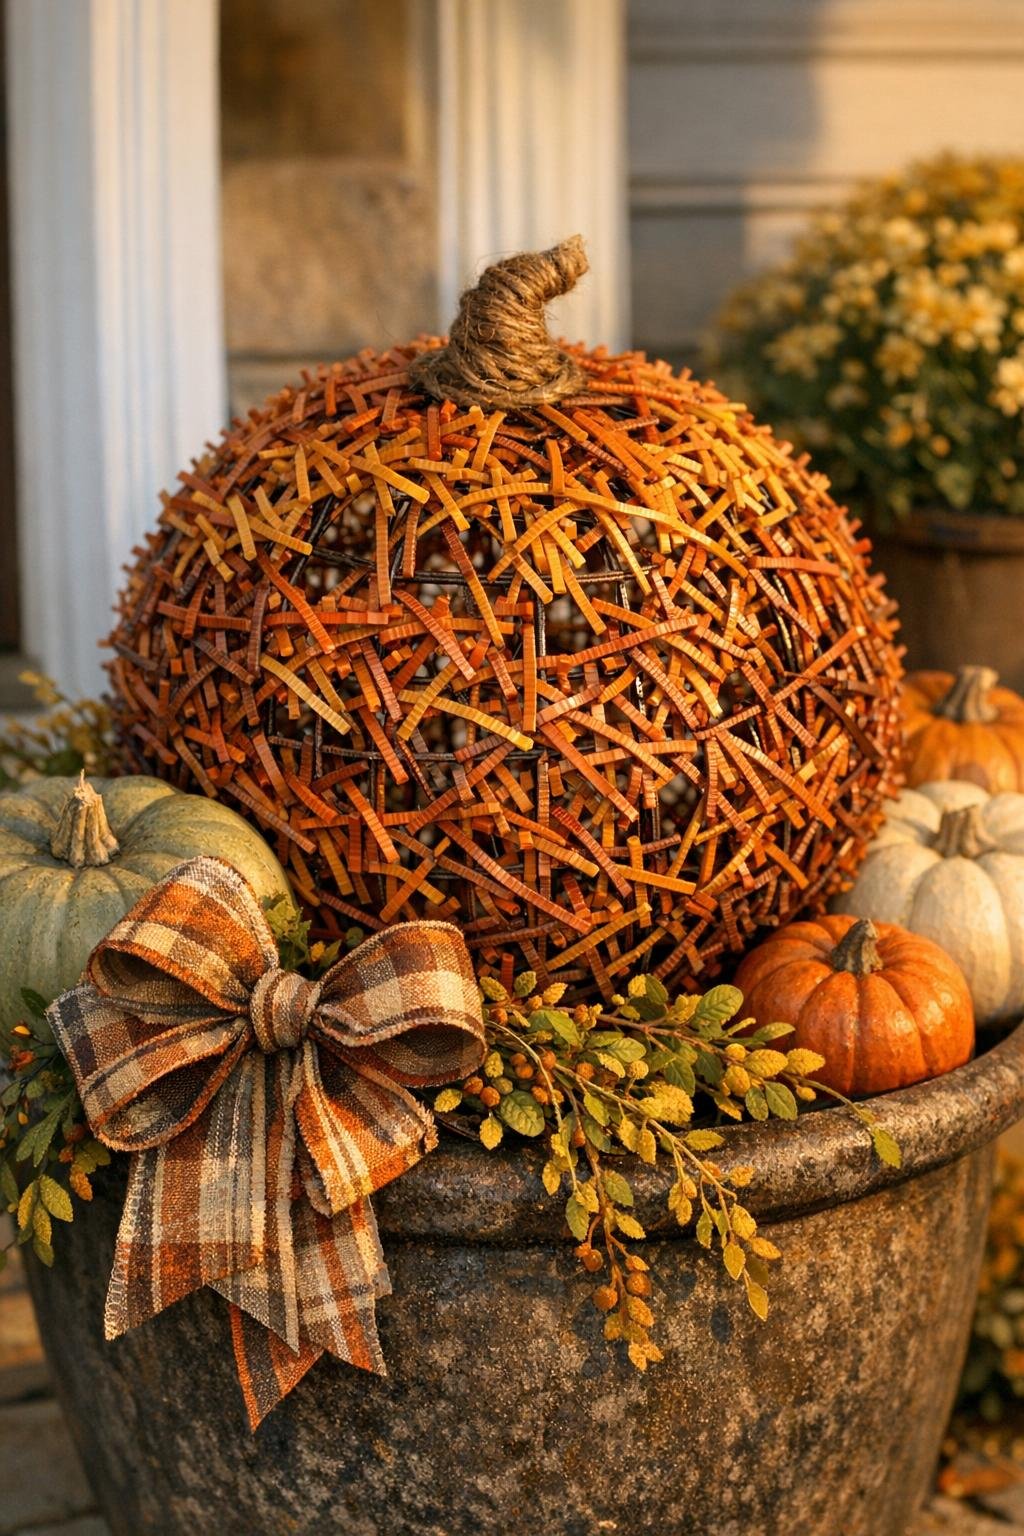
This zip tie harvest sphere is one of those wonderfully simple projects that looks far more intricate than it is. You start with an open wire orb frame and a big pile of inexpensive white zip ties, then build layer after layer until the whole thing turns into a full, fluffy decorative ball with incredible texture. Once it’s finished and tinted in warm autumn tones, it catches the light in a way that feels almost feathery, a little whimsical, and absolutely porch-worthy.
I love projects like this because they rely on repetition instead of tricky technique. If you can thread a zip tie and pull it snug, you can make this. It’s ideal for anyone who wants a dramatic seasonal accent for a planter, entry table, mantel, or basket display without hauling out power tools or learning a specialized craft.
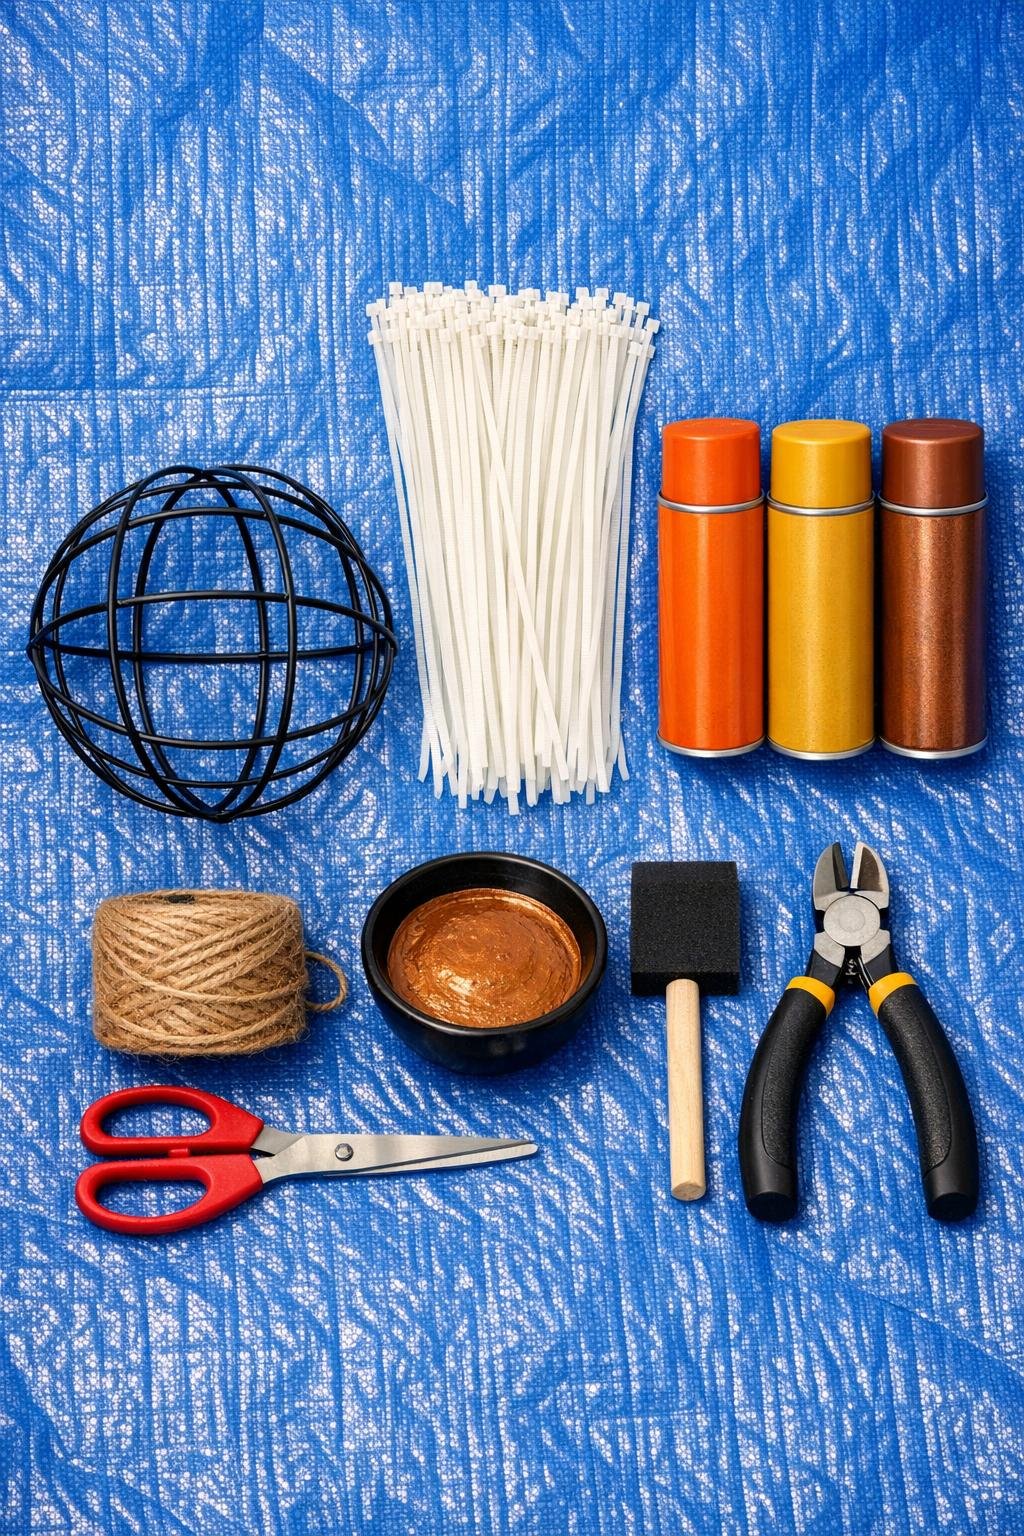
Materials
Instructions
1. Set the wire orb frame on your tarp and separate the 200 zip ties into four piles of 50 so you can build the coverage evenly as you go.
2. Thread the first 50 zip ties through the wire openings around the equator of the orb, looping each tie around one wire and pulling it snug with the tails pointing outward.
3. Add the next 50 zip ties above that first band, filling the upper half and alternating positions so the ties sit between the ones below instead of stacking in straight rows.
4. Attach 50 more zip ties across the lower half in the same staggered pattern, turning the orb often so the coverage stays balanced and fluffy from every angle.
5. Fill bare spots with the final 50 zip ties, concentrating extra ties around the openings and ends of the wire ribs until the sphere looks full and rounded rather than patchy.
6. Use scissors or wire cutters to trim every zip tie tail to about 2 1/2 to 3 inches long, keeping the cuts as even as possible so the finished sphere reads soft and intentional.
7. Lightly fluff and separate the trimmed ties with your fingers, then press down any ties that stick far beyond the curve of the ball.
8. Spray the entire sphere with pumpkin orange as the base coat, holding the can 10 to 12 inches away and rotating the orb so the paint reaches deep into the layers.
9. Mist golden mustard over the top and one side of the sphere, then add a lighter dusting of antique copper around the lower half and deeper creases for a warm harvest blend.
10. Let the paint dry completely, then dry-brush a little bronze acrylic paint across a few outer tips to give the texture more depth and a slightly glowy finish.
11. Cut a 24-inch piece of jute twine and tie it around one section of the wire frame as a hanging loop, or wrap a little extra twine near the top if you want a subtle rustic stem effect.
12. Turn the sphere in good light and make final touch-ups with paint wherever white plastic still peeks through, keeping the orb shape full, even, and richly colored.
Variations & Tips
Deeper fall color: For a moodier harvest look, use burgundy or dark brown spray paint very lightly in the deepest recesses after the orange base coat.
Metallic finish: If you want something dressier for an entry table or Thanksgiving centerpiece, replace the mustard layer with soft gold spray paint and keep the bronze dry-brushing on the tips.
Bigger sphere: On a larger orb frame, plan on 300 to 350 zip ties so the coverage still looks lush rather than skimpy. I always buy more than I think I need for projects built on repetition like this.
Outdoor use: A clear matte outdoor sealer helps the color last longer on a covered porch, especially if you live somewhere with damp autumn weather.
No hanging loop: These also look beautiful nested in a bowl, lantern, or planter, so you can skip the twine loop and simply make two or three in different sizes for a fuller display.
Keep the shape tidy: The real secret is turning the orb constantly while you work. In cooking, I think of this the same way I think about seasoning in layers; small adjustments all the way through give you a much better final result than trying to fix everything at the end.