
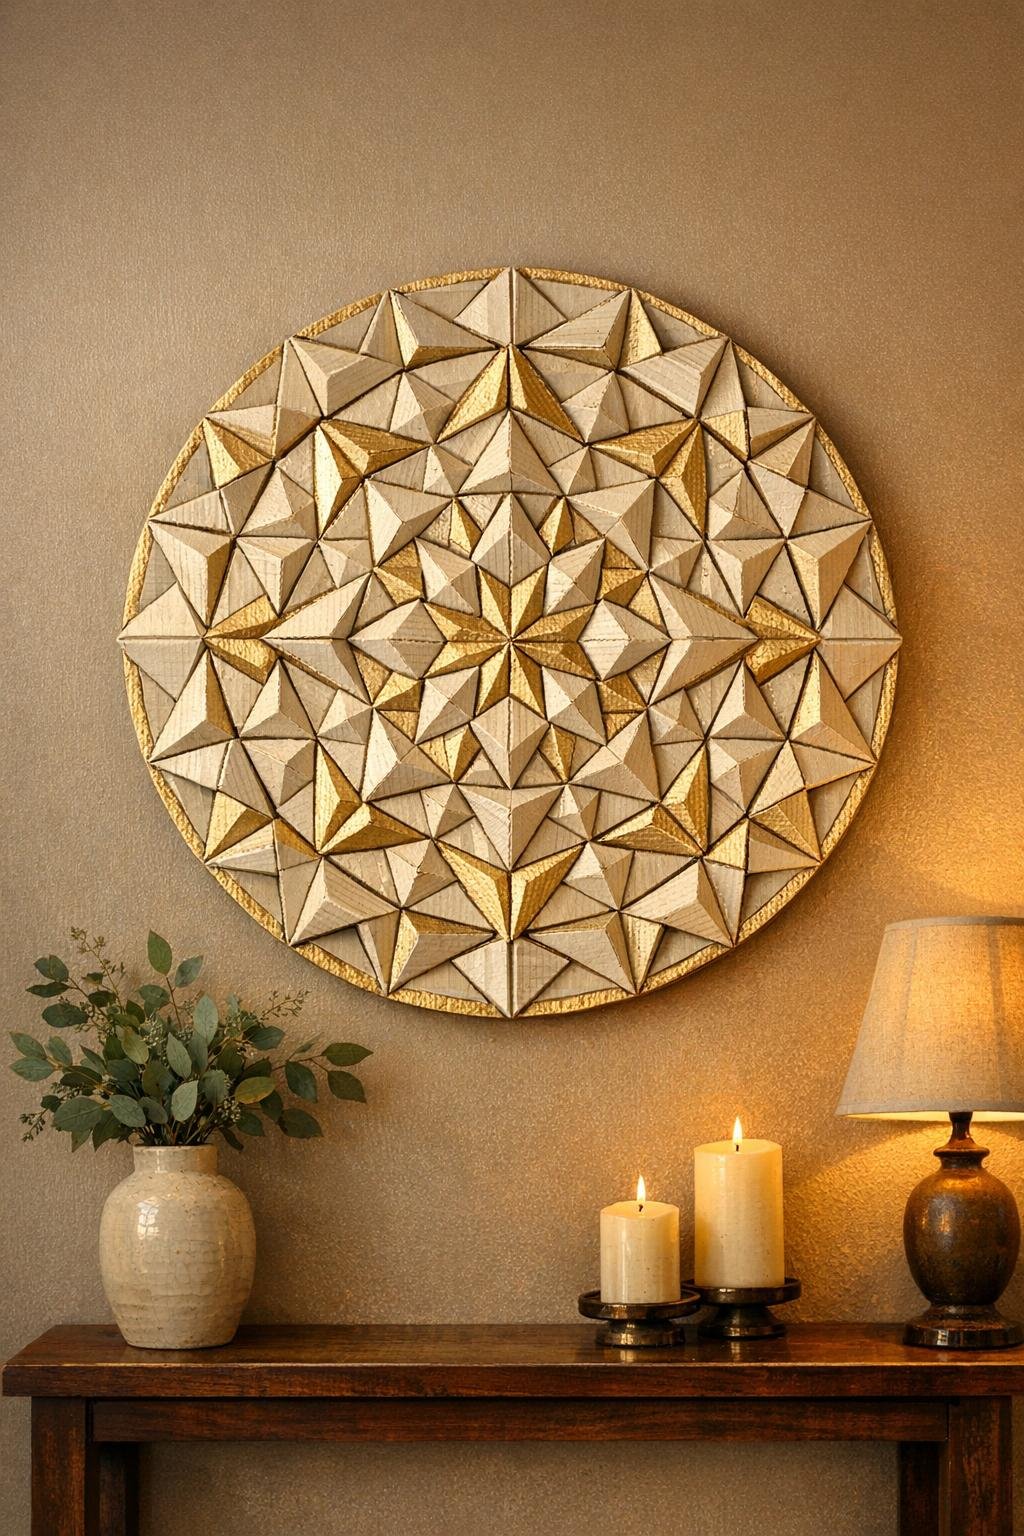
This cardboard medallion wall art looks wonderfully intricate, but it starts with one of the simplest things in the house: a stack of plain cardboard squares. You fold each square into a triangle, build the pieces into a full round, and end up with a sculptural wall piece that has so much texture and dimension it really does stop people in their tracks.
I love projects like this because they give big visual payoff without needing fancy supplies. If you have a free afternoon, a kitchen table, and a little patience for repetitive folding, you can make a statement piece that feels polished and intentional. It is especially good for anyone who likes budget-friendly home décor and wants something handmade that still looks neat enough to hang in a living room, hallway, or dining nook.
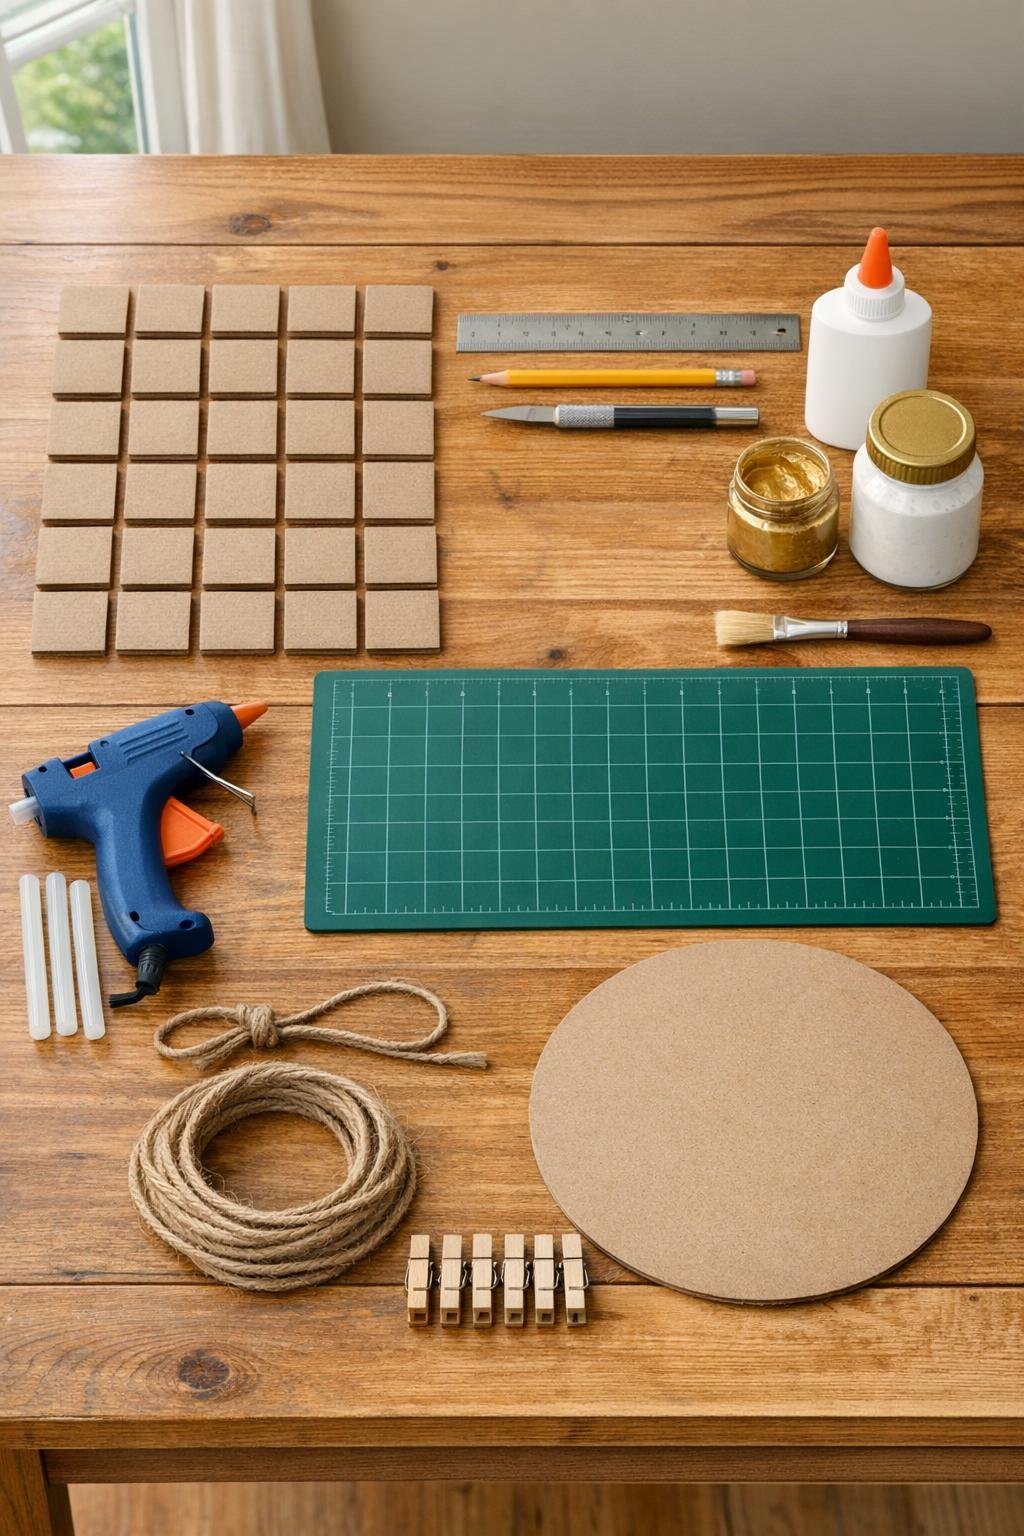
Materials
Instructions
1. Cut 30 cardboard squares to 4 x 4 inches, keeping the edges as straight as you can so the folds stack evenly. If your cardboard has printed areas, turn those to the inside so the finished medallion looks clean.
2. Fold each square corner to corner into a triangle and crease it firmly with your fingernail or the edge of a ruler. Open it back up, then fold the opposite corners together so you have a strong X-shaped set of crease lines.
3. Bring two opposite corners inward along the crease lines so each square collapses into a raised triangle unit with layered flaps. Press every fold sharply so the pieces hold their shape and look uniform.
4. Trace and cut a 12-inch circle from heavy cardboard or foam board for the backing. Mark a small center point and lightly sketch three guide rings at about 2 inches, 4 inches, and 5 1/2 inches from the center to help place the folded pieces evenly.
5. Arrange 6 folded triangles around the center point with their tips meeting to form a tight star. When the spacing looks even, glue them down with hot glue, adding a dot inside each fold so the points stay crisp.
6. Build the second ring with 12 triangles, tucking their inner points slightly under the first ring so the medallion starts to look full and layered. Glue one piece at a time and check the spacing every few pieces to keep the circle balanced.
7. Add the final ring with the remaining 12 triangles, overlapping them slightly like petals so the outside edge looks generous rather than skimpy. If any points lift, secure them with a small dab of hot glue underneath.
8. Brush a thin coat of white craft glue over any rough cut edges or exposed corrugation that looks fuzzy, then let it dry for 10 to 15 minutes. This little step makes cheap cardboard finish much more neatly once painted.
9. Paint the entire medallion in a matte base color such as white, cream, or soft beige, working the brush into the folds without flooding them. Let the first coat dry and add a second coat if the cardboard still shows through heavily.
10. Dry-brush metallic gold or bronze across the ridges and tips of the triangles to highlight the shape and give the piece more dimension. Keep the metallic color light on the raised edges so the folds stay defined and not muddy.
11. Glue a 12-inch loop of twine or hanging cord to the back, then cover the ends with a small scrap of cardboard for extra hold. If you prefer, attach a sawtooth hanger instead and keep the top centered.
12. Finish with a light coat of clear matte sealer and let the medallion cure completely before hanging it. Once dry, fluff any slightly flattened points with your fingers so the circle looks full, even, and dramatic on the wall.
Variations & Tips
For a larger statement piece: Cut 5 x 5 inch squares and use the same 30-piece layout on a 15-inch backing circle. It fills a wall beautifully without making the folding any harder.
For a more rustic look: Skip the full paint coat and use only a light dry-brush of cream and gold over the natural brown cardboard. I think this looks especially pretty in dining spaces with wood furniture.
For picky decorators: If your family members all like different styles, keep the base coat neutral and change only the accent color. Gold feels warm, silver looks a little more modern, and a soft black wash gives it a dramatic farmhouse look.
To keep the circle even: Lay out all 30 folded pieces before gluing anything permanently. I like to do a full dry fit first, because one tiny spacing fix early saves a lot of fuss later.
If your cardboard is flimsy: Use two layers glued together before cutting the squares, or choose cardboard from shipping boxes with a firmer corrugated center. The folds hold their shape better and the medallion looks crisper on the wall.
Easy finishing trick: Add the metallic paint with a nearly dry brush and a very light hand. That is the step that makes the raised pattern pop and gives the whole project that mind-blowing finished look instead of plain painted cardboard.