
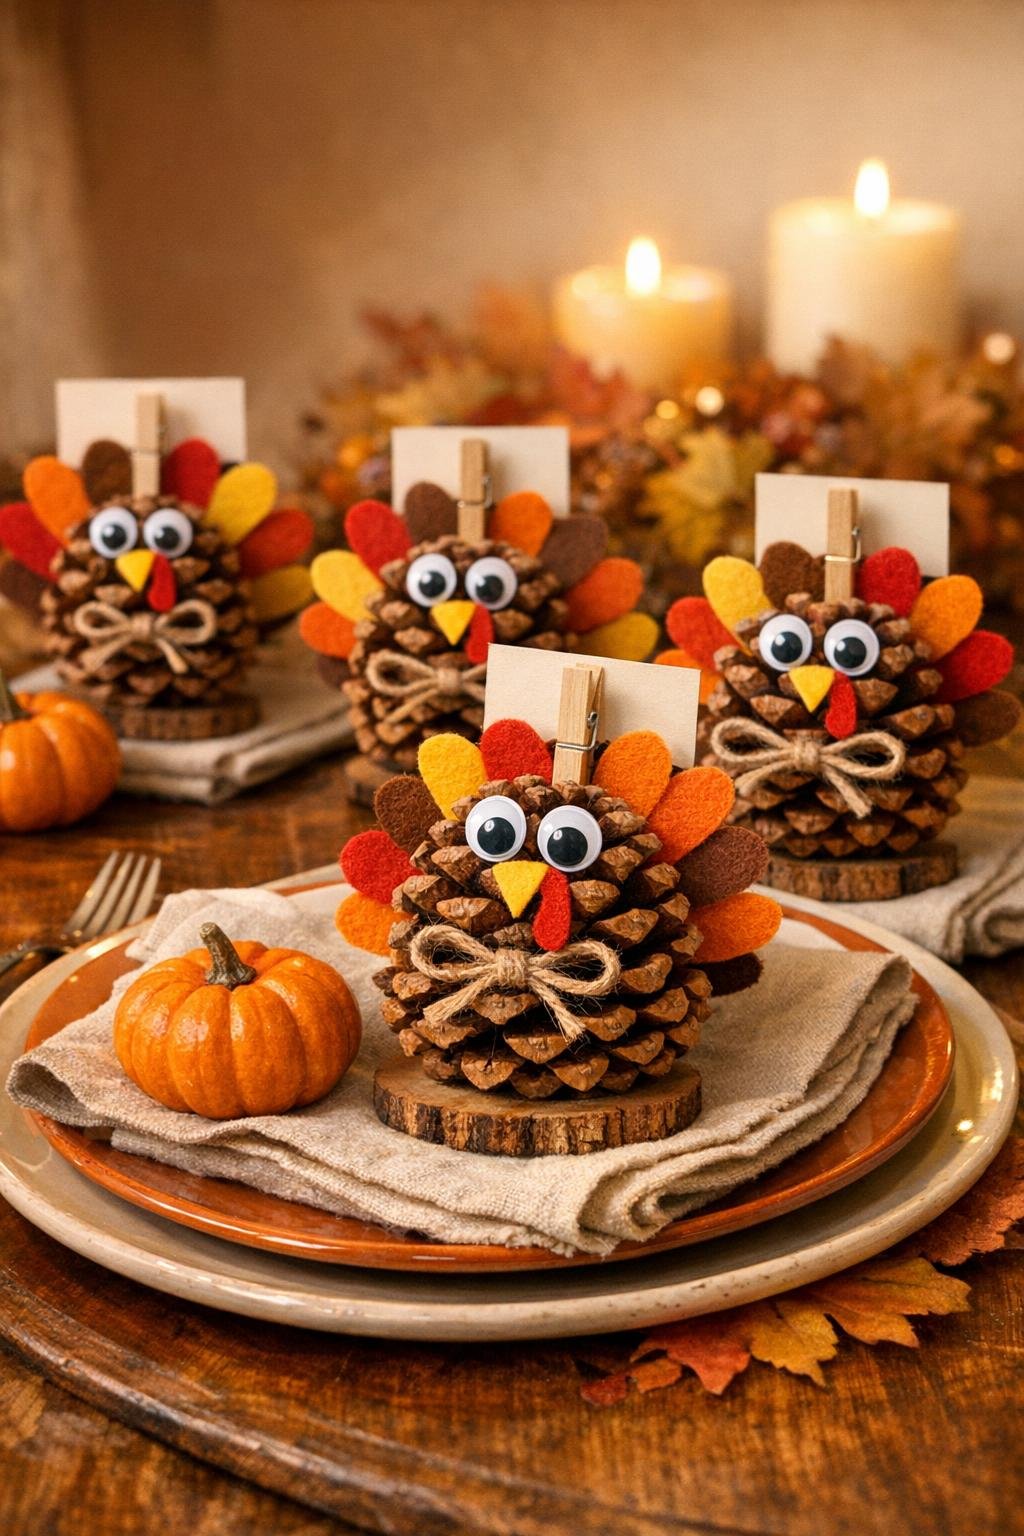
Every year when I start planning Thanksgiving, I wind up wanting one little detail on the table that feels special without turning into a whole weekend project. These pinecone turkey place card holders are exactly that kind of craft: easy, affordable, and surprisingly charming once they’re lined up at each place setting. Since the pinecones are stood upright on the flat bottoms, they instantly read like little turkey bodies, and from there it only takes a few simple additions to make them feel polished and festive.
I love this project for busy hosts, kids’ table prep, or anyone who wants handmade holiday decor without glitter explosions taking over the kitchen island. I’ve made versions of these while meal prepping stuffing and pie crust at the same time, and they’re one of those rare holiday crafts that actually look better when you make a whole group of them together.
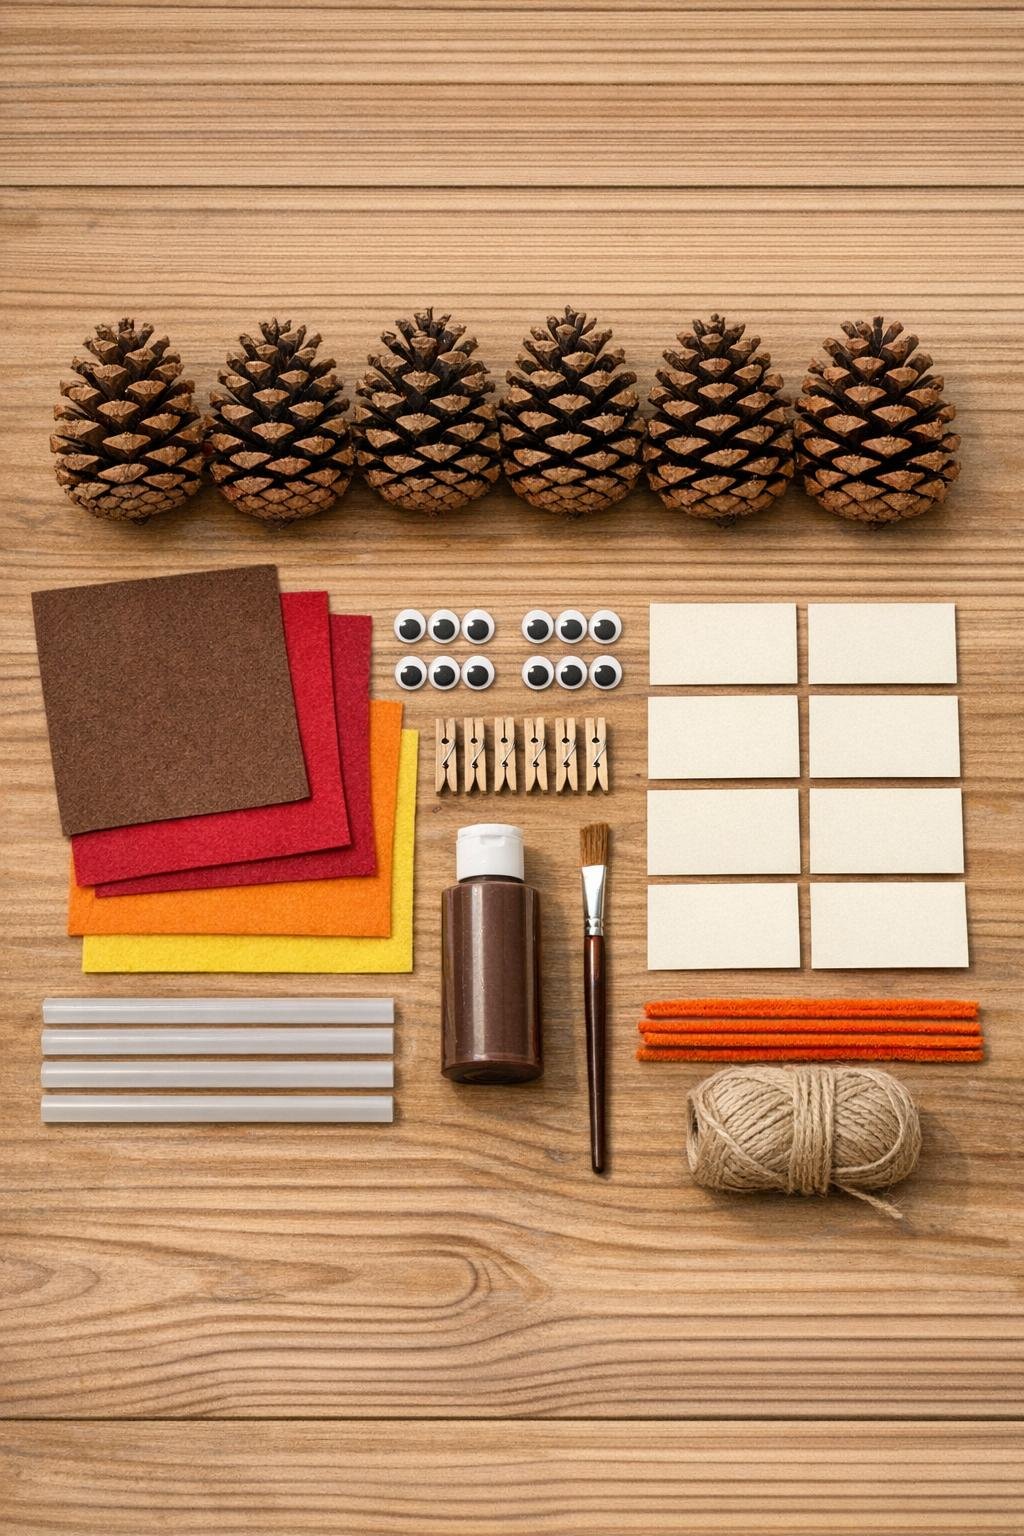
Materials
Instructions
1. Check all 8 pinecones and brush away any loose dirt or debris, then let them dry fully if they were collected outdoors. Pick the widest, most stable end to become the bottom of each turkey.
2. Using a small serrated knife on a cutting board or scrap wood, carefully slice a thin piece off the bottom of each pinecone so it can stand upright without wobbling. Trim only a little at a time until each one stands flat.
3. Paint the freshly cut bottom and any pale trimmed spots with brown acrylic paint so the base blends in with the rest of the pinecone. Let the paint dry for 10 to 15 minutes.
4. Cut 8 turkey heads from brown felt, each about 1 1/2 inches tall with a rounded top and short neck tab for gluing. Cut 8 small orange felt beaks, 8 red felt wattles, and 40 feather shapes total from red, orange, and yellow felt, making each feather about 1 1/2 to 2 inches tall.
5. Glue 5 felt feathers into a fan for each turkey, slightly overlapping the bases so the colors alternate. Make the fan full and wide enough to extend beyond the pinecone body on both sides.
6. Glue one feather fan to the back upper half of each upright pinecone, tucking the bottom edges of the felt slightly into the scales so the tail looks full and secure. Hold each one for a few seconds until the glue grabs.
7. Glue 2 googly eyes, 1 beak, and 1 wattle onto each brown felt head, then glue the finished head onto the front upper section of the pinecone. Set the face high enough that it peeks out clearly above the pinecone scales.
8. Bend each 3-inch piece of orange pipe cleaner into a pair of simple turkey feet and glue it under the front bottom edge of the pinecone base. If needed, trim the feet shorter so the turkey still stands level.
9. Paint the mini clothespins brown to blend them into the turkey body, or leave them natural wood for contrast, then let them dry. Clip each one open and add a thin bead of hot glue to the back side.
10. Glue one clothespin horizontally onto the back of each turkey just below the tail fan, with the opening facing upward to hold a name card. Press firmly until the clip feels secure.
11. Cut or trim the cardstock into 8 neat place cards and write each guest’s name with a black fine-tip marker. Slip one card into each clothespin and adjust the angle so the card stands upright and easy to read.
12. Tie a short 5-inch piece of twine into a tiny bow for each turkey neck or around the clothespin area for a finished touch. Fluff the felt feathers, check that each pinecone stands steadily, and set them at each place setting.
Variations & Tips
Kid-friendly version: If little ones are helping, trim and flatten the pinecones yourself first, then let them do the gluing and feather arranging. The assembly part is easy and fun once the bases are stable.
Make-ahead tip: I usually prep all the felt pieces and paint the clothespins the night before, then do final assembly in one short session. Stored in a shallow box, these hold up beautifully for several days before the meal.
Color variation: For a more natural table, swap the bright felt for rust, mustard, cream, and olive tones. You still get that full tail shape, just with a slightly more grown-up look.
Name card upgrade: Metallic gel pen on kraft cardstock looks especially pretty if your Thanksgiving table leans rustic. It’s a tiny detail, but it makes the whole place setting feel more pulled together.
Stability tip: If one pinecone still wobbles after trimming, glue a small circle of brown felt to the bottom as a discreet shim. I’ve had to do this a few times, and once it’s on the table no one can tell.
Centerpiece idea: Make 2 or 3 extra turkeys without name cards and cluster them down the center of the table among candles and mini pumpkins. It ties the whole setup together without much extra work.