
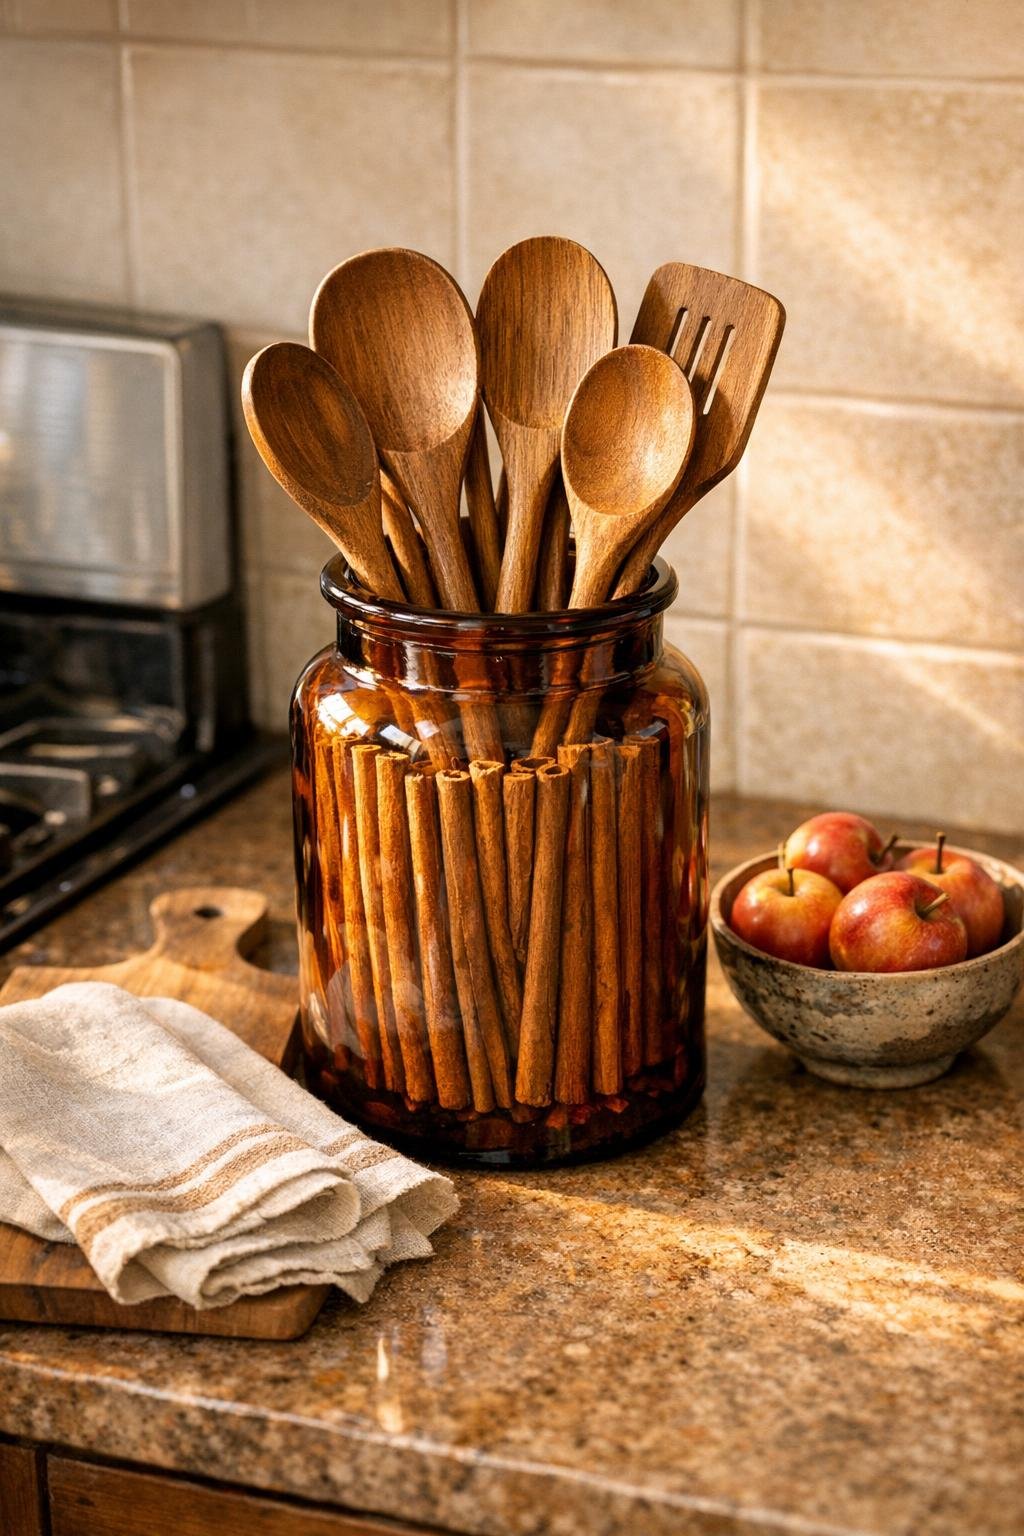
This kitchen utensil crock is one of those projects I love because it looks styled and expensive, but it takes almost no crafting skill to pull off. You’re using a tall amber glass apothecary jar as the base, then packing dried cinnamon sticks around a cluster of wooden spoons so the whole thing becomes both useful and pretty on the counter.
As someone who spends a lot of time in the kitchen but still wants my counters to feel pulled together, I’m always looking for storage that works hard and looks warm and intentional. This is perfect if you like cozy, natural textures, and it’s especially great for renters or busy people because there’s no complicated building involved.
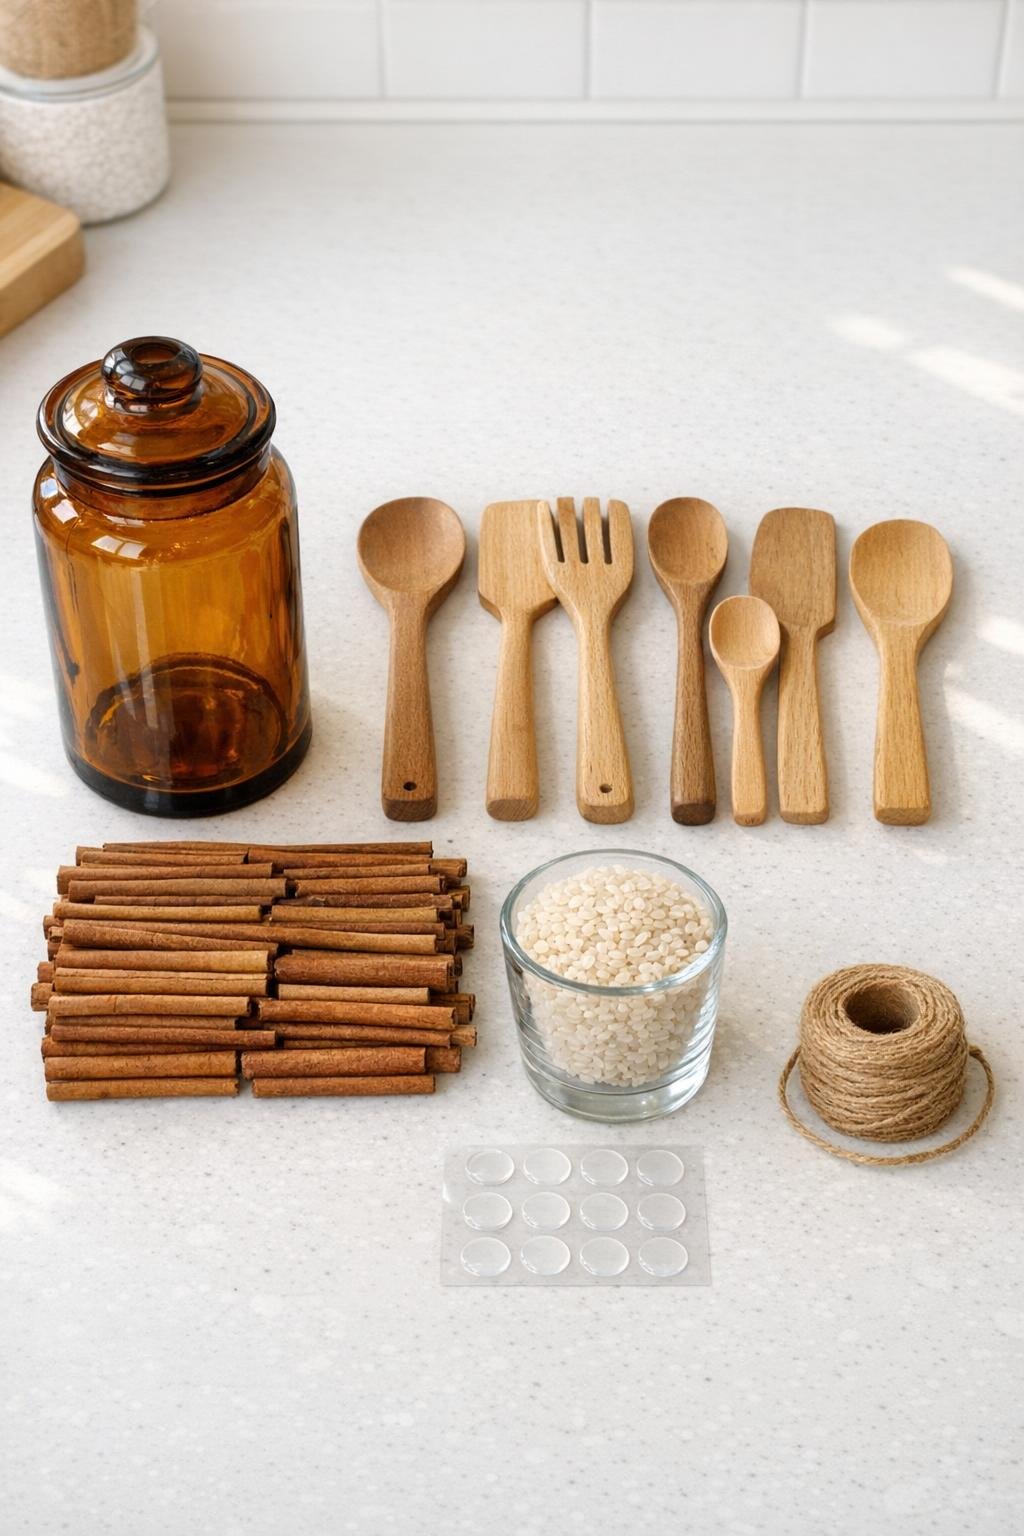
Materials
Instructions
1. Wash and dry the amber apothecary jar thoroughly so the glass is spotless inside and out.
2. If you want a quieter, more stable base, place the felt or shelf liner square in the bottom of the jar.
3. Pour 1 cup of dried beans or rice into the bottom of the jar to add weight and help the utensil crock stay steady when you pull spoons in and out.
4. Gather the wooden utensils into a loose bundle and set them into the center of the jar, adjusting the heights so the spoon heads fan out naturally.
5. Tuck cinnamon sticks vertically all around the inside edge of the jar, building a full ring between the glass and the utensils until the jar looks densely lined.
6. Rotate the jar as you work and vary the cinnamon sticks slightly so the tops look organic but still even enough to frame the utensils neatly.
7. Use a few clear glue dots or tiny bits of museum putty near the upper inside edge only where needed to keep any loose cinnamon sticks from shifting forward.
8. Add or remove a few cinnamon sticks until the wooden utensils feel centered and supported, with no obvious gaps showing through the glass.
9. Tie jute twine or ribbon around the neck of the jar in a simple bow for a finished touch, keeping it low-profile so it doesn’t interfere with grabbing the utensils.
10. Set the crock near the stove or prep area and give the utensils one last spacing adjustment so the arrangement looks full, balanced, and easy to use.
Variations & Tips
Use the right jar shape: A tall, straight-sided apothecary jar works best because it gives you enough wall space to show off the cinnamon sticks and enough depth to hold utensils upright.
Choose sturdy utensils: I like using 5 to 6 wooden tools with different spoon shapes because they fill the center nicely without overcrowding it. If you cram in too many, the cinnamon border gets hidden.
Add more weight if needed: If your utensils are especially long or heavy, increase the beans or rice to 1 1/2 cups so the crock stays planted when you grab a spoon one-handed while cooking.
Try a seasonal version: In fall and winter, I’d absolutely add a rust or cream ribbon instead of twine to lean into the cozy look without changing the easy build.
Keep it kitchen practical: Since the cinnamon sticks are decorative, I’d keep this crock away from splatter zones and high steam so the jar stays clean and the spices keep their nice texture longer.
Easy cleaning tip: If the inside ever gets dusty, lift out the utensils and cinnamon sticks together in sections, wipe the jar with a dry cloth, and rebuild the ring in just a few minutes.