
This entryway glove bin is one of those little organizing projects that looks charming and ends up solving a real everyday problem. By turning a vintage wooden crate on its side and sliding a fabric-lined wire locker basket inside, you get a roomy catchall that keeps gloves, hats, scarves, and all the small cold-weather extras from drifting across the house.
I love projects like this because they give you that “why didn’t I do this sooner?” payoff without eating up a whole weekend. If your entryway is always collecting loose winter gear, dog-walking accessories, or reusable shopping bags, this is an easy way to make the space feel tidier and more intentional while still keeping everything grab-and-go.
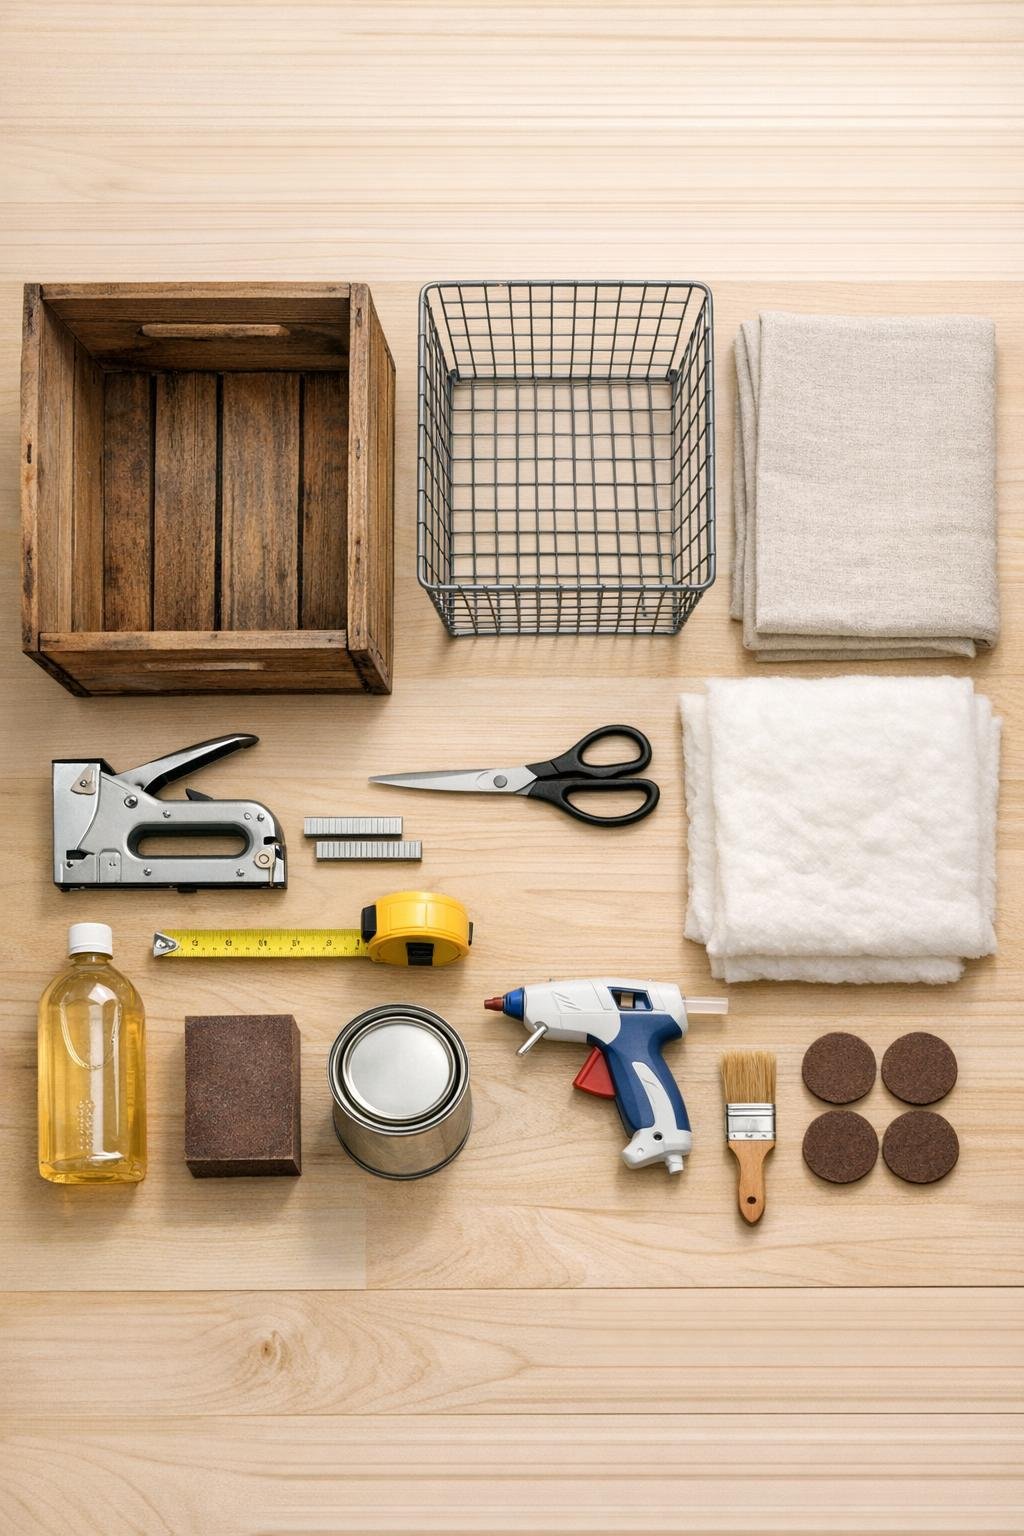
Materials
1 vintage wooden crate, about 18 inches wide x 12 inches deep x 10 inches high
Instructions
1. Set the wooden crate on its side so the open face points forward, then test-fit the wire locker basket inside to make sure it slides in smoothly with a little breathing room around the fabric liner.
2. Clean the crate inside and out with wood cleaner, wiping extra grime from the corners and slats so the finished piece looks intentionally vintage instead of dusty.
3. Lightly sand any rough edges, splinters, or flaky spots, especially around the opening where hands will reach in most often.
4. Brush on one even coat of clear matte topcoat over the crate and let it dry fully; this keeps the old wood from shedding dust onto gloves and scarves.
5. Measure the inside of the wire basket, then cut the canvas fabric large enough to line the bottom and sides with a 2-inch overhang that can fold neatly over the top rim.
6. Cut matching pieces of thin batting for the bottom and long sides of the basket to give the liner a softly padded, finished look.
7. Place the batting inside the basket first, then lay the canvas over it and press the fabric down into the corners so it follows the basket shape closely.
8. Fold the top edge of the fabric over the basket rim and secure it on the outside with small dots of hot glue or a few hidden staples, keeping the liner taut but not stretched flat.
9. If you want a more tailored liner, fold the corners like gift-wrap, trim excess bulk, and staple the folds neatly along the outside where they will be hidden by the crate opening.
10. Add ribbon or twill tape ties at the top corners if you like that softer cottage look; I usually keep mine neutral because it works with every season.
11. Stick felt pads to the bottom edges of the crate so it won’t scratch your floor when you nudge it into place by the door.
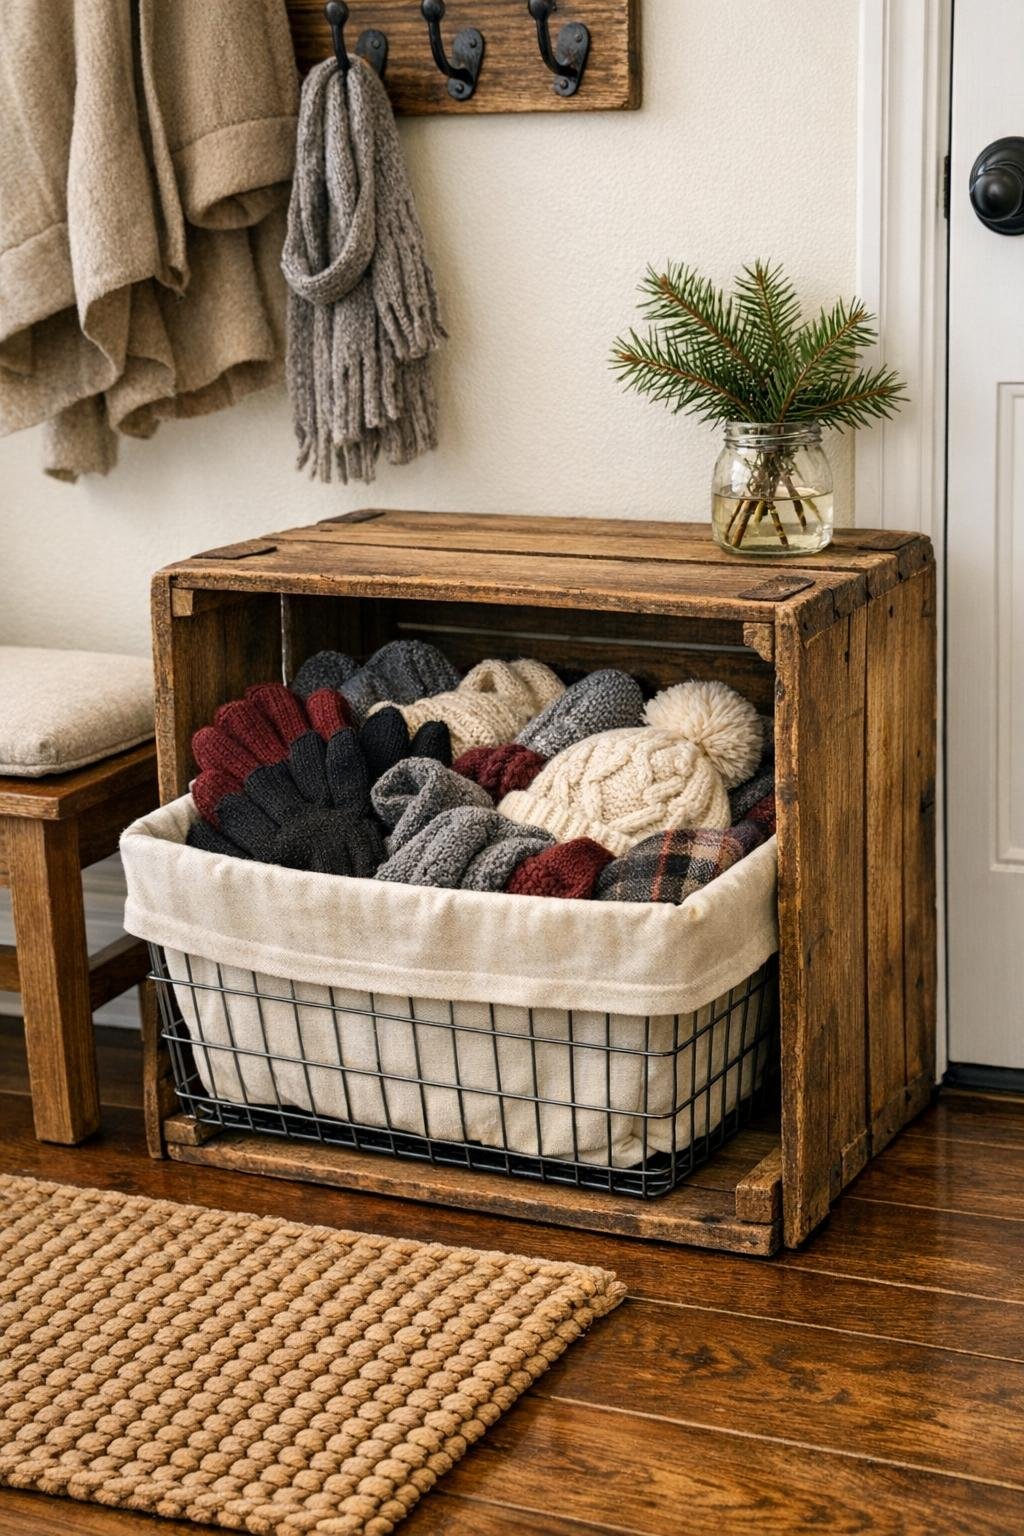
12. Slide the lined wire locker basket into the crate from the front, centering it so the wire sides and soft fabric edge are both still visible.
13. Fill the bin generously with gloves, knit hats, scarves, and a few everyday grab-and-go extras so it looks full, useful, and ready for real life.
14. Place the finished bin in the entryway beside a bench, under wall hooks, or next to the door where everyone naturally drops winter gear.
Variations & Tips
For a darker entryway look: Use a deep charcoal, olive, or ticking-stripe liner fabric if your home has more of a moody or farmhouse style, but keep the basket and crate visible so the layered textures still stand out.
For family storage: Make two or three bins in a row and assign one for kids’ gloves, one for adult winter gear, and one for pet leashes or reusable bags. This is especially helpful in busy households because everyone can spot their category fast.
To keep the liner washable: Skip glue and make a removable fabric sleeve with folded hems and corner tacks, then lift it out for washing whenever it starts looking dingy from wet gloves.
If the basket fit is loose: Add a folded strip of batting or a narrow fabric-wrapped foam piece along the crate floor to lift the basket slightly and make it sit snug and centered.
For extra polish: Rub a little furniture wax over the finished crate after the topcoat cures, or tie a simple neutral ribbon on one basket corner for that styled-entryway look without making it fussy.
Best everyday use: I like to keep the bulkiest scarves at the back and the most-used gloves at the front, because on rushed weekday mornings the easier this bin is to dig through, the more likely everyone is to actually use it.