
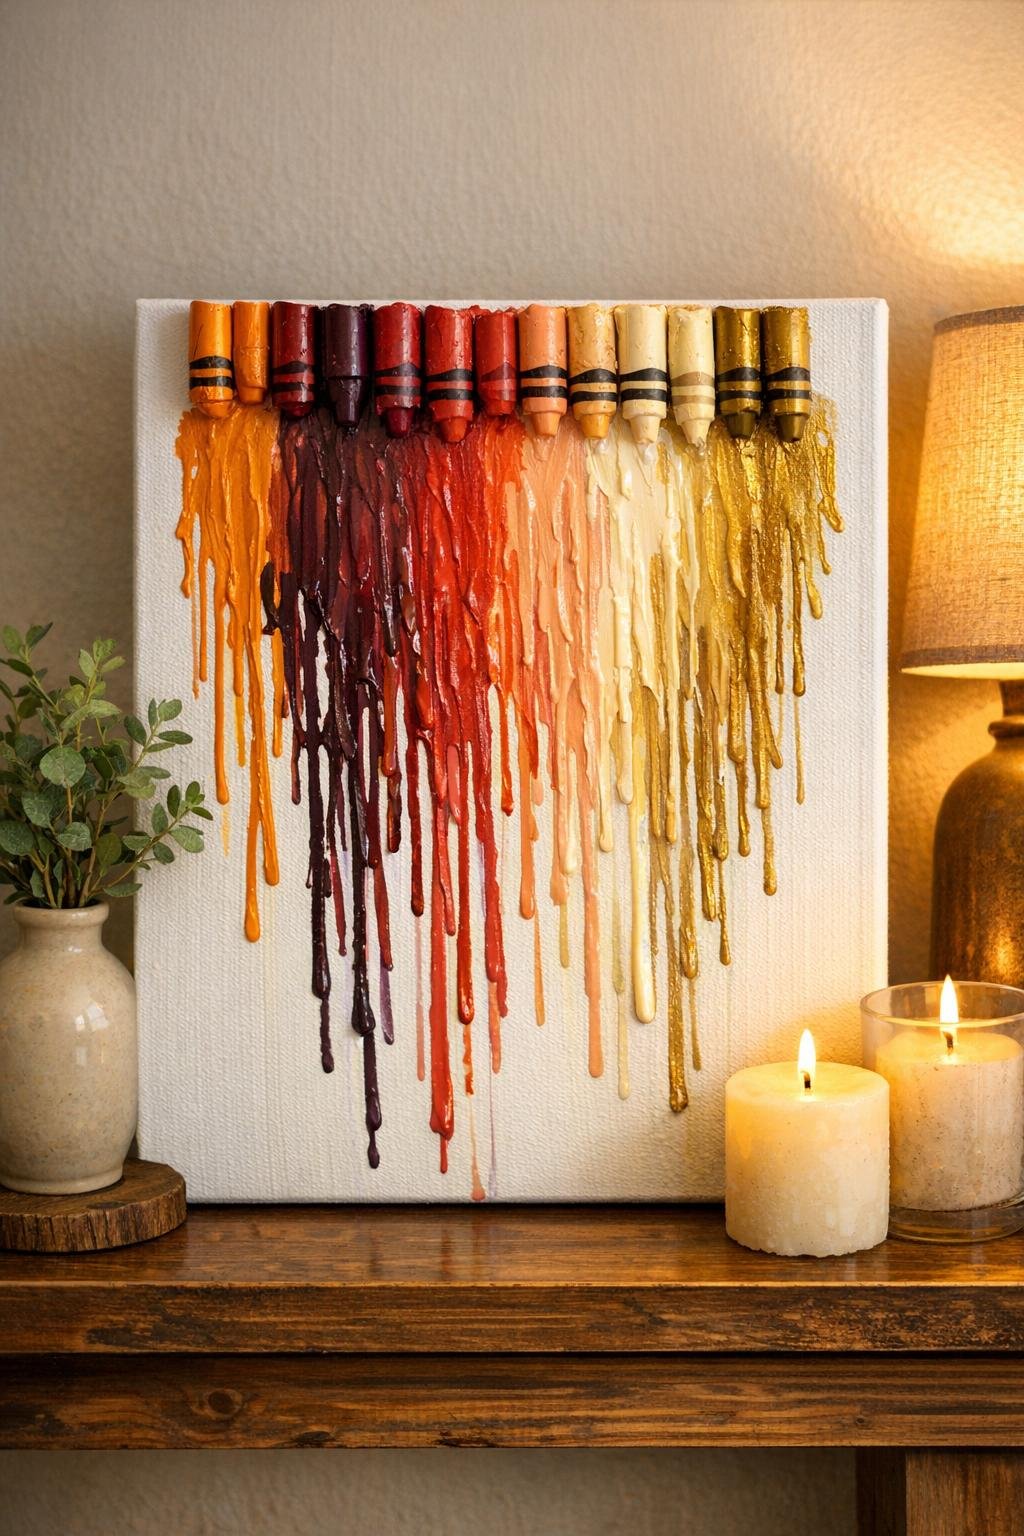
This dripped crayon canvas is one of those wonderfully forgiving projects that looks far fancier than the effort it takes. We’re taking a thrift store canvas, lining the top edge with broken crayons, and melting them so the wax runs down in colorful ribbons. Because the canvas is propped at an angle, the drips stretch into that dreamy, flowing look that makes the finished piece feel a little magical.
I especially love this project for using up odds and ends that would otherwise get tossed in a junk drawer. If you’ve got a pile of broken crayons from kids’ art time or a canvas that needs a second life, this is such a satisfying afternoon craft. It’s easy enough for beginners, but with a little attention to color placement and layering, you’ll end up with a piece that looks polished and full.
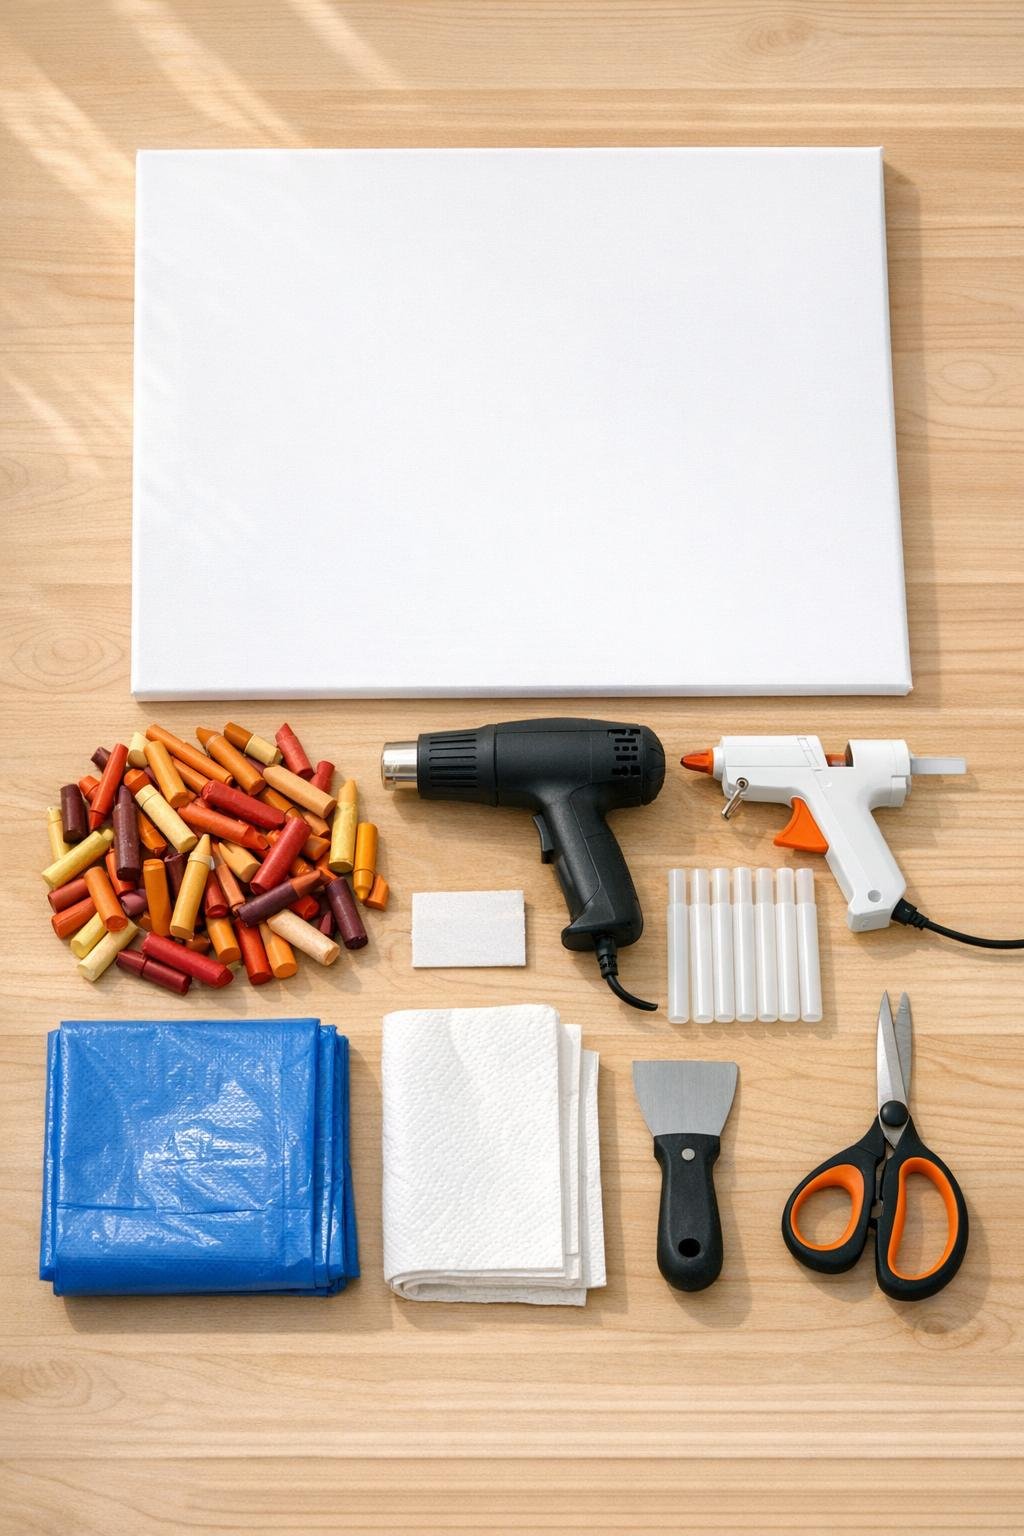
Materials
1 thrift store stretched canvas, 16 x 20 inches, white or painted over with 2 coats white acrylic paint
Instructions
1. Cover your table and floor area with the blue tarp, then set the canvas on top and prop it at a 30 to 45 degree angle using heavy books or a sturdy box. Make sure the top edge is easy to reach and the canvas feels stable before you start heating anything.
2. If your thrifted canvas has dark marks or old artwork showing through, brush on 2 even coats of white acrylic paint and let it dry completely. A bright white background makes the wax colors look richer and keeps the finished drips crisp.
3. Remove all crayon wrappers with scissors and a small scraper, then sort the crayons by color family. I like to keep the warm shades grouped so the finished piece looks intentional instead of muddy.
4. Arrange 36 to 42 crayons in a snug row along the top edge of the canvas, mixing orange and burgundy with a few peach, red, cream, and gold accents for depth. Test the layout before gluing so the color flow looks balanced from one side to the other.
5. Hot glue each crayon to the top edge, pressing it in place for a few seconds until secure. Keep the points and broken ends facing downward so the melting wax has a clean path to run.
6. Plug in the heat gun and start on the low setting, aiming at one small section of crayons at a time from about 4 to 6 inches away. Move slowly side to side so the wax softens evenly and begins dripping in narrow streams instead of splattering.
7. Continue melting across the full row, pausing over thicker crayons a little longer so they catch up with the rest. Let some drips run long and others stop shorter for a full, layered curtain of color.
8. Tilt the heat gun slightly downward now and then to encourage a few drips to widen and overlap, especially where the gold and cream crayons sit. This gives the piece that generous, painterly look instead of a thin stripe effect.
9. Step back and check for sparse spots, then reheat those sections briefly to build more coverage. I usually add a second pass through the center third of the canvas because that’s where the eye naturally lands.
10. Leave the canvas propped in place for 10 to 15 minutes so the wax can cool and set without smearing. Wipe away any puddled wax on the tarp while it is still slightly soft.
11. If you want a neater edge, peel away any loose glue strings and gently snap off any awkward wax clumps hanging from the crayon row. Keep the top line visible, because that row of crayons is part of what makes the finished art so charming.
12. Display the canvas upright once fully cool, or lean it on a shelf where light catches the waxy shine. The finished look should still clearly read as a white canvas with a top row of melted crayons flowing down in rich, angled color.
Variations & Tips
Color Story: If you want a softer look, use blush, coral, cream, and pale peach crayons; for a bolder piece, lean into burgundy, rust, orange, and gold. Keeping to one color family always gives the most polished result.
Kid Crayon Stash Fix: If your broken crayons are all mixed colors from years of school papers and placemats, sort out just the shades that work together and save the oddballs for another project. That little bit of editing makes a huge difference.
Canvas Size: A 16 x 20 inch canvas gives you enough drop length for dramatic drips without needing a mountain of crayons. If you go larger, increase to 50 to 60 crayons so the top edge still looks full.
Heat Control: Keep the heat gun moving so the wax melts into ribbons instead of bubbling in one spot. If you see smoking or splattering, pull the gun back and lower the heat.
For Picky Decor Tastes: In my house, bright rainbow doesn’t always fit every room, so I treat this project the way I do dinner for picky eaters and choose a narrower palette that matches the space. Neutrals with metallic gold can look surprisingly grown-up.
Cleaner Finish: Leave the crayon row visible rather than hiding it with paint or embellishments. That clear before-and-after story is what makes people smile when they realize what the art is made from.
Gift Idea: This makes a sweet handmade gift for a playroom, homework nook, or craft corner. Pair it with a simple frame stand or wrap a ribbon around the canvas for an easy finished presentation.