
There is something so satisfying about turning a humble dab of hot glue and a bit of kitchen-paper know-how into decorations that catch the light like lace. These spiderweb window clings are one of those easy little projects that look far fancier than they are, and because they start with simple spirals on wax paper, they’re especially friendly for beginners, older kids with supervision, or anybody who wants a quick seasonal craft without dragging out a whole craft room.
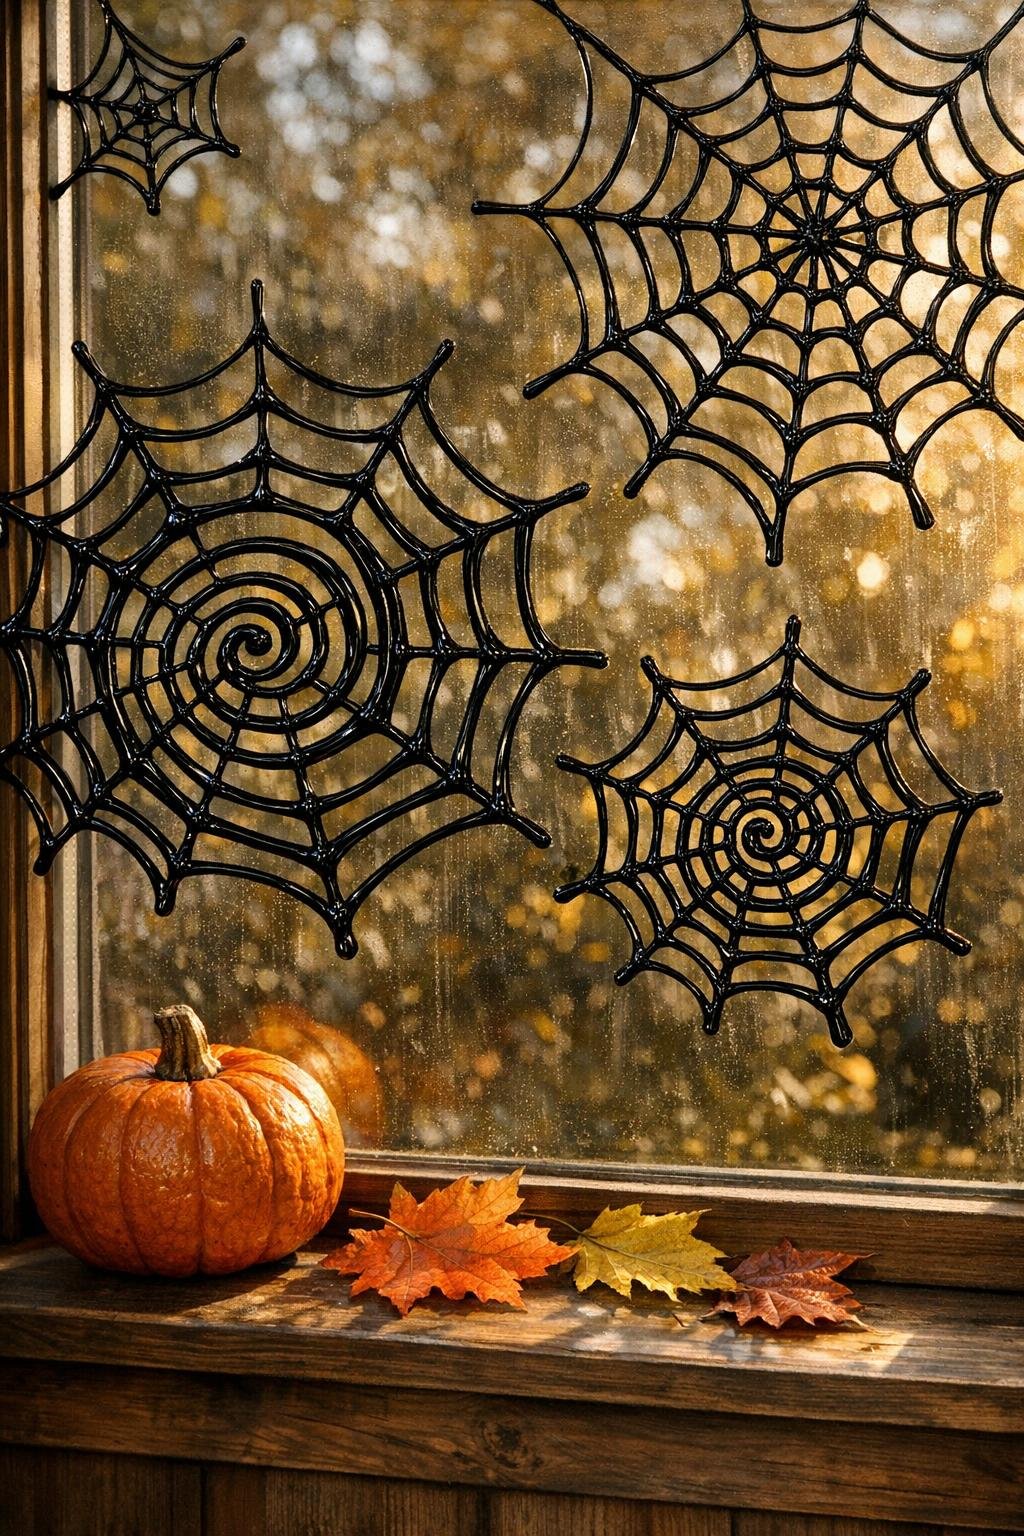
I’m especially fond of projects like this in the fall, when the evenings come earlier and the windows feel like they’re asking for a little company. The pantry-item trick here is a light dusting of flour, which helps the cooled glue release cleanly from the wax paper and keeps those delicate web strands from stretching out of shape. The finished clings are airy, detailed, and dramatic on a sunny window—just enough Halloween charm without making a mess of the glass.
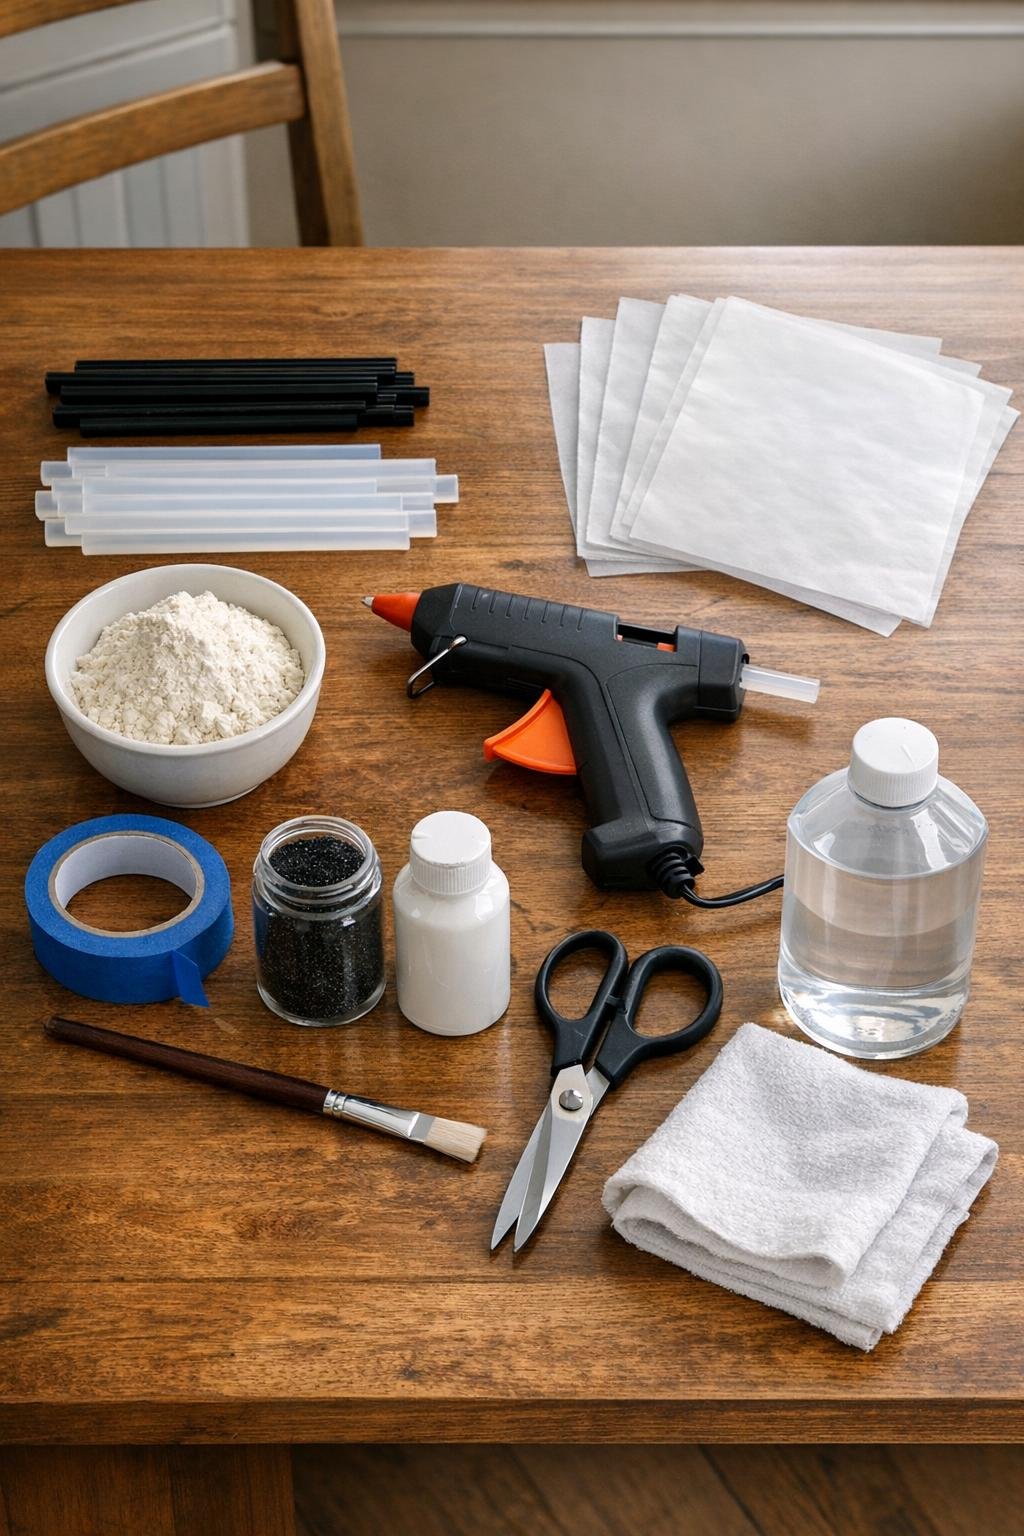
Materials
Instructions
1. Draw a simple spiderweb guide on the plain paper with 8 spokes and 4 curved connecting rows, making it about 7 to 9 inches wide so the finished cling looks generous on the window.
2. Tape the paper guide to the table, lay a sheet of wax paper over it, and secure the corners with painter’s tape so the surface stays smooth while you work.
3. Dust the wax paper very lightly with flour, then wipe off the excess with your fingertips so only a faint coating remains; this helps the glue release cleanly later.
4. Heat the glue gun fully, then trace the center spiral first, pressing out a slow, steady bead of black glue to make a strong hub about 1 inch across.
5. Pull 8 straight glue lines from the center outward like spokes, making each line slightly raised and thick enough to hold its shape when lifted.
6. Connect the spokes with curved lines, working from the center outward in widening rings until you have a full web with 4 to 5 rows; add a few extra short bridge lines anywhere the web looks thin.
7. While the glue is still warm, sprinkle on a pinch of fine black glitter if you want a subtle shimmer, then tap off the excess once the glue sets.
8. Let the web cool completely for 10 minutes, then peel it up slowly from one edge; if a strand sticks, slide a fingernail underneath instead of tugging.
9. Trim away any glue strings with scissors, and if you like, dry-brush a whisper of white acrylic paint across a few strands to give the web a frosty, more visible finish on dark windows.
10. Repeat with the remaining wax paper sheets to make a full set of clings in mixed sizes, aiming for 6 large webs and 4 smaller filler webs for a rich window display.
11. Clean the window with rubbing alcohol and a lint-free cloth, then let it dry fully so the clings will grip better.
12. Press each web gently onto the glass, smoothing the center first and then the outer edges; use the smaller webs to fill gaps so the whole window looks layered and dramatic rather than sparse.
Variations & Tips
Make them sparkle: Clear glue with a dusting of iridescent glitter gives a pretty icy look, especially if your windows get morning sun.
Use a template: If freehand webs make you nervous, print or draw two or three different web patterns first so your finished set looks varied but still tidy.
Go bigger carefully: For webs over 10 inches wide, make the spokes a little thicker and add an extra connecting row so the cling doesn’t flop when you lift it.
Add a spider: A small blob-and-line hot glue spider attached to one corner makes the whole display feel playful without adding much work.
If the cling won’t stick: Wash the window again and press the web on with slightly warm hands; a clean pane and a little warmth usually do the trick.
Store leftovers flat: Slip extra webs between clean sheets of wax paper and keep them in a shallow box so they stay smooth for next season.