
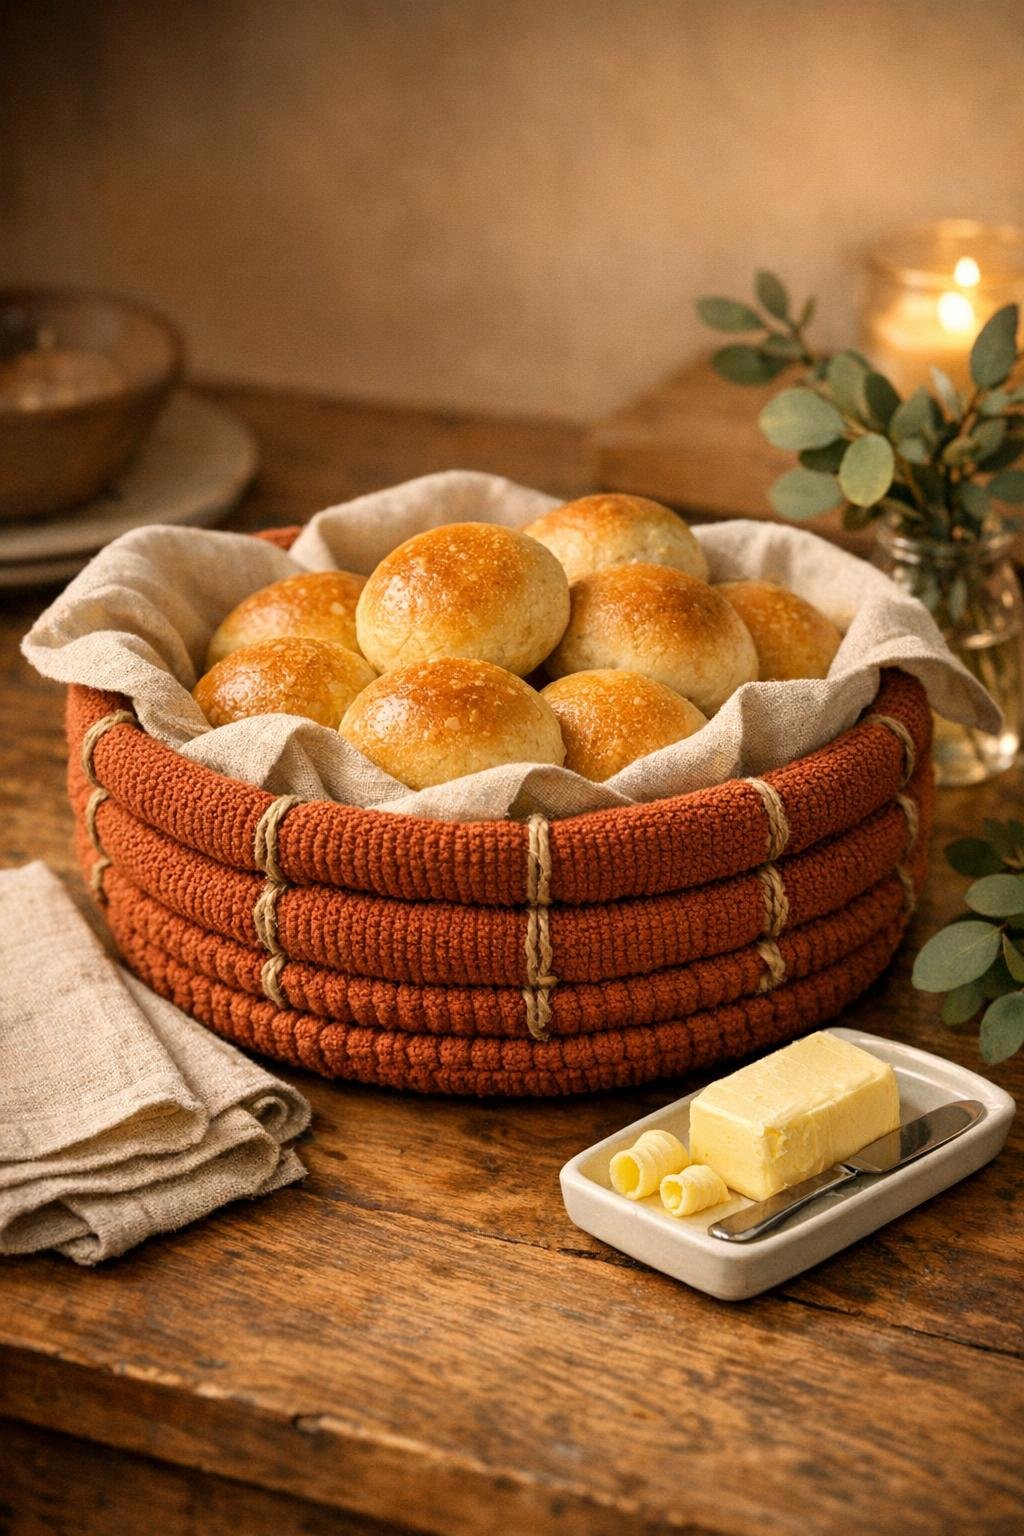
I love a project that turns the most ordinary household basic into something unexpectedly useful, and this coiled washcloth bread basket does exactly that. Four dollar-store washcloths, a little cotton twine, and a big needle are all it takes to make a soft basket that looks warm, handmade, and honestly far more expensive than it is.
This is a great beginner sewing project because there’s no precise pattern and no machine required. If you can roll, hold, and stitch, you can make this. The finished basket is sturdy enough for dinner rolls, muffins, napkins, or even packets of tea, and the rust color gives it that cozy, bakery-style look I’m always drawn to when I’m setting a table.
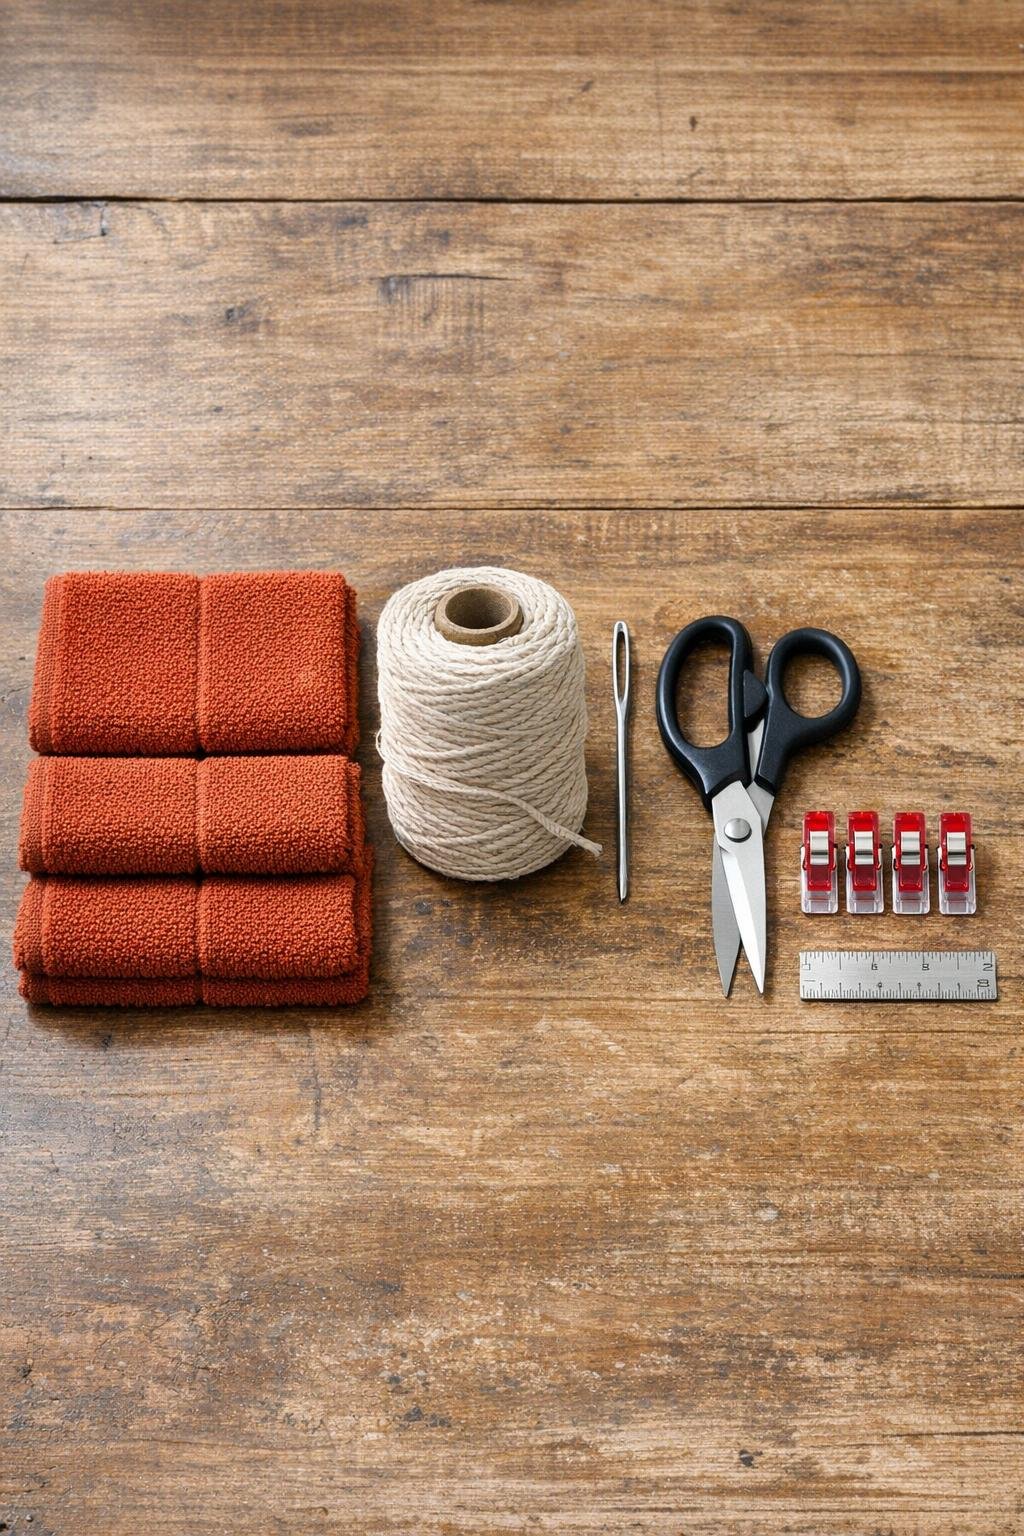
Materials
4 rust-colored cotton washcloths, standard 12 x 12 inch size
Instructions
1. Wash and dry the washcloths first if they feel stiff or heavily sized, then smooth them flat so the coils form evenly.
2. Trim off any hanging threads and inspect the edges; leave the finished hems in place because they help the basket hold its shape.
3. Roll the first washcloth tightly from one corner on the diagonal to make a long padded strip, then keep rolling that strip into a flat snail-shaped coil about 4 inches wide.
4. Thread the needle with a 30-inch length of twine, knot the end, and stitch through neighboring layers of the coil every 1/2 inch to lock that center spiral together.
5. Roll the second washcloth diagonally into another long strip and continue wrapping it around the first coil, keeping the basket base flat and snug rather than letting it cup upward yet.
6. Whipstitch through the edge of the new strip and the coil beneath it every 1/2 inch, pulling firmly enough to secure the layers but not so tight that the base buckles.
7. Repeat with the third washcloth, wrapping and stitching until the flat base measures about 8 inches across, using clips as needed to hold the outer coil in place while you sew.
8. Start building the sides with the fourth washcloth by angling the new coil slightly upward instead of outward, stitching each new round to the top edge of the previous round.
9. Continue wrapping the remaining length around the basket, shaping as you go so the sides rise about 2 1/2 to 3 inches high with a gentle rounded wall.
10. When you reach the end, tuck the final tail under the last 2 inches of coil, stitch it down securely several times, and add a tiny dab of fabric glue underneath if you want extra hold.
11. Go back around the rim with a fresh length of twine and add a few extra stitches anywhere the edge feels loose; this second pass makes the basket look neater and feel sturdier.
12. Shape the basket with your hands, pressing the base flat on the table and gently rounding the sides so it sits evenly and holds rolls nicely.
Variations & Tips
Add a liner: Tuck in a 14 x 14 inch square of lightweight cotton or linen if you want to serve flaky biscuits or sweet rolls and keep crumbs contained.
Make it taller: If you want more height for muffins or fruit, use 5 or 6 washcloths instead of 4 and keep angling the coil upward after the base reaches 8 inches wide.
Use color blocking: Two rust washcloths and two cream washcloths make a beautiful striped basket if you switch colors between the base and the side wall.
Choose the right twine: Soft cotton twine is easiest to stitch and kindest on your hands; rough jute looks nice but is harder to pull through thick terry cloth.
Keep the base flat: If the basket starts wobbling, your stitches are probably too tight on one side; loosen your tension slightly and press the base flat as you work, the same way I adjust a dumpling seam before cooking so the shape stays balanced.
Gift idea: Fill the finished basket with a tea towel, jam jar, or packet of homemade rolls for a simple hostess gift that feels thoughtful and useful.