
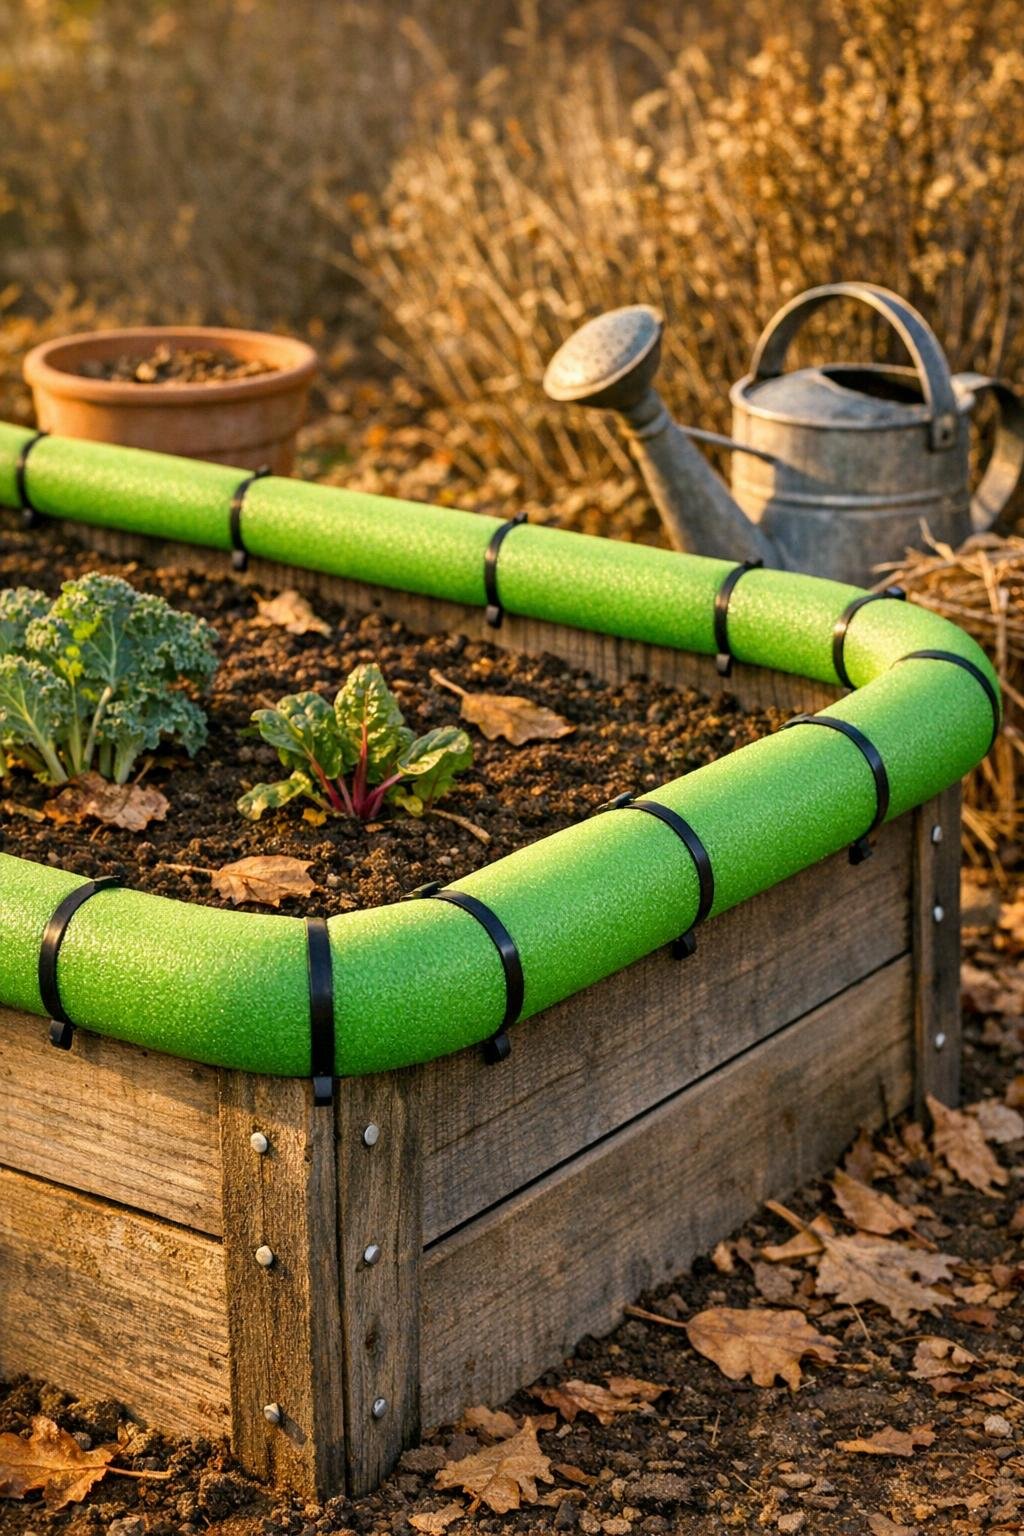
There’s something awfully satisfying about making a garden problem disappear with two humble things you can pick up in one errand. This raised bed edge protector uses bright green foam pool noodles and zip ties to cushion the sharp or chilly top edge of a raised bed before frost season sets in. It softens the rim, helps protect tender stems and draping vines from rubbing, and gives the whole bed a neat, finished look that makes folks think you bought a custom garden trim.
I’m fond of projects like this because they feel like the old farmstead habit of making do, only prettier. If you’ve got metal or wooden raised beds that turn rough, cold, or hard on your hands in autumn, this is an easy afternoon fix. The shape stays true to those sliced-open noodles from the hero photo, and once they’re fastened on in a tidy line, the bed looks surprisingly polished.
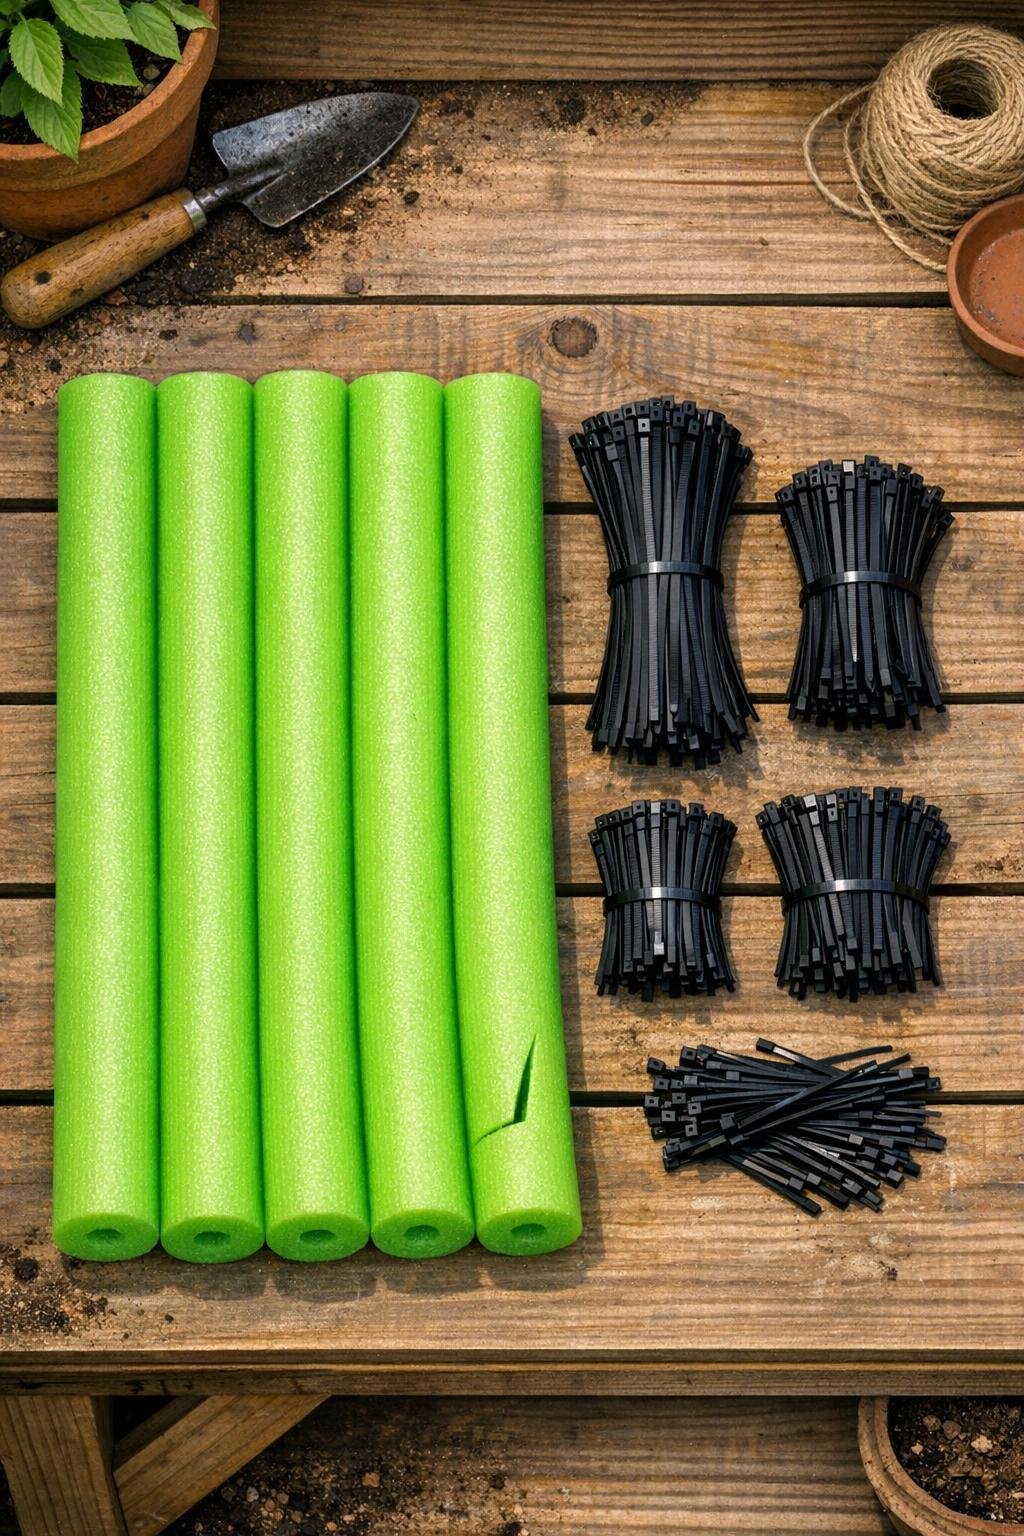
Materials
Instructions
1. Measure the top perimeter of your raised bed so you know how many noodles you’ll need; six standard noodles cover about 26 to 27 linear feet once installed.
2. Slice each pool noodle lengthwise from end to end, following the center line so the noodle can open and grip the bed edge like a sleeve.
3. Open one noodle at the cut and press it over the raised bed rim, starting at a corner and working a foot or two at a time so the foam stays snug.
4. Wrap a zip tie around the noodle and under the bed’s top lip or through any available gap, placing one tie every 8 to 10 inches to keep the foam from twisting in wind.
5. Continue adding noodles end to end around the bed, butting each piece tightly against the next so the edge reads as one continuous cushioned band.
6. At corners, make a short angled relief cut in the inside of the noodle so it bends cleanly without buckling; for square corners, two small cuts usually do the trick.
7. Pull every zip tie tight enough to hold the noodle firmly, then trim the tails close so the finish looks clean and won’t snag sleeves or garden gloves.
8. Check the full perimeter and add extra zip ties anywhere the foam lifts, especially near joints, corners, and the windy side of the bed.
9. Press the seams flat with your hand and rotate the noodle slightly as needed so the slit faces inward or downward, leaving the visible top line smooth and tidy.
10. Leave the protector in place for the cold season, or year-round if you like the look, and replace any section that gets weathered by simply snipping the ties and sliding on a fresh noodle.
Variations & Tips
For metal beds: This works especially well on thin galvanized bed edges that get cold fast and can feel sharp on the forearms when you lean in to weed.
For wooden beds: If your boards are splintery, press the slit a little deeper when needed so the noodle sits lower and hides a rough top edge better.
Best tie spacing: I’ve found 8 inches apart gives the nicest tailored look; wider spacing works, but the noodle can ripple and look homemade in the wrong way.
Cold-weather help: This protector won’t replace frost cloth, but it does keep covers from scraping against a harsh rim and gives clips or clamps a softer place to rest.
Neater seams: Put your noodle joints at the back corners of the bed when possible, the same way I used to turn pie-crust seams away from the prettiest side of the table.
Color choice: Bright green blends surprisingly well with the garden, but if you only find another color, keep every noodle the same shade so the bed still looks intentional and finished.
Easy seasonal refresh: If winter sun fades one side, replace only the weathered run instead of the whole border; the zip-tie method makes patching very simple.