
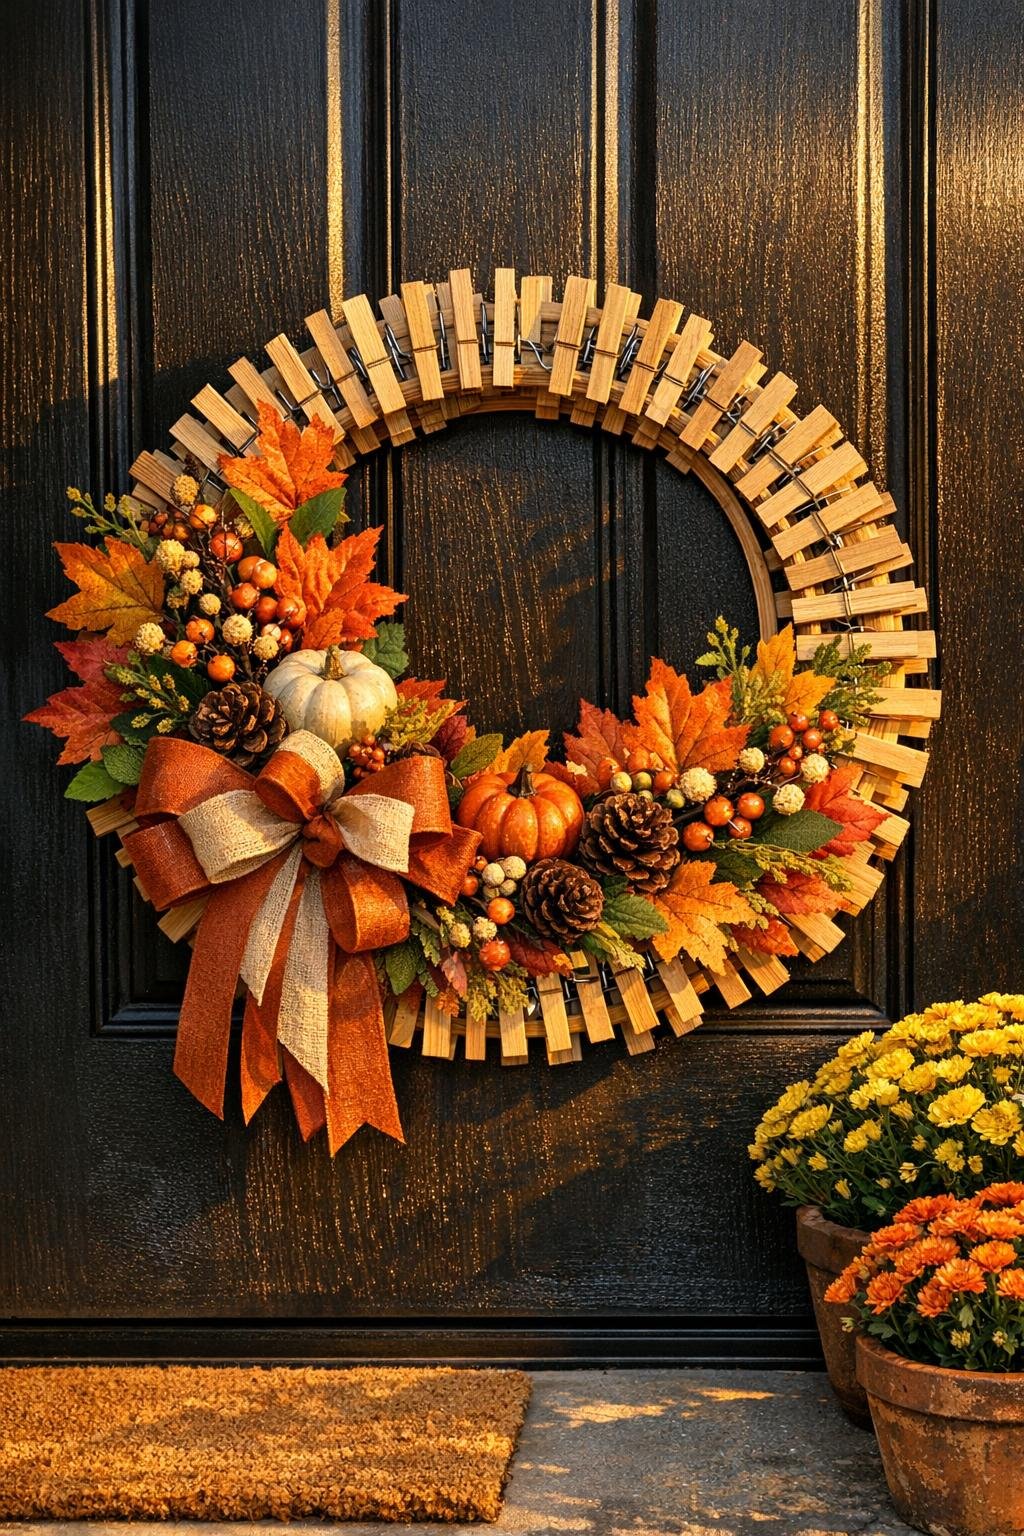
This clothespin harvest wreath is one of those projects that looks clever the second you see it, and once you make one, you understand why people keep reaching for a pack of clothespins and a couple of embroidery hoops every fall. The clipped pins create a full sunburst shape with almost no fuss, and the double-hoop center gives you a sturdy base that feels much more polished than a flimsy foam form. I love projects like this because they give you a big seasonal payoff without asking for advanced crafting skills or a whole free weekend.
As someone who is usually squeezing creative projects in between work deadlines and figuring out dinner, I appreciate decor that comes together fast but still looks intentional. This version keeps the natural wooden clothespins visible for that warm harvest texture, then layers on simple autumn details so the wreath looks generous and finished on a front door, over a mantel, or leaning on an entry table.
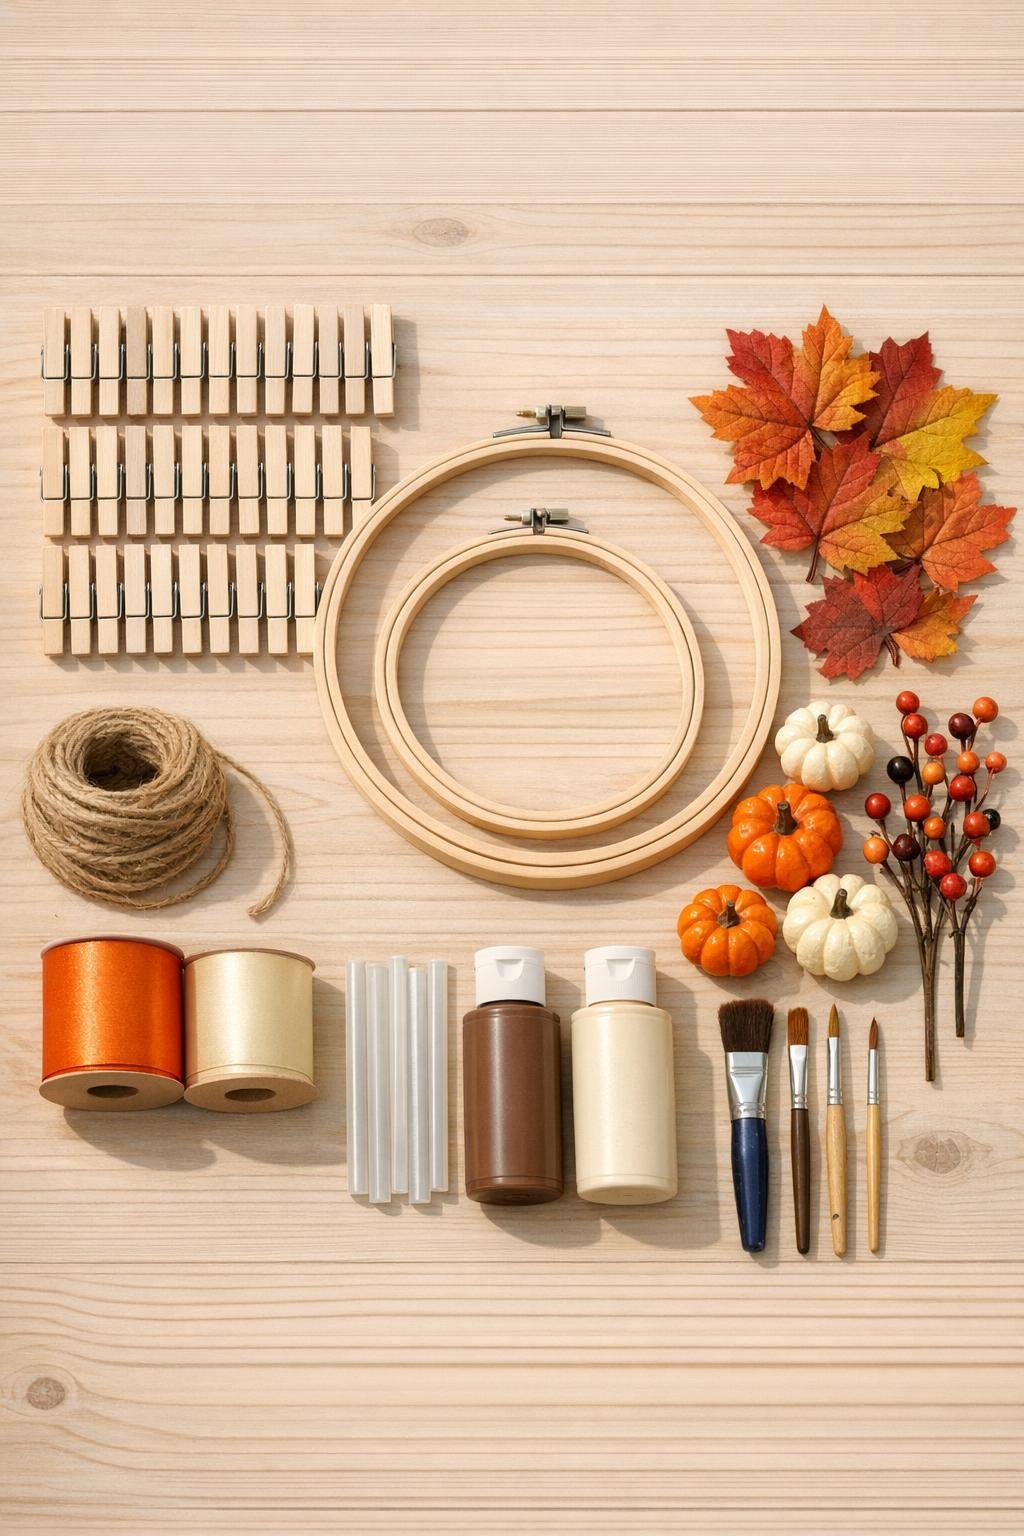
Materials
Instructions
1. Separate the inner rings from both embroidery hoops and use the plain solid rings as your wreath base, saving the screw-tightening outer rings for another project.
2. Clip 32 clothespins evenly around the 12-inch hoop with the pin openings facing toward the center, then clip 18 clothespins around the 8-inch hoop the same way so both rings look full and balanced.
3. Center the smaller clothespin ring over the larger one and tie them together at four points with 6-inch lengths of jute twine, pulling snug so the smaller ring sits securely without wobbling.
4. Lightly dry-brush a little matte brown paint over random clothespin edges and add a soft touch of ivory on a few tips to give the wreath more depth and that slightly weathered harvest look; let it dry for 10 minutes.
5. Cut the faux greenery into shorter sprigs, then hot-glue three full clusters around the wreath at roughly the lower left, lower right, and upper right so the foliage breaks up the wood evenly without covering the clothespin shape.
6. Tuck and glue the faux maple leaves into those greenery clusters, using four leaves in the largest bottom cluster and the rest split between the other two areas for a full, layered arrangement.
7. Add the berry stems next, sliding them slightly underneath the leaves and gluing at the base so a few berries extend outward and soften the spiky outline of the clothespins.
8. Glue the three mini pumpkins into the bottom half of the wreath, grouping two close together in the largest cluster and one slightly off to the side for a natural, abundant harvest arrangement.
9. Fill open spots with the six pinecones, angling them between clothespins and foliage to make the design look dense and finished rather than flat.
10. Make a bow with two 18-inch loops of burnt orange ribbon and two shorter tails, layer a small cream ribbon bow on top, and glue the finished bow where the clusters meet near the lower center.
11. Turn the wreath over, tie a 10-inch loop of jute twine to the top back of the larger hoop for hanging, and trim any glue strings or uneven stems from the front.
Variations & Tips
Make it more farmhouse: Skip the orange ribbon and use natural burlap or muted olive ribbon instead. I like this look when the rest of my porch decor is more neutral.
Add a lighted center: A small battery-operated candle lantern tucked in the center opening looks really pretty on a mantel or entry table. Just don’t glue it in permanently if you want to swap decor later.
Use floral wire for extra security: If your wreath will hang on an exterior door that gets a lot of movement, wire the pumpkin stems and larger greenery bundles to the hoop before gluing. It takes a few extra minutes but helps everything stay put.
Keep the clothespins evenly spaced: I usually clip the top, bottom, left, and right pins first, then fill in between them. That little trick makes the wreath look balanced without any measuring.
Try a Thanksgiving-to-winter transition: Remove the pumpkins after November and tuck in more pinecones, seeded eucalyptus, and a deeper brown ribbon. It gives you a second season out of the same base, which is exactly my kind of practical decorating.
Display tip: If you’re hanging this behind a storm door or indoors, the natural wood finish will stay nicest longer. For a covered porch, a light spray of clear matte sealer on just the clothespins can help protect against humidity.