
I love a garden fix that solves a real problem without sending me to the store for a specialty gadget, and this one does exactly that. This simple wind anchor is made from cut and bent wire coat hangers plus one everyday yard item: landscape staples. The result is a sturdy, low-profile support that pins a pre-frost container planting in place so gusty fall weather does not tip, twist, or scoot your pot across the porch.
If you already set out mums, ornamental kale, pansies, or other cool-weather containers every year, this is the kind of practical little project that earns compliments because it looks surprisingly purposeful once it is installed. I am designing it here as a generous, polished version with multiple hanger hoops and anchoring points, so it actually holds well and looks intentional rather than improvised.
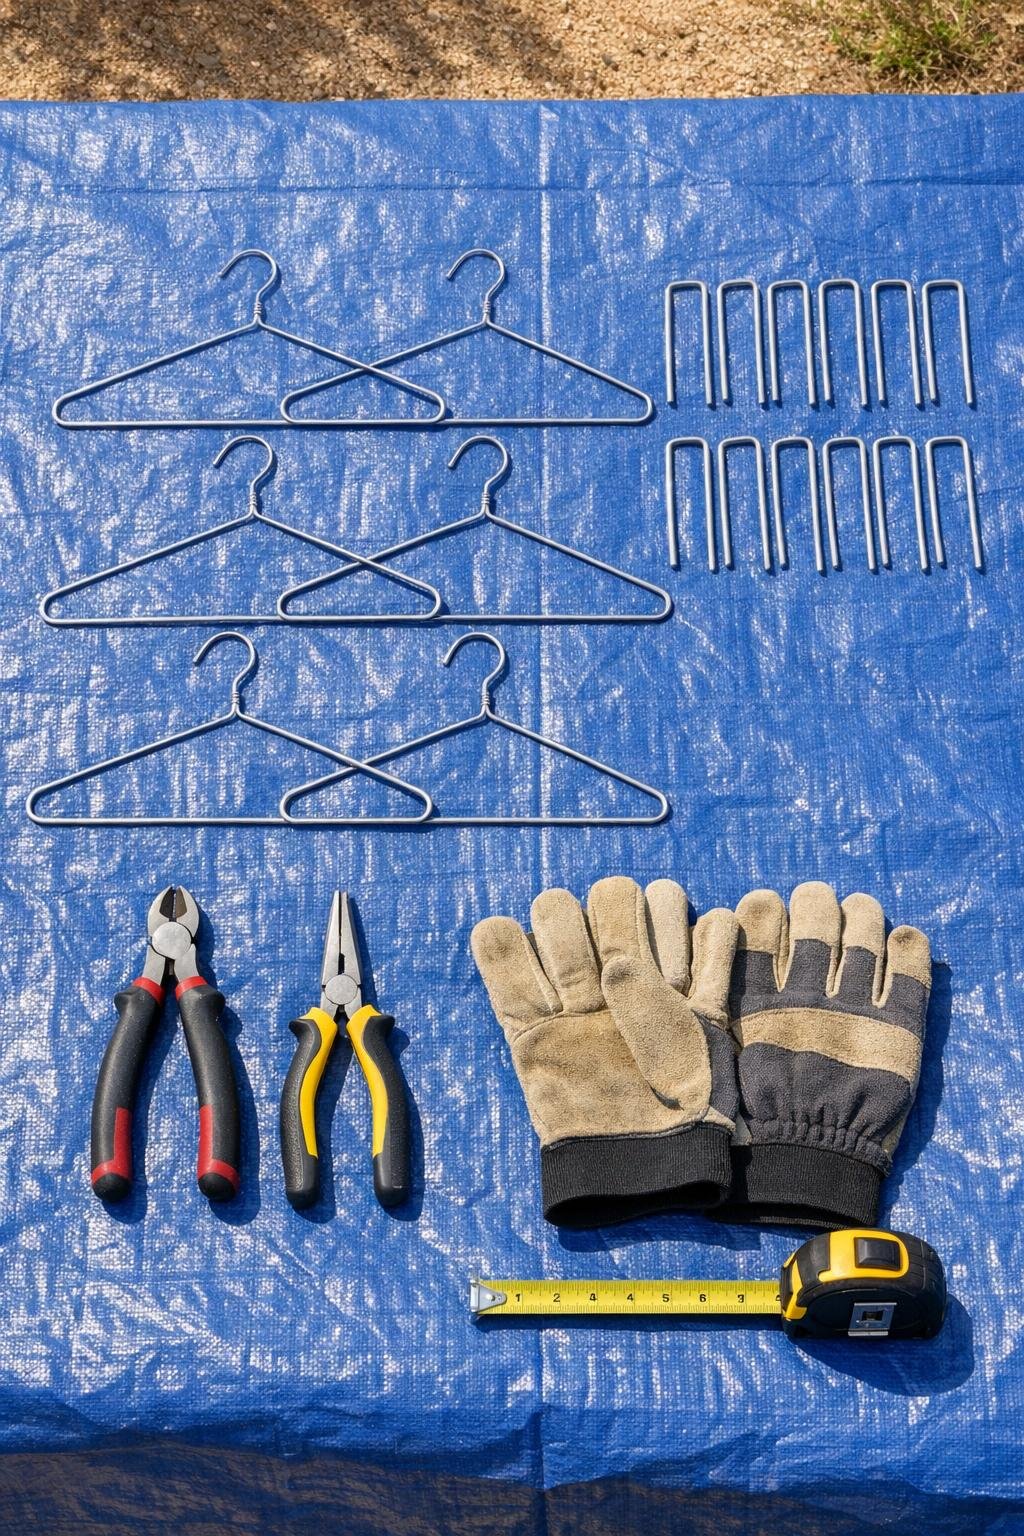
Materials
Instructions
1. Put on gloves and measure the widest part of your container near the upper third, where the anchor will sit without sliding down. For most porch pots, that measurement lands between 12 and 18 inches across.
2. Cut the twisted neck and hook off all 6 wire coat hangers so you are left with long wire sections you can straighten. Use the pliers to open every angle and smooth each piece into a nearly straight rod.
3. Form 3 large U-shaped clamps from the longest hanger sections, making each one slightly wider than your pot measurement so it can arch over the root ball and catch the pot rim area. Bend the ends straight downward for 5 to 6 inches to create legs.
4. Use the remaining hanger wire to make 3 smaller cross-braces, each about 8 to 10 inches wide, with tiny loops bent at both ends. These braces connect the larger arches so the anchor acts like one fitted cage instead of separate loose pieces.
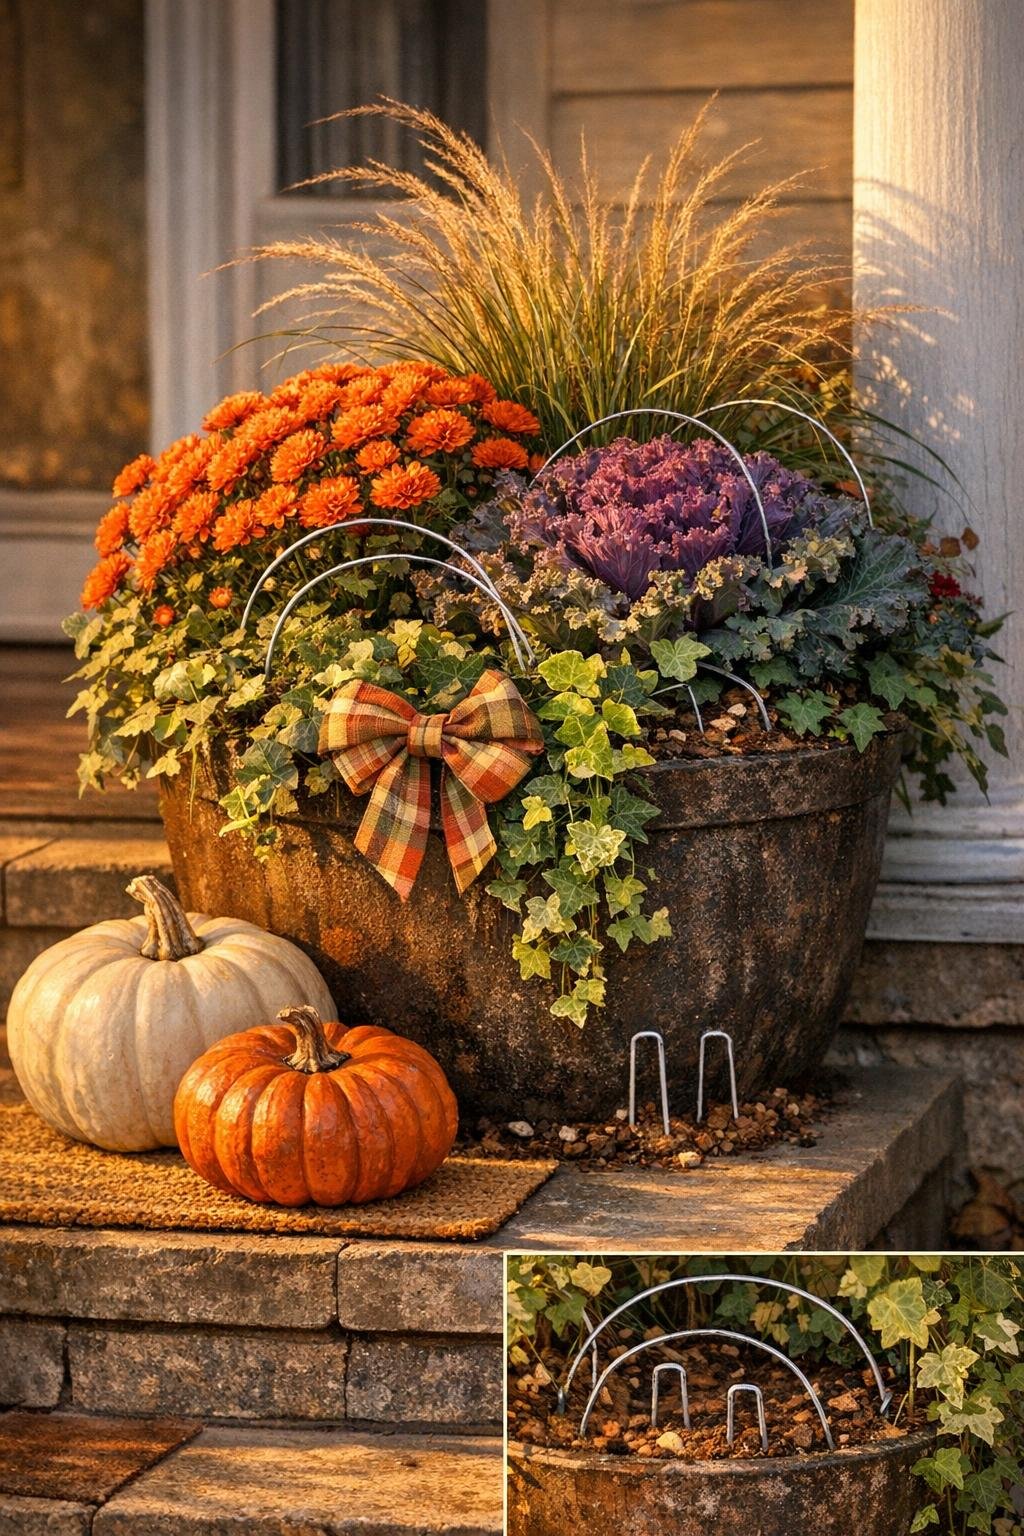
5. Push the 3 large wire arches evenly across the top of the planted container, spacing them in a triangle pattern so they pass between plant stems instead of crushing them. Sink each leg 4 to 6 inches into the soil until the arches sit low and snug over the root area.
6. Wire the structure together by twisting one small cross-brace between each pair of arches at the top center area. Pinch the loops tightly with pliers so the frame feels solid and keeps its shape in wind.
7. Slide 4 landscape staples over the lower edge of the wire legs where they meet the soil, pressing the staples down to lock those legs from shifting. This doubles the hold by anchoring both the wire frame and the soil surface.
8. Add the remaining 8 landscape staples around the inside rim area of the planter, aiming them at slight outward angles through the soil to grip the root mass and reduce rocking. Keep the staple tops just visible enough that you can remove them later before winter soil freeze.
9. Tuck foliage gently back over the wire and staples so the hardware disappears while the planting still looks full. From normal standing height, the container should read as lush and tidy, with the anchor hidden inside the arrangement.
10. Test the setup by gripping the pot rim and giving it a firm side-to-side shake; if the planting shifts, tighten the wire twists and add a little more bend to lower the arches. Once adjusted, the frame should hold the soil mass together and keep wind from lifting or loosening the planting.
Variations & Tips
For larger pots: Use 8 coat hangers instead of 6 and make 4 arches rather than 3 for containers wider than 20 inches. The extra arch keeps the center from flexing in strong wind.
For delicate plantings: Insert the arches before the container fully fills in, then guide stems around the frame as the plants grow. I do this with pansies and trailing ivy so I do not snap fresh growth.
For a cleaner look: Spray the finished wire frame with flat black outdoor paint before installation if your planter is dark and the silver wire would show. Let it dry fully, then assemble it exactly the same way.
For winter transition: This same framework works beautifully under cut evergreen boughs and berry stems after the first hard frost. I often reuse the anchor base when I swap autumn flowers for holiday greens.
To protect your hands: Curl every cut wire tip inward with pliers so there are no sharp exposed ends. That one small finishing step makes the project feel much more polished and safer to handle.
Best placement: This anchor helps most in tall lightweight resin pots and exposed porch corners where wind tunnels form. Heavy ceramic planters may still benefit, but lightweight containers show the biggest improvement.