
I love a craft that looks surprisingly high-end but starts with something you could easily overlook on a walk through the yard, and this acorn cap flower arrangement is exactly that kind of project. By drilling a tiny hole in each cap and threading them onto floral wire, you can turn a small pile of natural bits into a full, textured bouquet that looks equal parts woodland and boutique floral stem.
This is a great project for anyone who likes easy nature crafts, seasonal decorating, or making something beautiful without needing a whole afternoon. I’m always looking for projects I can do after work with a cup of tea on the counter and dinner already handled, and this one has that satisfying mix of simple steps and a big payoff once all the stems come together in a vase.
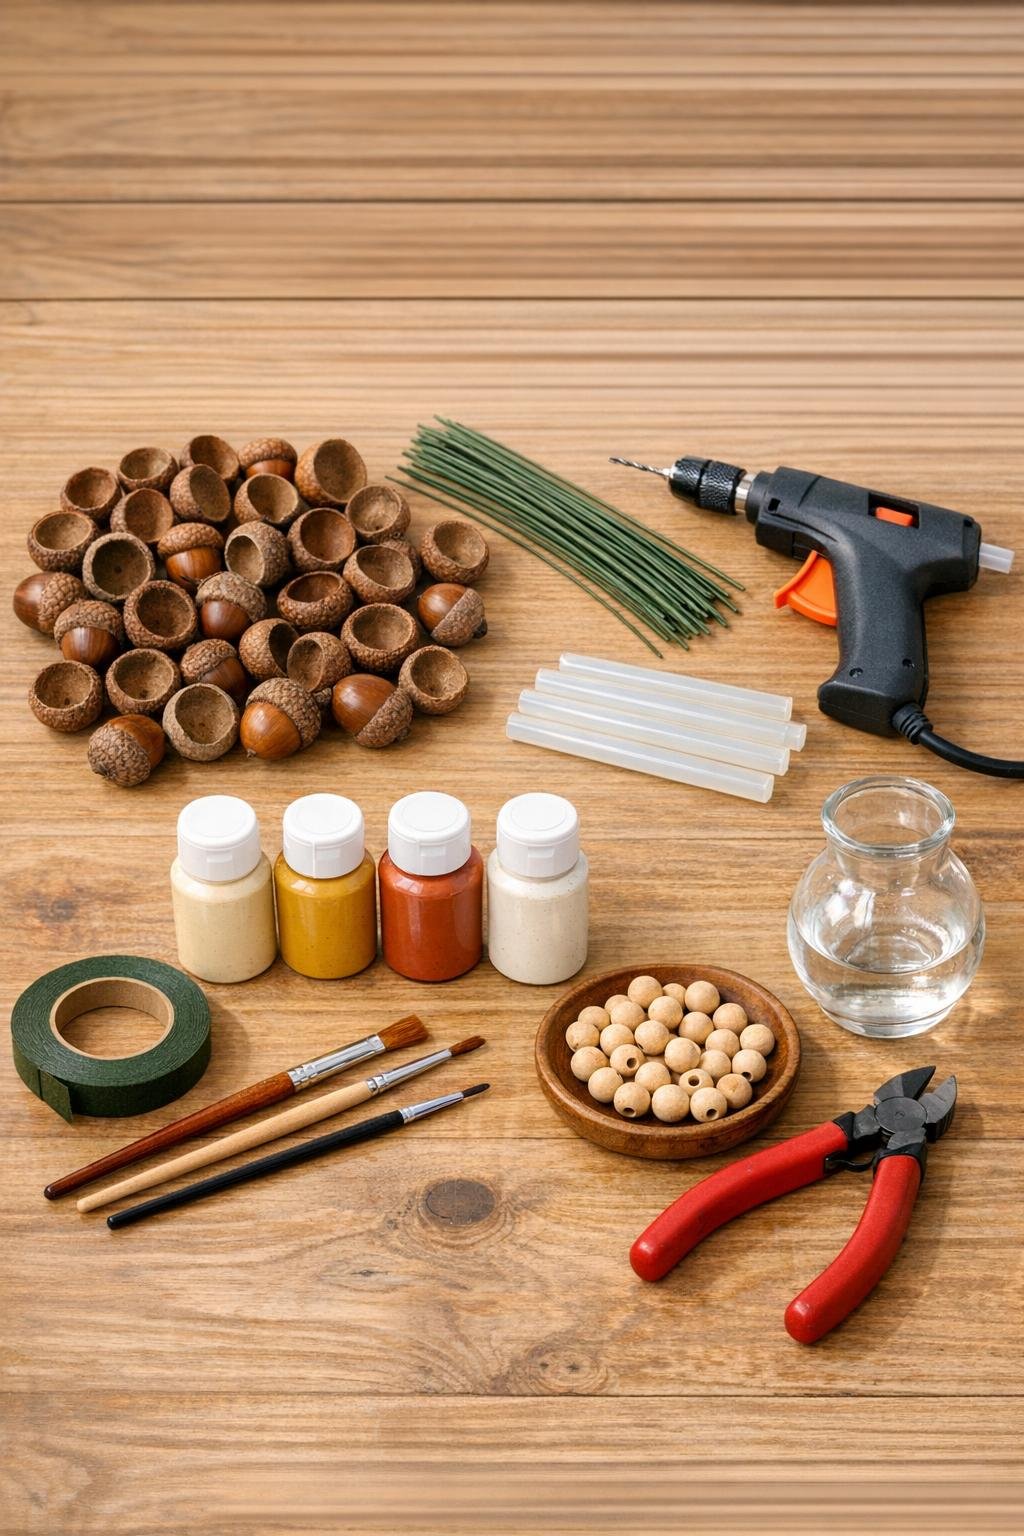
Materials
Instructions
1. Brush out the acorn caps and lightly sand any rough edges so they’re smooth and clean. Sort them into pairs and trios by size so your finished flowers look balanced.
2. Drill one tiny hole near the base edge of each acorn cap, working slowly so the caps do not crack. Hold each cap firmly on the workbench and angle the hole just enough to let the wire pass through cleanly.
3. Paint the outside of the acorn caps in a mix of soft white, cream, muted mustard, and terracotta, leaving a few natural brown for contrast. Use thin coats so the acorn texture still shows through and let them dry completely.
4. Seal the painted caps with a thin coat of matte sealer to protect the finish and keep the colors soft rather than shiny. Let them dry flat for 15 to 20 minutes.
5. Thread one piece of floral wire through the hole in an acorn cap and bend the short end back on itself inside the cap. Add a dot of hot glue to lock the wire in place and create a sturdy single-petal stem.
6. Build each flower by attaching two or three wired acorn caps together around one wood bead center with hot glue, overlapping the caps slightly like petals. Pinch them together for a few seconds until the glue sets.
7. Wrap the joined wires with floral tape from just under the flower head down the stem to make one neat, thicker stem. Twist and slightly curve the flower heads so they open outward and look natural.
8. Repeat until you have about 10 full flowers made from all 30 acorn caps. Vary the color placement and petal spacing a little so the bouquet feels full and organic rather than too uniform.
9. Trim the stems to slightly different lengths between 8 and 11 inches, then gather them into a loose bouquet with the tallest stems in the center. Tuck in dried grass stems or faux greenery between the flowers for extra volume.
10. Add a little moss to the bottom of the vase, arrange the bouquet inside, and fan the flowers outward until the arrangement looks full from every angle. Give any visible petals a tiny paint touch-up if needed, then let everything sit for a few minutes before displaying.
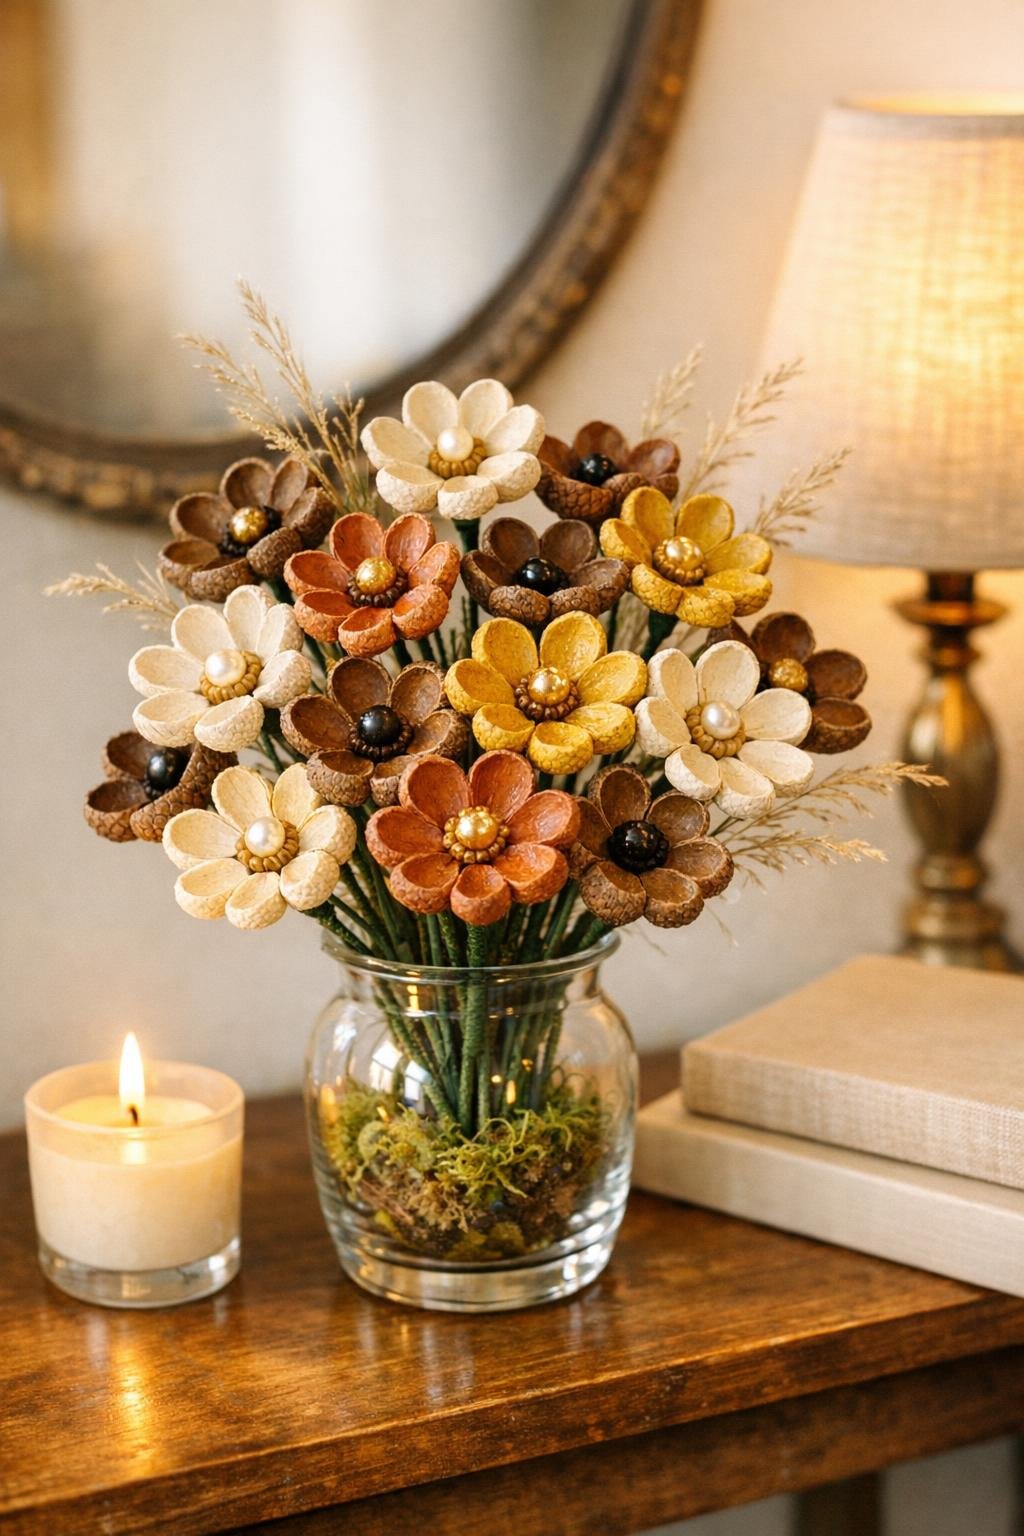
Variations & Tips
Natural look: If you prefer a more woodland style, skip most of the paint and use only a dry-brushed white or cream on a few caps. I love this version for fall because it feels polished without losing that found-in-nature charm.
Fuller bouquet: For a centerpiece-style arrangement, double the project and make 20 flowers from 60 acorn caps. The same method works beautifully; you just want a wider vase and a few extra filler stems.
Center options: Small wooden beads give a soft, natural look, but pearl beads or tiny felt pom-poms also work if you want a sweeter, more decorative finish.
Color palette: Try sage, blush, and ivory for spring, or rust, gold, and deep cream for autumn. I usually pull colors from whatever napkins or dish towels I already have out so the arrangement feels at home in the room.
Drilling tip: If your acorn caps are brittle, place them on a folded towel while drilling and work with very light pressure. It takes an extra minute, but you’ll save yourself from losing half your prettiest caps.
Display idea: These look especially pretty on an entry table, kitchen windowsill, or Thanksgiving place setting. A small cluster of vases with different stem heights makes the project look even more abundant.