
There’s something about old brass hardware and worn wood that always makes a house feel like it has a story to tell. This hallway key rack is one of those easy little projects that looks far more special than the effort it takes, and since it’s made from a thick wooden ruler and vintage-style brass doorknobs, it has that useful-meets-conversation-piece charm that I’m awfully fond of. It gives keys, dog leashes, and even a light tote bag a proper home right by the door.
I especially like this project for folks who want a practical organizer without bringing in anything slick or modern-looking. The aged brass and weathered ruler feel right at home in an entryway, mudroom, or farmhouse hall, and because we’re using strong adhesive instead of drilling the knobs through the wood, it stays simple enough for an afternoon. It reminds me of the sort of clever household fix my generation never thought twice about making from what we had on hand.
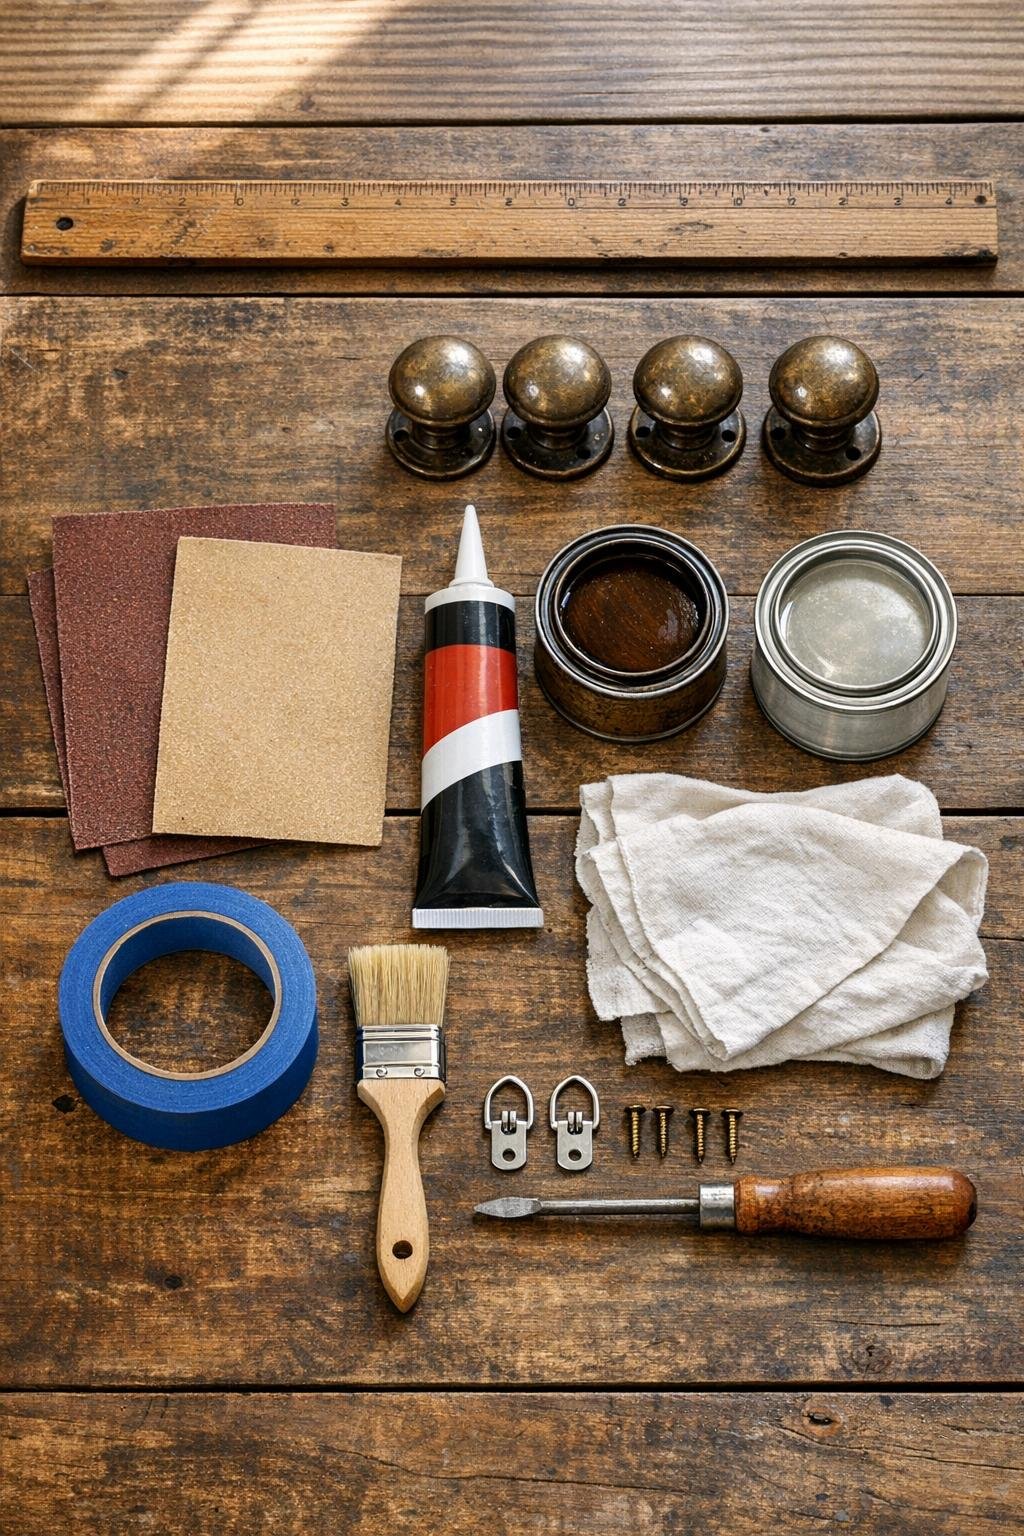
Materials
Instructions
1. Lay the ruler flat and decide which side will face front, keeping the weathered markings and age spots visible if they’re attractive. If the ruler has splinters or rough edges, sand just enough with 120-grit paper to smooth it without erasing its character.
2. Lightly sand the front and edges again with 220-grit paper so the finish will go on evenly, then wipe away all dust with a dry rag. Clean the backs of the brass doorknobs with rubbing alcohol and let them dry completely so the adhesive grips well.
3. Brush on a light coat of stain if you want to deepen the weathered wood, then wipe off the excess after 2 to 3 minutes. Let it dry according to the product directions so the ruler keeps that old, mellow look instead of turning too dark.
4. Apply a thin coat of clear matte or satin topcoat over the front, edges, and back of the ruler, then let it dry fully. This simple step makes the piece look finished and helps it hold up to hallway scuffs and fingerprints.
5. Turn the ruler face up and mark placement for four knobs, spacing them evenly across the length with about 2 inches left clear at each end. Set the outer knobs slightly in from the ends so the finished rack looks balanced and has room for hanging hardware on the back.
6. Add a generous mound of strong adhesive to the back of the first doorknob and press it firmly onto its mark, twisting slightly to spread the glue. Repeat with the remaining knobs, keeping them aligned in a straight row and checking from above before the adhesive sets.
7. Use painter’s tape to brace each knob in place if needed, especially if the backs are slightly uneven or rounded. Leave the ruler flat and undisturbed for the full curing time listed on the adhesive package; overnight is best for a secure hold.
8. Once the knobs are fully cured, flip the ruler over and attach a D-ring hanger near each end on the back using two small screws per hanger. Keep both hangers level and inset about 1 inch from the ends so the rack will hang straight.
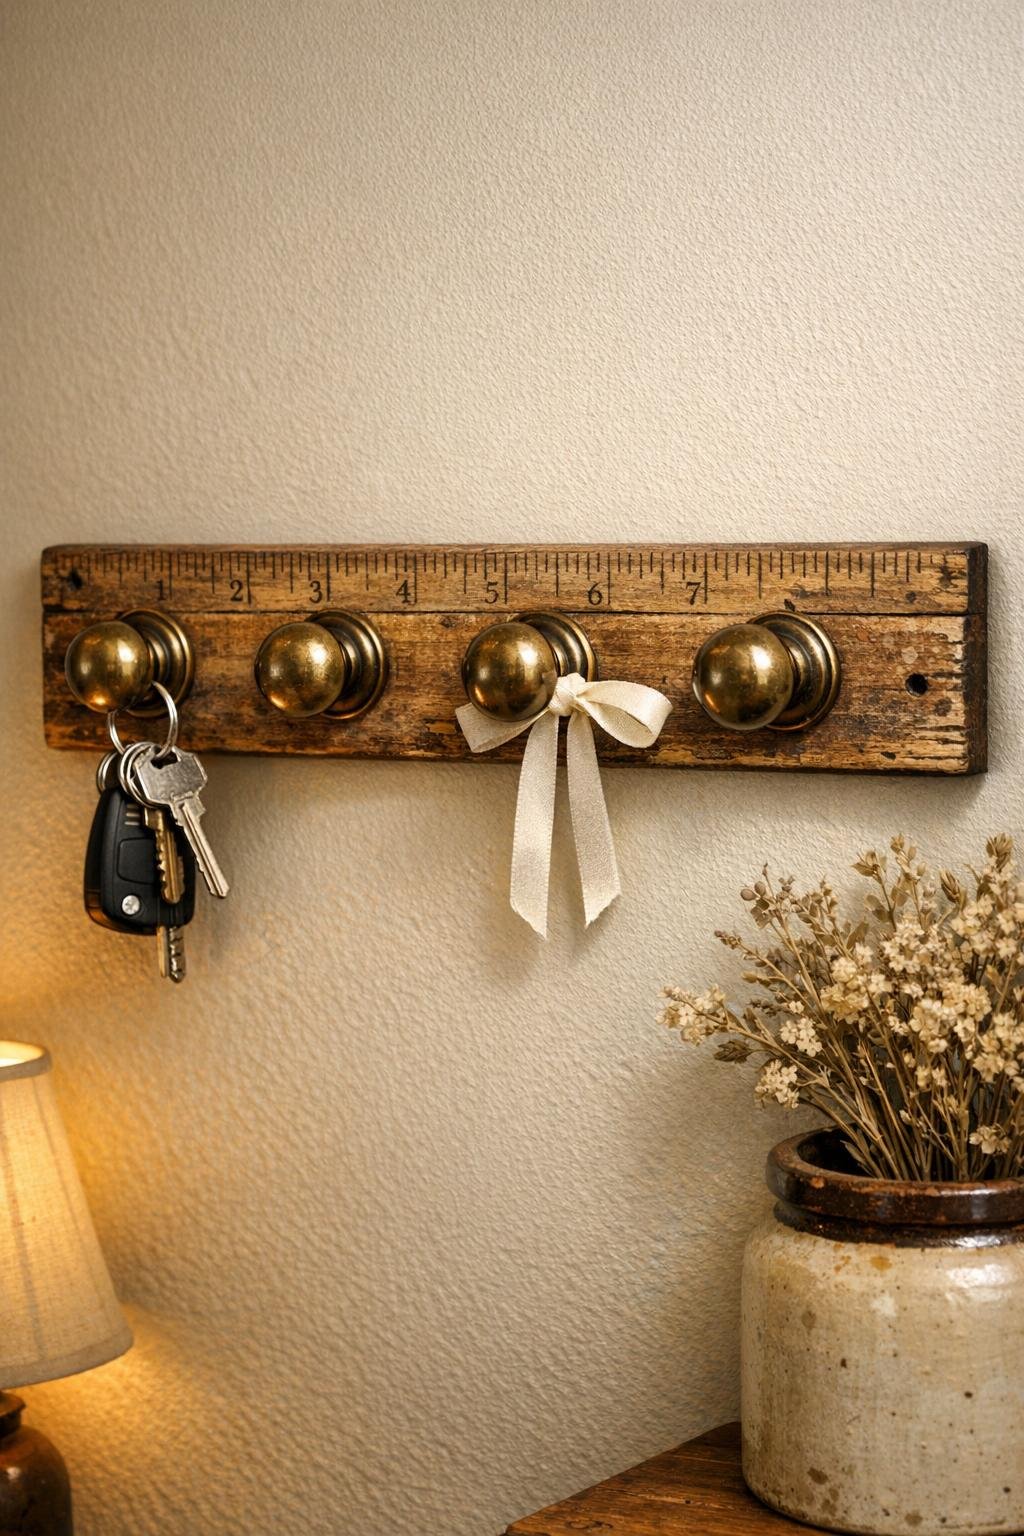
9. Hang the rack on wall screws or picture hooks in your hallway, then load it up with keys, a lightweight lanyard, or a small dog leash. If you like, buff the brass lightly with a dry cloth so the knobs catch the light and look extra handsome against the old ruler.
Variations & Tips
For a longer family rack: Use a 24-inch ruler and five or six doorknobs if you need room for more sets of keys. Just keep the spacing even and leave a little margin at both ends so it still looks neat.
If your ruler is very rough: Sand only the spots that would snag hands or keys. I always say old wood should keep some of its wrinkles, same as the rest of us.
For extra vintage character: Mix unmatched brass knobs on purpose, as long as they’re close in size. That collected-over-time look is often what makes visitors ask where you found it.
Adhesive matters: Choose a heavy-duty adhesive rated for wood and metal, and give it the full cure time. Rushing this part is the main thing that turns an easy project into a fussy one.
Best use: This style is ideal for keys, lightweight handbags, caps, and leashes rather than heavy coats. Since the knobs are glued rather than bolted through, keeping the load light will help it last beautifully.
Easy finishing touch: A tiny bow tied around one knob or a little hanging tag for house keys gives it that polished, gift-worthy look. Those small touches are often what make a useful object feel truly special in a hallway.