
Small-bedroom storage projects are my favorite kind of problem-solving, probably because I live in a city home where every closet inch has to earn its keep. This scarf organizer is one of those wonderfully simple ideas that looks polished, takes very little time, and makes a surprising difference when your dresser, hooks, and closet rod are already pulling overtime.
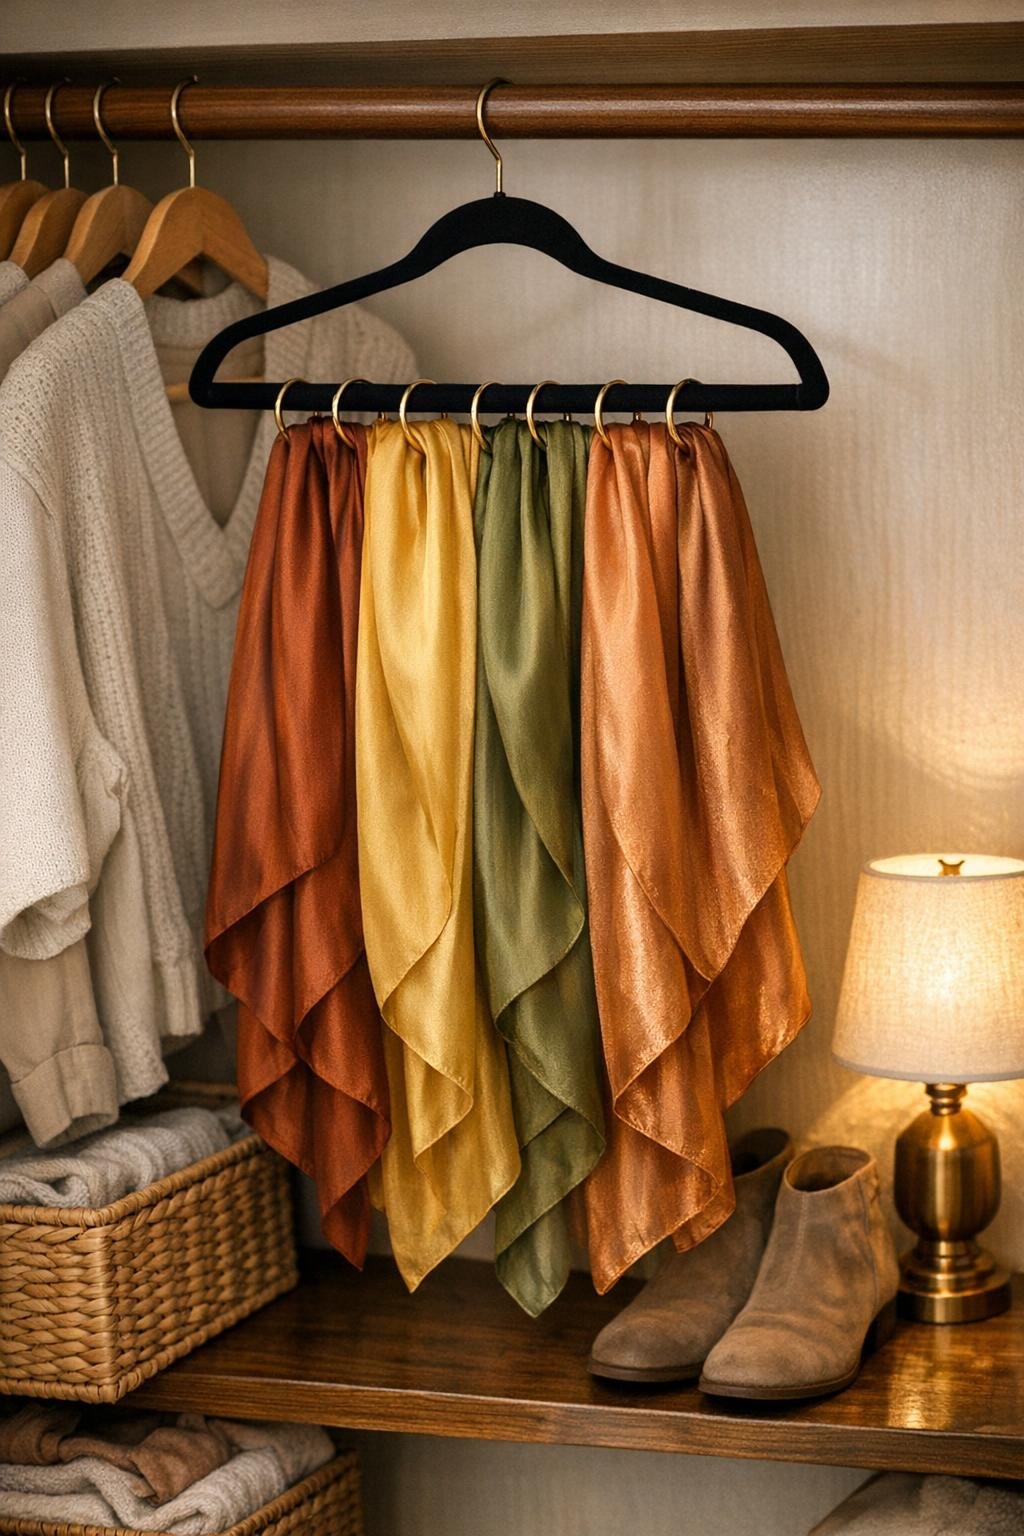
The whole project is exactly what the headline promises: silk scarves slid through brass curtain rings attached to a slim black velvet hanger. It’s ideal for anyone who wants scarves visible, wrinkle-resistant, and easy to grab in the morning without sacrificing drawer space. I especially like this version because it keeps the hanger sleek and soft-looking rather than bulky, and the warm brass against the black velvet feels a little more dressed-up than basic plastic organizers.
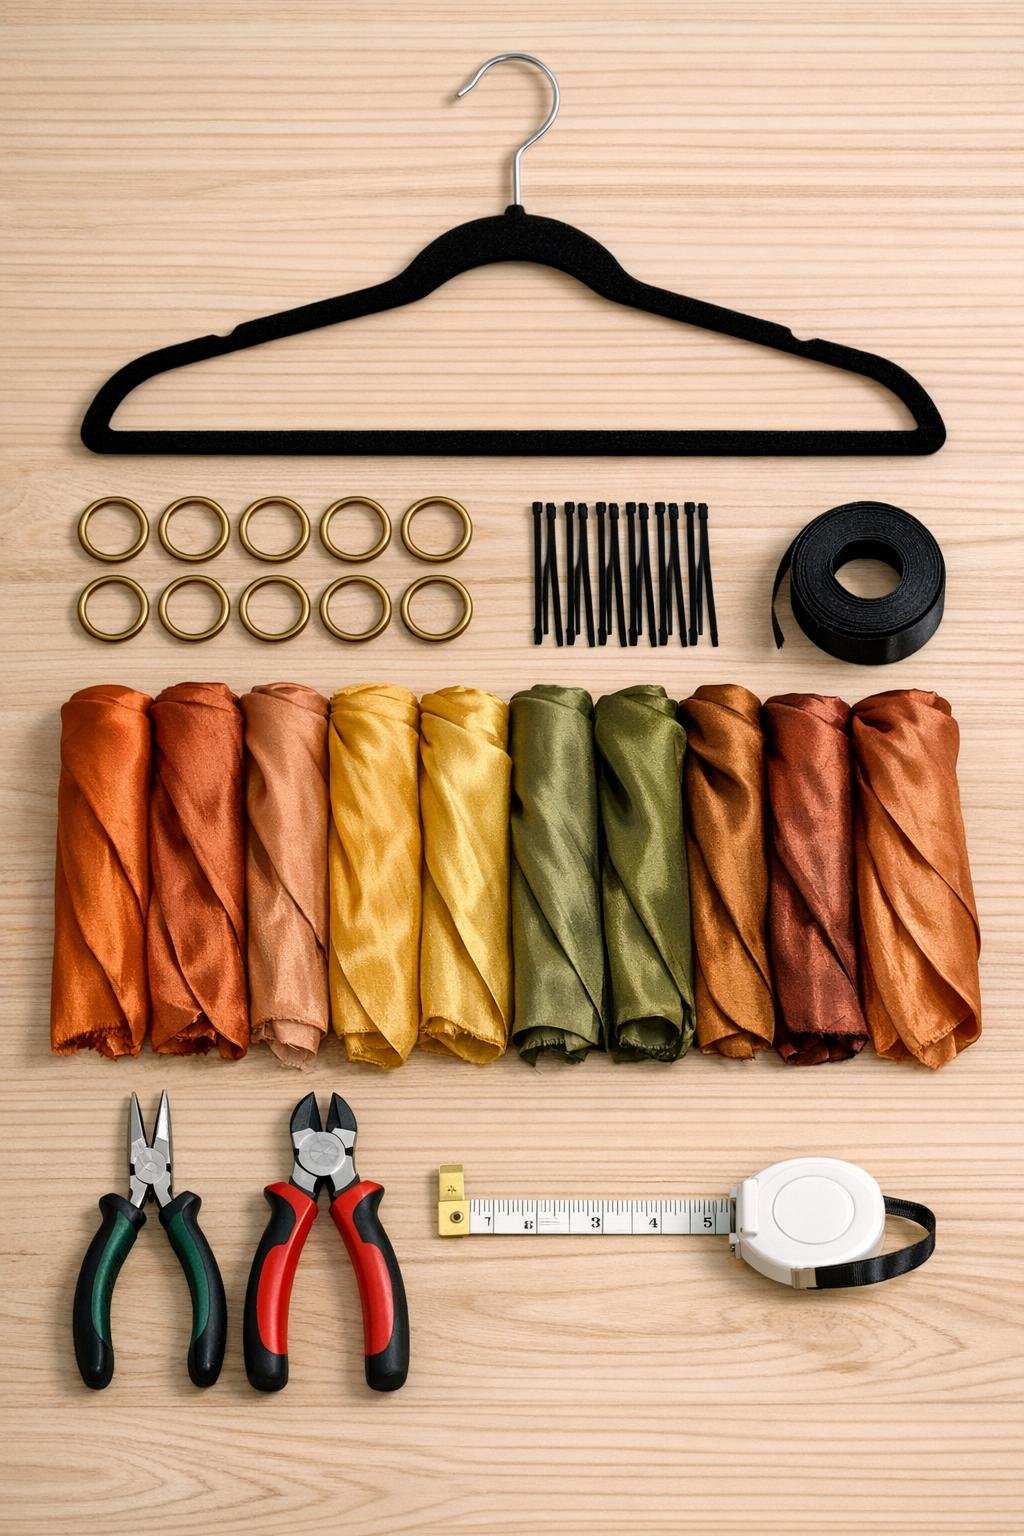
Materials
Instructions
1. Wipe down the velvet hanger and each brass ring with a soft cloth so the finished organizer starts clean and won’t transfer dust onto silk scarves.
2. If your curtain rings came with clips, remove the clips so you’re left with smooth rings only; use needle-nose pliers if any clip hardware is stubborn.
3. Measure the lower bar of the hanger and divide the space into 12 evenly spaced ring positions, leaving about 1 inch clear at each end so the organizer hangs neatly without crowding.
4. Attach the first brass ring to the hanger’s lower bar with a black zip tie, looping it tightly enough that the ring stays upright but still hangs freely.
5. Repeat with the remaining 11 rings, checking spacing as you go so the rings form a full row across the hanger rather than bunching in the center.
6. Trim the tails from all zip ties close to the locks for a tidy finish, then turn each trimmed end toward the back so nothing snags delicate fabric.
7. If you want a more polished look, wrap a short piece of black ribbon around each zip-tie connection and knot or glue it discreetly on the back side of the hanger.
8. Sort your scarves by color or frequency of use; I like to group the most-worn shades in the center because they’re fastest to reach when I’m getting dressed.
9. Fold each silk scarf lengthwise into a band about 3 to 4 inches wide so it slides easily through a ring without creating too much bulk.
10. Slide one folded scarf through each brass ring, pulling it down until both ends hang evenly and the fabric drapes smoothly.
11. Adjust the scarves so the colors are balanced across the hanger, alternating lighter and darker tones to create a fuller, styled look instead of one heavy block of color.
12. Hang the organizer in the closet, on a wall hook, or on the end of a garment rod where the scarves can hang straight without brushing the floor or getting crushed between clothes.
Variations & Tips
For extra-small closets: Use 8 to 10 rings instead of 12 and reserve this hanger for your most-worn scarves, then make a second matching hanger if your collection grows.
For slippery silk: A narrow lengthwise fold gives you more grip inside the ring than bunching the scarf loosely, and it keeps the drape looking smooth instead of rumpled.
For heavier scarves: This organizer is best for silk, satin, chiffon, and lightweight polyester scarves; for chunky winter knits, switch to a wood hanger and larger metal rings so the bar doesn’t bow.
To prevent snags: Run your fingers around each brass ring before loading scarves and file any rough spot lightly if needed; even pretty hardware can have a sharp edge now and then.
For a cleaner visual layout: I like to arrange scarves by season within the same warm palette—copper and rust on the outside, olive and gold toward the center—because it looks intentional and makes outfit planning faster.
For renter-friendly storage: Hang the finished organizer on a removable wall hook inside the bedroom or closet if rod space is limited; it turns scarves into vertical storage without any permanent installation.
Make it boutique-looking: Matching brass rings, trimmed black ties, and evenly balanced scarf lengths are the little details that make this feel custom. It’s a very simple build, but finishing neatly is what gives it that “why didn’t I do this sooner?” effect.