
There’s something wonderfully satisfying about turning a box of broken crayons into something that looks almost stained-glass. These melted crayon leaf bowls are one of those projects that feel a little bit crafty and a little bit magical, and they’re especially good if you want a colorful result without needing advanced skills or a long supply list. The silicone bowl mold does the shaping for you, and one quick oven step does the heavy lifting.
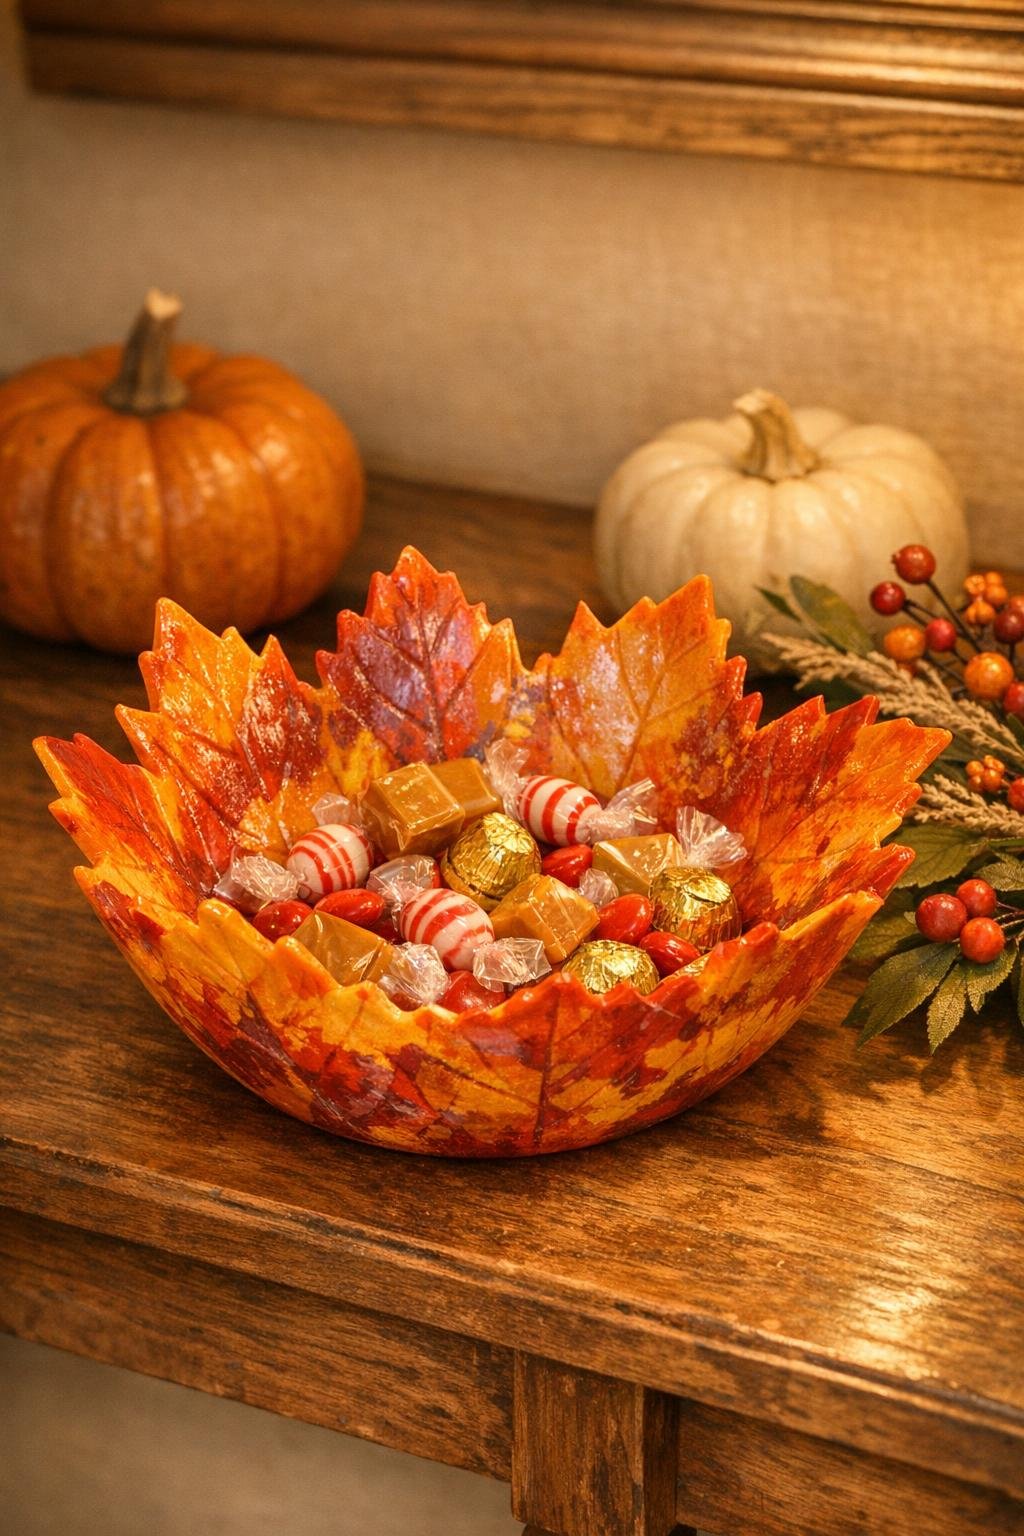
I’m always drawn to projects that make humble materials look surprisingly special, the same way a simple pantry ingredient can become dinner with the right technique. Here, the crayons melt into layered autumn colors and cradle real leaf shapes, creating a glossy little bowl that’s perfect for holding wrapped candies, tea lights, keys, or just sitting out as cheerful seasonal décor. If you can break crayons and arrange colors, you can make this.
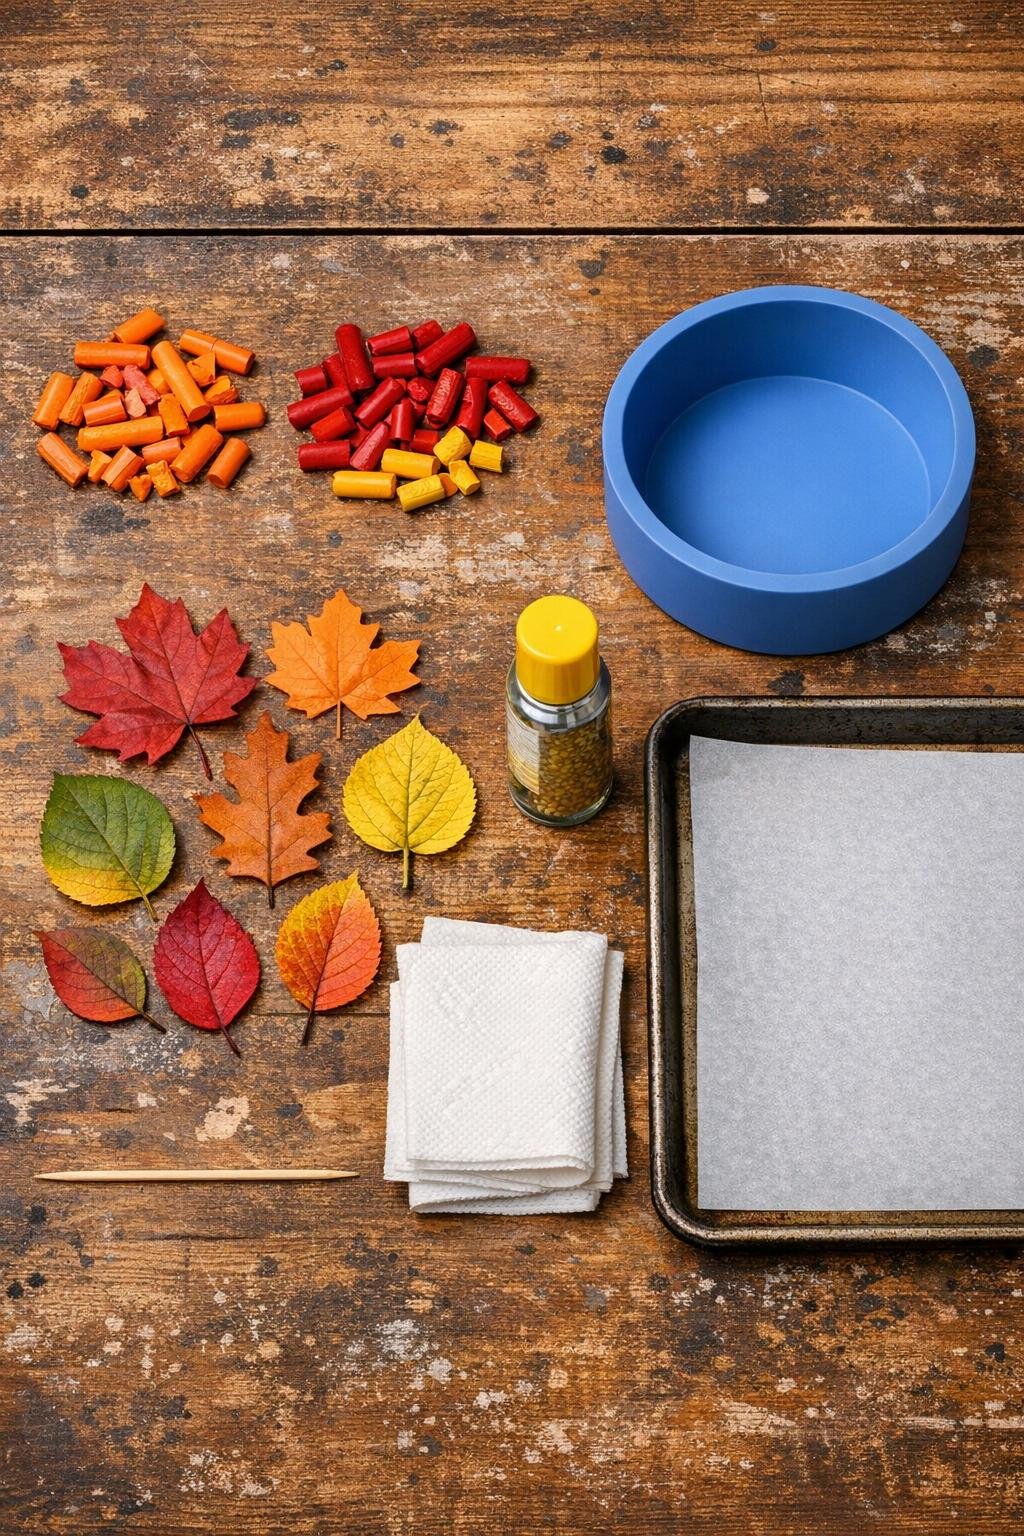
Materials
Instructions
1. Preheat your oven to 275°F and line a baking sheet with parchment paper. Set the silicone bowl mold on the lined sheet so it sits flat and stable before you start filling it.
2. Remove all crayon wrappers and snap the crayons into pieces about 1/2 to 1 inch long. Keep the orange, red, and yellow tones mixed in separate little piles so you can balance the colors as you go.
3. Lightly grease the inside of the silicone bowl mold with cooking spray, then wipe out any excess with a paper towel. You want just enough to help the finished bowl release cleanly, not so much that the crayons slide around.
4. Press a single layer of broken crayons into the mold, standing some pieces on edge and laying others flat to reduce gaps. Alternate the warm colors evenly so the bowl looks blended and full rather than striped in only one area.
5. Tuck the leaves against the inside wall of the mold, spacing them evenly around the bowl and pressing them gently into the crayon pieces so their shapes will show. If you’re using real dried leaves, choose flexible ones that lie fairly flat and avoid brittle leaves that may crumble.
6. Fill any visible bare spots with a few extra crayon bits, especially near the rim and lower curve of the bowl. A generously packed mold makes a much prettier finished piece and helps prevent thin weak areas.
7. Bake the mold for 12 to 16 minutes, just until the crayon pieces soften and melt together into one continuous layer. This is the oven trick that makes the project work: don’t stir the wax, just let the heat fuse everything while the mold holds the bowl shape.
8. Carefully remove the baking sheet from the oven and use a skewer to nudge any obvious holes closed while the wax is still fluid. Work quickly and gently, smoothing only enough to connect the colors without muddying them together.
9. Let the bowl cool at room temperature for 30 minutes, then transfer it to the refrigerator for 20 to 30 minutes to firm completely. The wax should feel hard and cool before you try to unmold it.
10. Flex the silicone mold outward and peel it away from the crayon bowl a little at a time. If one spot resists, wait another 10 minutes and try again rather than forcing it.
11. Check the rim and base for any rough drips or thin strings of wax, and trim or snap them off with your fingers. If you want a slightly glossier finish, buff the outside gently with a soft paper towel once the bowl is fully set.
Variations & Tips
Leaf choice: Faux leaves are the easiest option because they hold their shape well and won’t break apart as easily as dry real leaves. If you love a natural look, pick small leaves with clear veining and a flexible shape.
Color blending: For the richest “fall foliage” effect, use more orange and yellow than deep red, then tuck in a few darker pieces for contrast. Too much dark crayon can make the finished bowl look muddy instead of glowing.
Thickness matters: If your first layer looks sparse, add more crayon pieces before baking. A thick, well-packed layer gives you a sturdier bowl and much better color saturation.
Best use: I treat these as decorative bowls rather than food-safe serving pieces. They’re lovely for wrapped candy, potpourri, keys, or a battery tea light, but I wouldn’t use them for hot items or unwrapped food.
Gentle release tip: If the bowl doesn’t come out neatly, pop the mold back into the refrigerator instead of tugging harder. A colder wax bowl releases much more cleanly, and that extra patience usually saves the rim.
Shape idea: The same method works with smaller silicone pinch bowls if you want a matching set for place settings or party favors. Just shorten the baking time by a few minutes and keep the crayon layer evenly thick.