
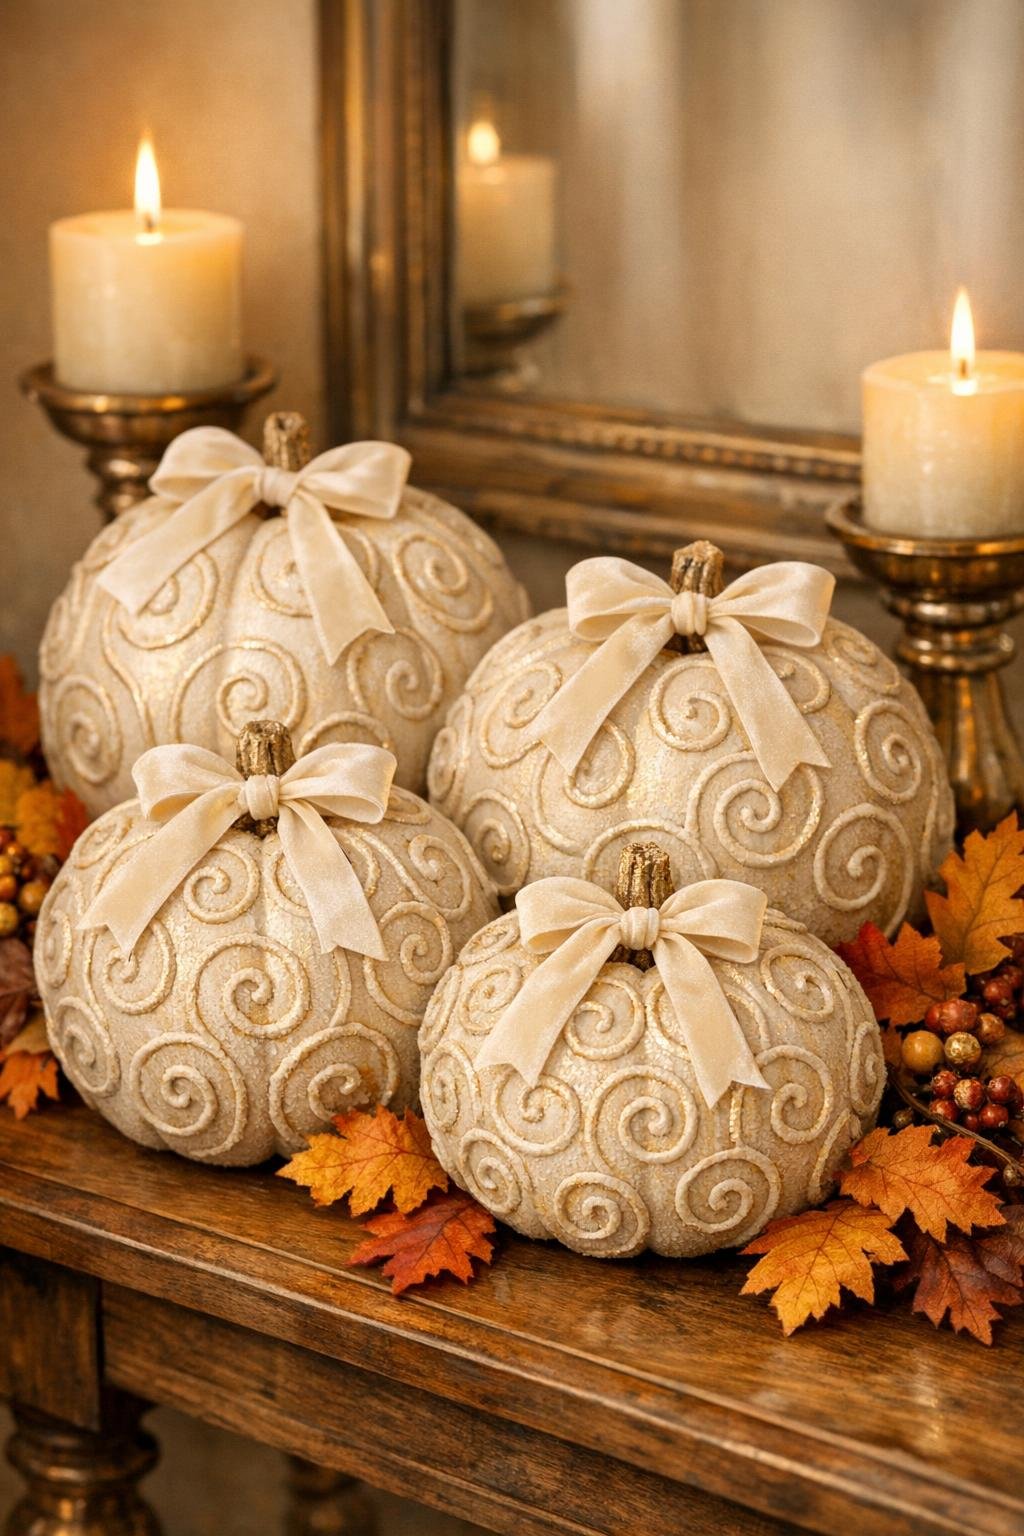
I love a craft that looks boutique-store fancy but starts with a dollar store basic, and these textured pumpkins are exactly that kind of project. By swirling hot glue all over plain foam pumpkins, you get a raised, sculpted surface that catches paint and metallic wax beautifully, so the finished pumpkins look layered, custom, and much more expensive than they really are.
This is an especially good project if you want fall decor with a little personality but do not want to wrestle with complicated tools or a big mess. I like making a grouped set for my entry table or dining room sideboard, and it is also a fun one to do while dinner is in the oven because each pumpkin comes together pretty quickly once you get the rhythm of the glue spirals.
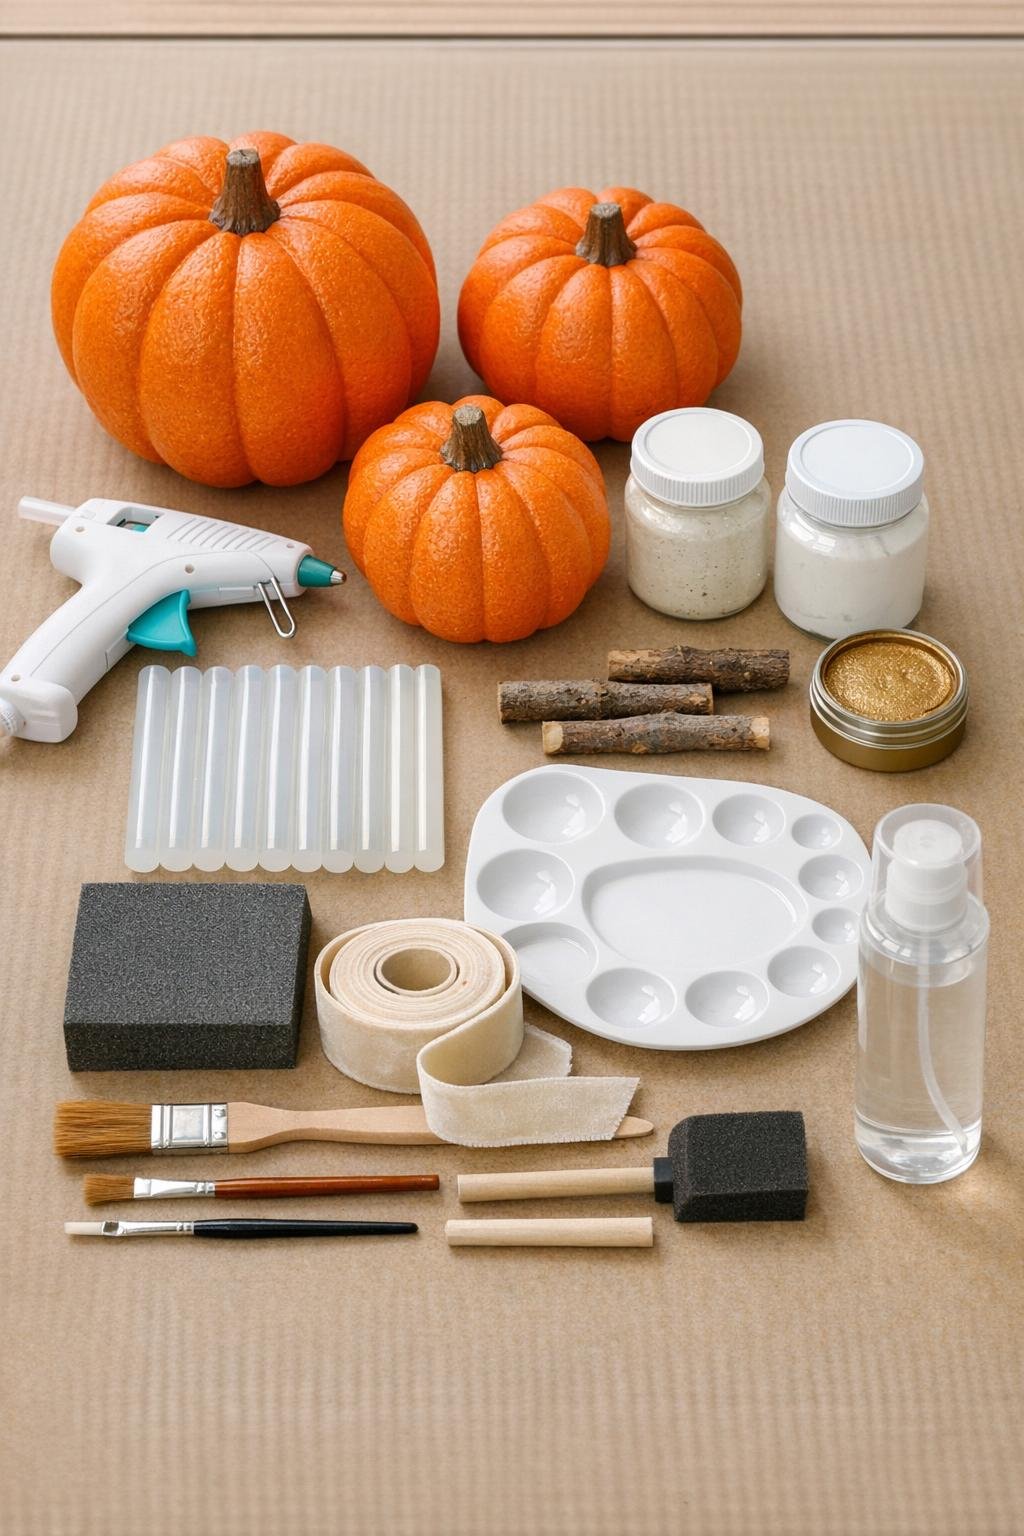
Materials
Instructions
1. Cover your table with wax paper or craft paper, plug in the glue gun, and set the foam pumpkins in front of you with the stems removed if they are loose or easy to pull out.
2. Starting at the top of one pumpkin, draw hot glue in loose spirals, squiggles, and curved lines directly onto the foam, working in sections so the pattern wraps all the way around without big blank gaps.
3. Keep layering the glue until the pumpkin has full texture from top to bottom; I like to cross over a few lines here and there so the surface looks rich and organic instead of too uniform.
4. Repeat the same scribble-glue pattern on the remaining pumpkins, letting each one cool completely for 10 to 15 minutes before painting.
5. Lightly knock down any long glue strings or sharp points with your fingers or a fine sanding sponge, being careful not to flatten the raised design.
6. Paint each pumpkin with a full coat of ivory chalk paint, pushing the brush into all the grooves so no orange foam peeks through, then let the first coat dry completely.
7. Add a second coat of ivory paint for solid coverage, and while it is drying, paint the stems in a coordinating finish or prepare the replacement wood stems.
8. Dry brush a small amount of matte white acrylic paint over the raised swirls to brighten the high spots and give the texture more depth.
9. Rub a tiny amount of champagne or antique gold wax across the tallest ridges, around the top grooves, and on the stem for a soft polished glow rather than a solid metallic finish.
10. Seal the pumpkins with a light coat of matte sealer and let them dry fully so the finish stays durable and the metallic highlights do not rub off.
11. Reattach the original stems or glue in the wood stems, then tie soft velvet ribbon around each stem in a simple knot or small bow for an easy finished touch.
12. Arrange the pumpkins as a grouped set, placing the largest in back and the smaller ones forward so all that gorgeous texture shows off from every angle.
Variations & Tips
For a moodier look: Use black, mushroom, taupe, or deep olive paint instead of ivory, then finish with antique gold or bronze wax for a richer fall palette.
For picky decorators: In my house, not everyone loves glittery or flashy fall decor, so this softer chalky finish is a nice compromise because it still feels special without being too shiny.
For bigger impact: Make at least three pumpkins in mixed sizes; a grouped set looks much fuller and more intentional than a single pumpkin sitting by itself.
If your glue lines look messy: That is actually part of the charm here. Loose spirals, overlapping loops, and uneven curves create the prettiest texture once paint settles into all those raised lines.
Stem ideas: Cinnamon sticks bundled together, a real dried stem, or a short twig can all work if you want a more natural farmhouse look.
Paint finish tip: Chalk paint gives the easiest velvety coverage on foam, but matte acrylic craft paint also works if you apply two to three coats.
Display suggestion: I love these on a dining table runner with little votives, or tucked onto an entry console with a crock of wooden spoons and a bowl of apples nearby for a cozy harvest feel.
Storage tip: Wrap each pumpkin in tissue paper before packing it away so the raised glue texture stays crisp and dust-free until next fall.