
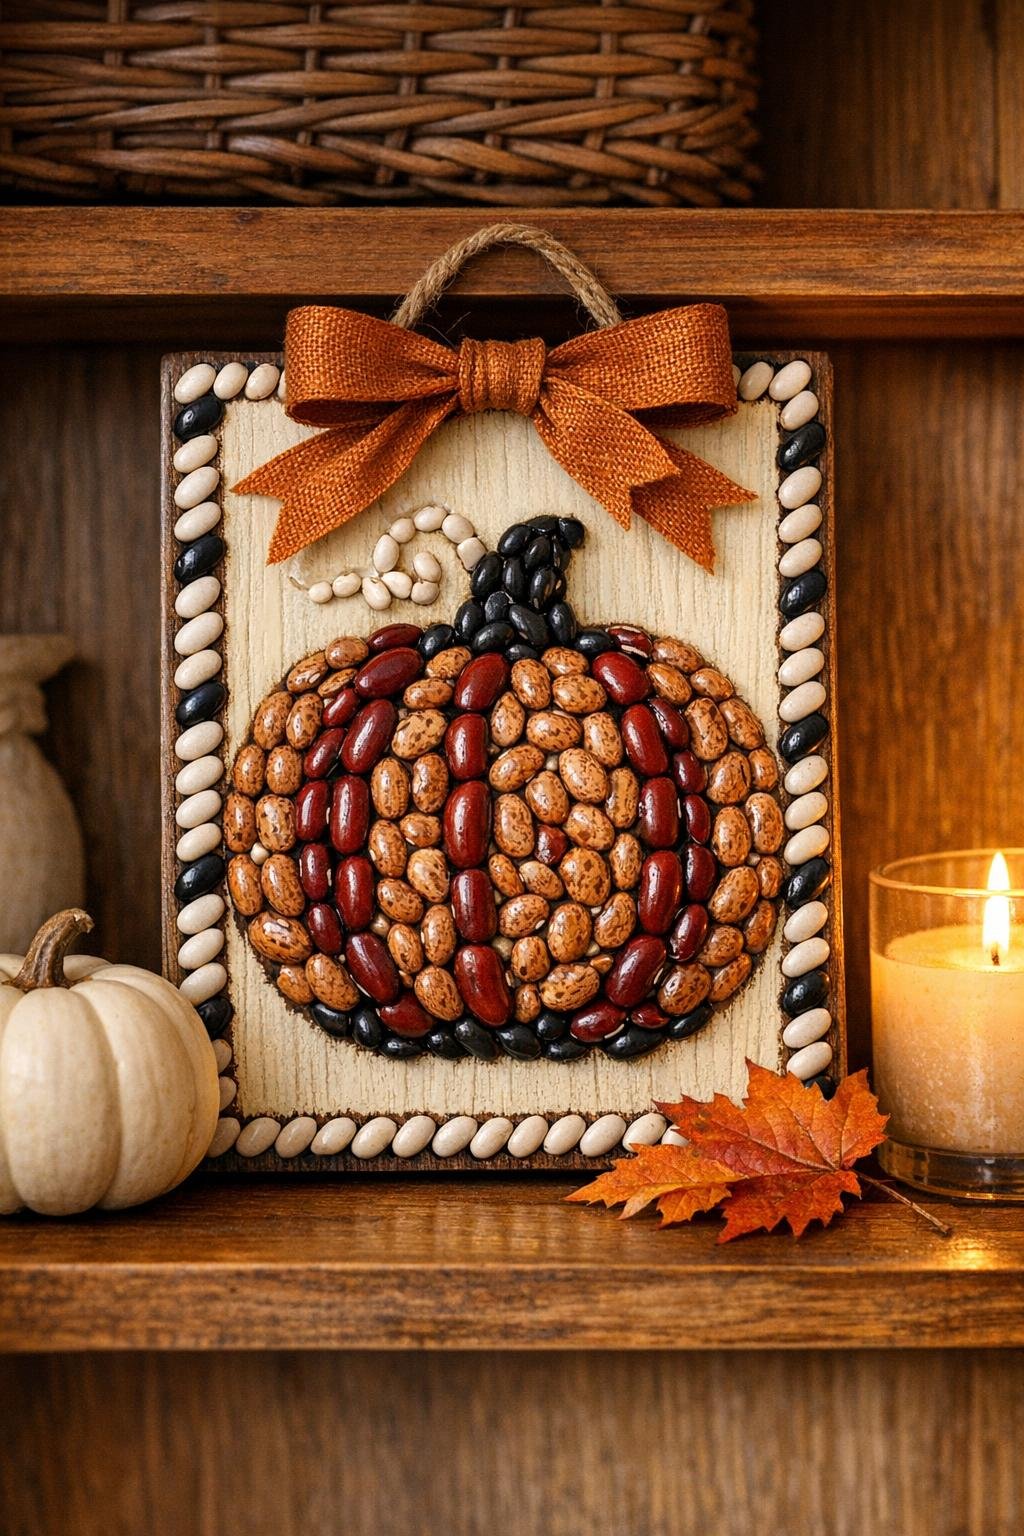
I love a project that looks a little mysterious while you’re making it and then suddenly comes together in the prettiest way at the end, and this bean mosaic harvest plaque is exactly that. If you saw me at my kitchen table lining up dried beans in tidy rows, you would probably assume I was deep into some very odd meal prep, but the finished piece turns humble pantry staples into warm, textured fall décor with almost no fancy supplies.
This is a great weekend craft if you want something affordable, relaxing, and surprisingly polished. I designed this version to feel full and finished, with dense bean coverage, layered color, a painted background, and a simple hanging ribbon so it looks intentional instead of “I glued beans to wood and hoped for the best.”
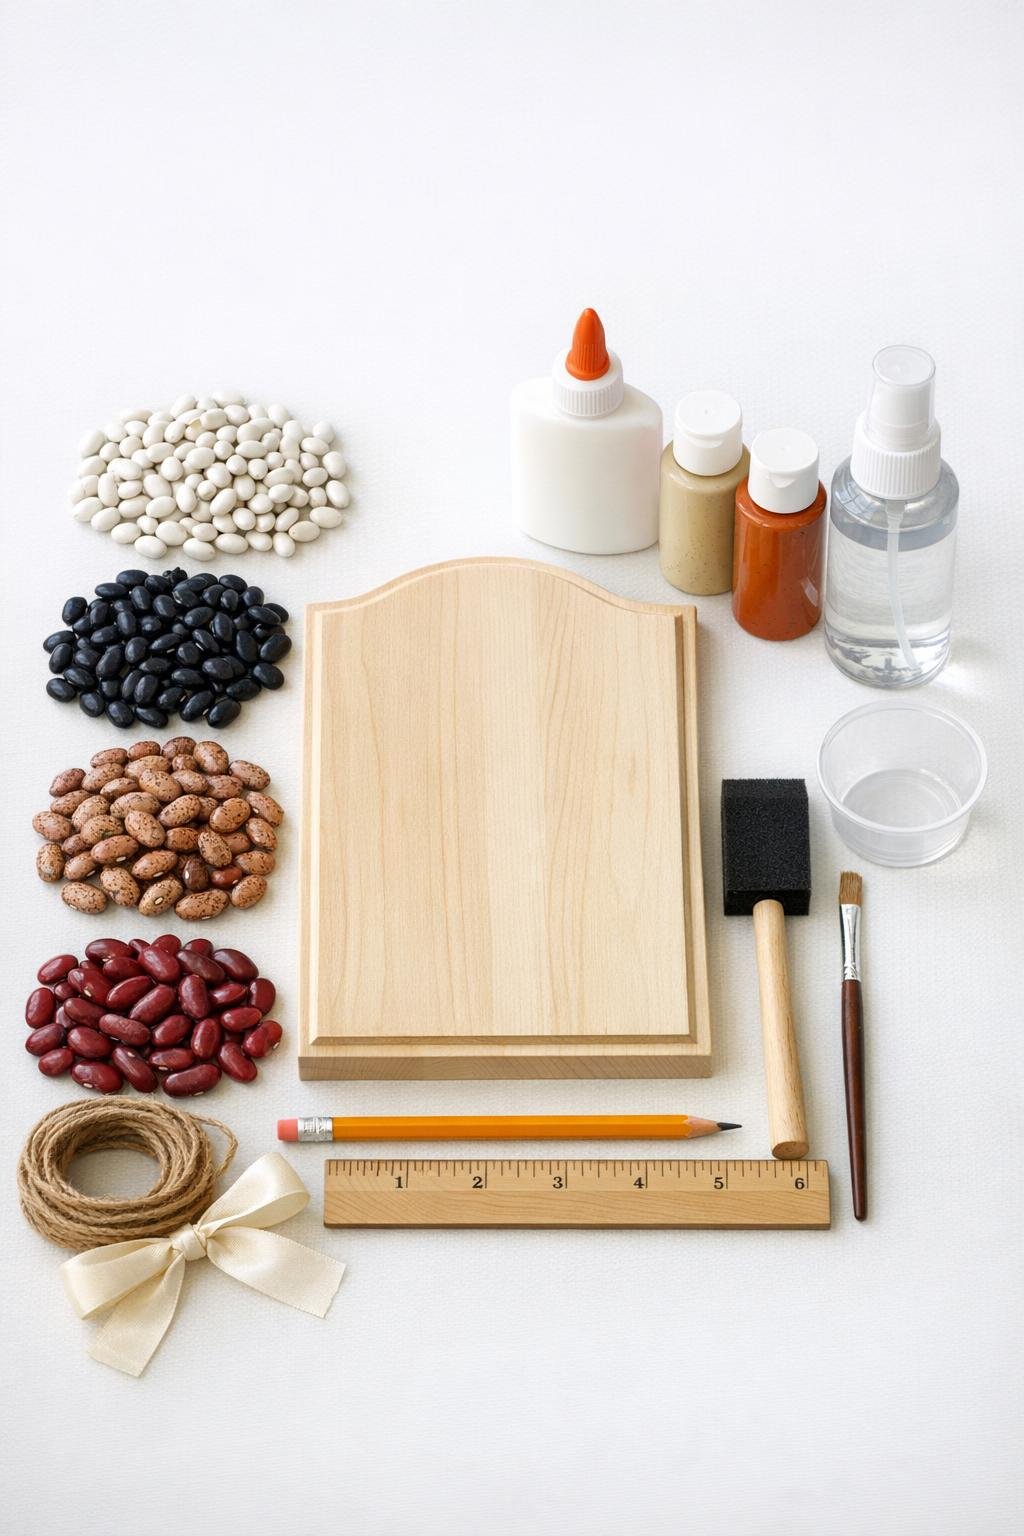
Materials
1 unfinished wooden plaque, 8 x 10 inches
Instructions
1. Lightly sand the front and edges of the wooden plaque, then wipe away the dust with a cloth so the paint and glue stick cleanly.
2. Paint the entire plaque cream and let it dry, then dry-brush a little burnt orange around the outer edge for a soft warm frame that peeks through the beans.
3. Use a pencil and ruler to sketch a simple harvest layout: draw a 1-inch border, then divide the center into a large pumpkin shape with a short stem and two leaf areas, keeping the shapes broad and easy to fill.
4. Sort the beans into separate piles by color and size so you can work quickly and keep your rows neat; this little prep step saves a ton of time once the glue is out.
5. Start at one corner of the border and glue navy beans in tight diagonal rows, placing each bean snugly against the next so the wood barely shows through.
6. Continue the navy bean border around the entire plaque, adjusting the angle slightly at the corners so the rows stay tidy and look intentionally patterned.
7. Fill the pumpkin shape with pinto beans and red kidney beans in alternating curved rows, following the pumpkin’s rounded contour so it looks fuller and more dimensional.
8. Glue black beans onto the stem area in straight vertical rows, then fill the two leaf sections with navy and black beans mixed in short angled lines for a darker, textured contrast.
9. Use the detail brush and dark brown paint to add a thin painted outline around the pumpkin, stem, and leaves anywhere you want sharper definition between bean sections.
10. Check for gaps and tuck extra beans into any open spaces, especially near the border and the pumpkin edges, because dense coverage is what makes the finished plaque look rich and complete.
11. Let the plaque dry flat for at least 6 hours, or overnight if possible, so every bean is firmly set before sealing or hanging.
12. Apply 2 light coats of clear matte sealer, letting the first coat dry before adding the second, to reduce shedding and give the whole surface a more finished look.
13. Tie the jute twine through the plaque hanger or staple it neatly to the back if needed, then add a simple ribbon bow at the top for an easy harvest-style finishing touch.
Variations & Tips
Use one bean family: If you do not want to buy several kinds of beans, make the design with all navy beans and paint the background shapes in harvest colors first so the rows still stand out.
Try a sunflower instead: The same technique works beautifully with a large sunflower center, using black beans in the middle and lighter beans radiating outward like petals.
Keep the rows clean: I like to spread glue in small sections instead of coating the whole plaque at once, because tacky glue grabs better before it skins over.
Make it easier to hang: If your plaque does not come with a hanger, hot glue is not enough on its own for weight; use strong craft adhesive on the front and a stapled or screwed hanger on the back.
Seal lightly: Two thin coats are better than one heavy one, especially with beans, because too much wet sealer can soften glue or leave puddles between rows.
Think beyond fall: Once you get the hang of bean placement, you can make a winter tree, a simple heart, or even a monogram plaque with the exact same method.