
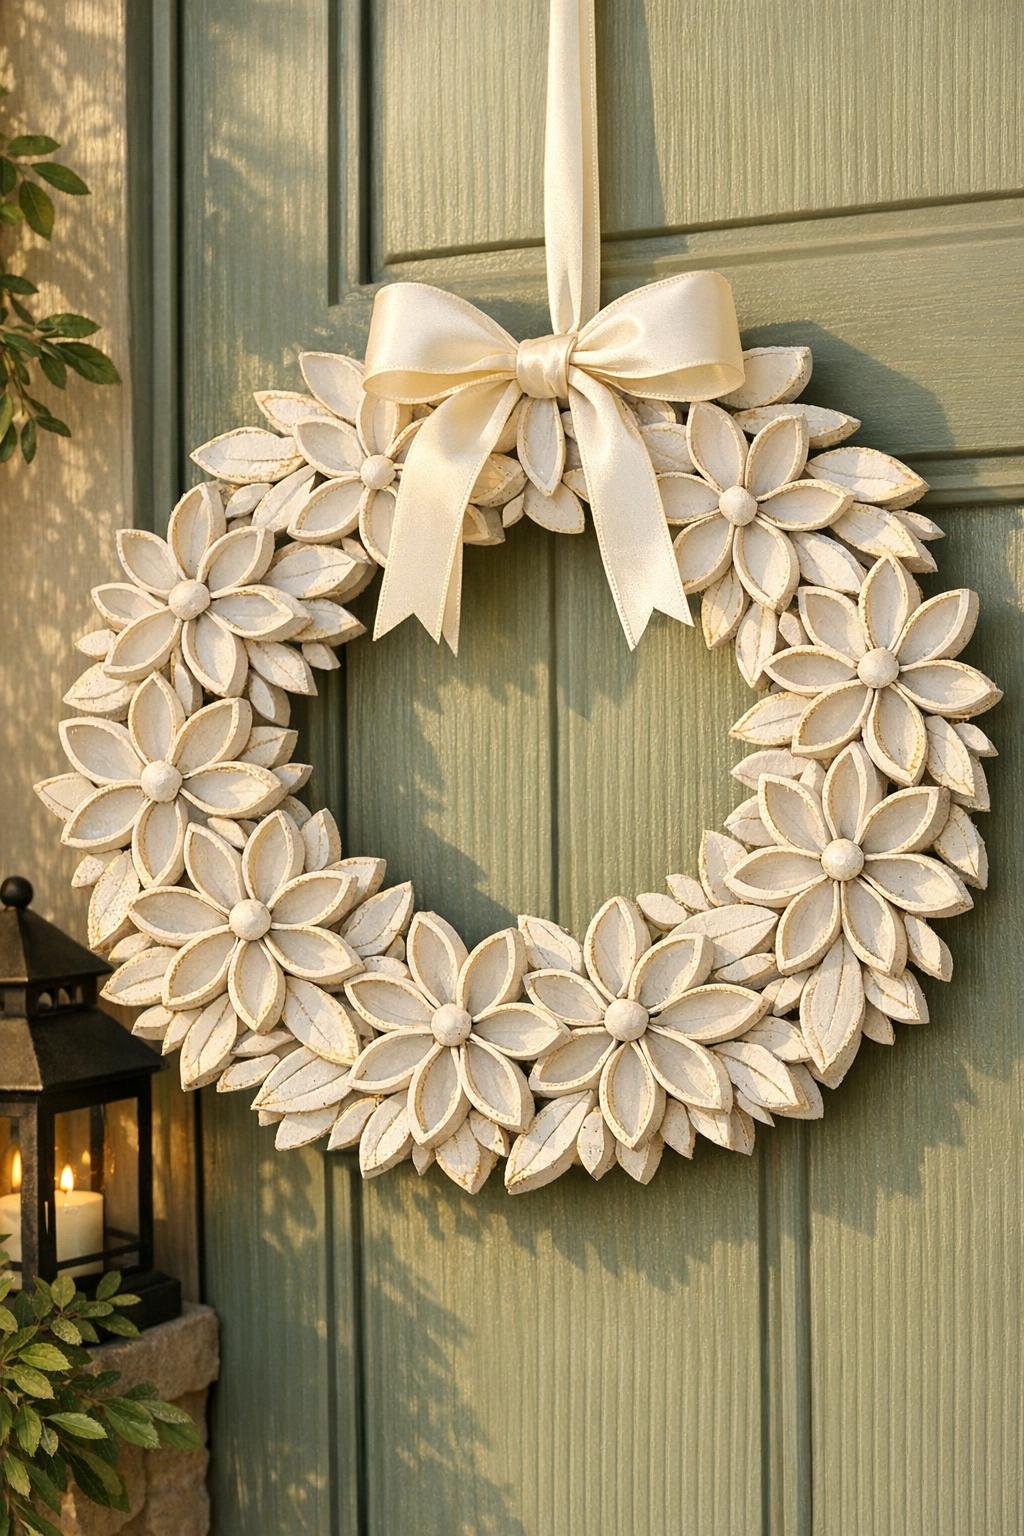
There’s something so satisfying about turning the most ordinary recycle-bin item into decor that actually looks intentional, and this sliced cardboard roll wreath frame is one of my favorite examples of that. If you’ve ever looked at a pile of empty toilet paper rolls and thought, “Surely these can become something better,” this project is for you. By the time you slice, shape, and glue them together, you end up with a full, lacy wreath base that looks surprisingly detailed for almost no cost.
I especially love projects like this for busy weeks, because you can break the work into short sessions: save the rolls, flatten and cut them one night, glue the design together the next, and finish it with paint or ribbon when you have a spare half hour. The best part is that the finished wreath still clearly comes from cardboard rolls, so it has that clever handmade charm without looking messy or unfinished.
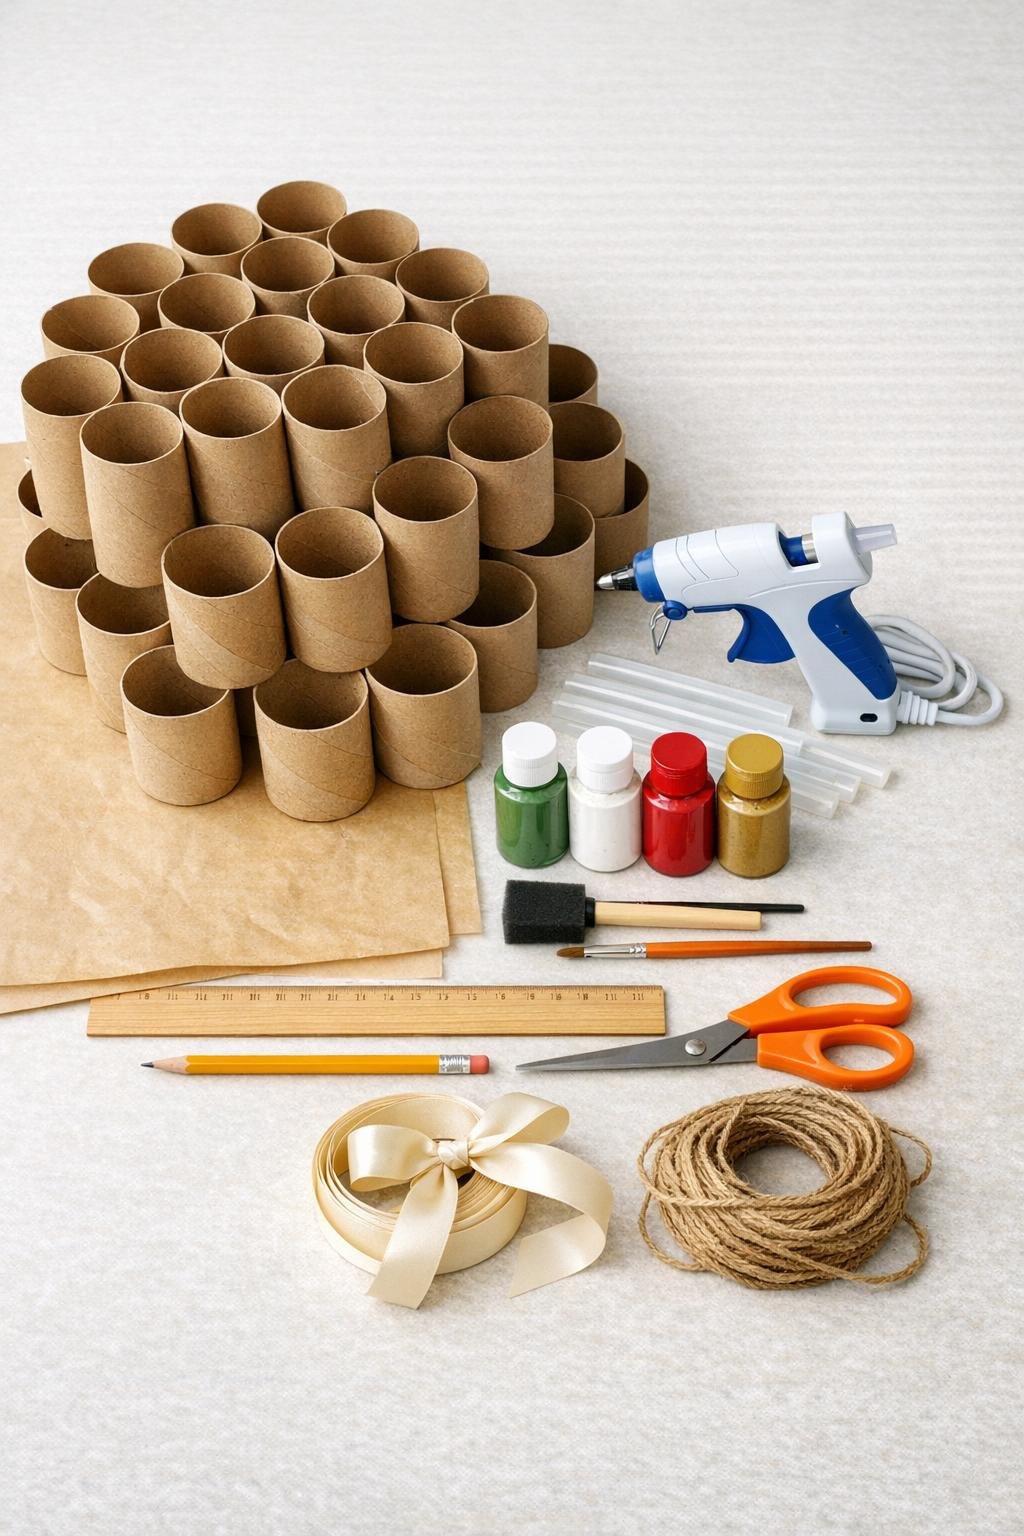
Materials
50 empty cardboard toilet paper rolls
Instructions
1. Gather 50 empty toilet paper rolls and press each one lightly flat so it is easier to mark and cut evenly; if any are crumpled, reshape them with your fingers first.
2. Use a ruler and pencil to mark each roll into 1/2-inch sections, then cut across the roll to make oval cardboard rings; from 50 rolls, you should get about 200 cut pieces.
3. Separate the best-shaped rings for the front of the wreath and set aside any uneven pieces for the back layers where they won’t show as much.
4. Build the wreath center first by standing whole rolls upright in a large circle to match the hero layout, then switch those whole rolls out mentally for cut rings and arrange 18 to 20 sliced pieces into a clean inner ring about 10 to 12 inches wide.
5. Glue the inner ring where each sliced piece touches the next, working on top of kraft paper and holding each join for a few seconds so the circle stays even and flat.
6. Make the first decorative layer by pinching one end of a sliced ring slightly and gluing five petals together into a flower shape; repeat until you have 14 to 16 flowers.
7. Glue the flowers around the outside of the inner ring, slightly overlapping them so the wreath grows outward evenly and looks full instead of skimpy.
8. Fill gaps by gluing single sliced rings in leaf-like angles between the flowers, aiming for dense coverage all the way around with no large open spots.
9. Add a second layer anywhere the wreath needs more drama by gluing extra petals on top of existing joins, especially around the outer edge, to create a fuller scalloped silhouette.
10. Flip the wreath over and reinforce weak joints with short beads of hot glue on the back, especially where flower clusters meet the inner ring.
11. Attach a 10-inch loop of twine or narrow ribbon to the back top of the wreath with hot glue, then cover that glued area with two extra sliced rings for a neater finish.
12. Paint the entire wreath with a light first coat using a foam brush, working the paint into the cut edges and inside curves without leaving drips.
13. Let the first coat dry completely, then add a second coat for solid coverage; if you want a polished look, dry-brush a little gold over the edges or flower centers with a small brush.
14. Spray the wreath with a light coat of clear sealer in a well-ventilated area, let it dry, and repeat once more if you want extra durability.
15. Finish by tying on a ribbon bow at the top or bottom edge, then hang the wreath on a door, over a mantel, or above a shelf where the cut cardboard pattern can really stand out.
Variations & Tips
Natural cardboard look: If you like a more organic style, skip the full paint coat and just seal the bare cardboard; I think this looks especially pretty with jute twine and neutral seasonal decor.
Holiday version: Paint it green and add tiny red berries or a plaid bow to turn the exact same frame into a Christmas wreath without changing the build.
Metallic finish: Gold, bronze, or matte black paint makes this look much more upscale than you’d expect from toilet paper rolls, and I love that for a foyer or dining room.
Make it sturdier: If your wreath is larger than 16 inches across, glue an extra ring of sliced pieces on the back as a support layer before painting.
Save time: I usually cut all the rolls while watching TV one evening and sort the nicest pieces into one bowl; it makes assembly go much faster the next day.
Best hanging spot: This wreath does best in a covered area or indoors since cardboard can soften in direct weather, even with sealer.