
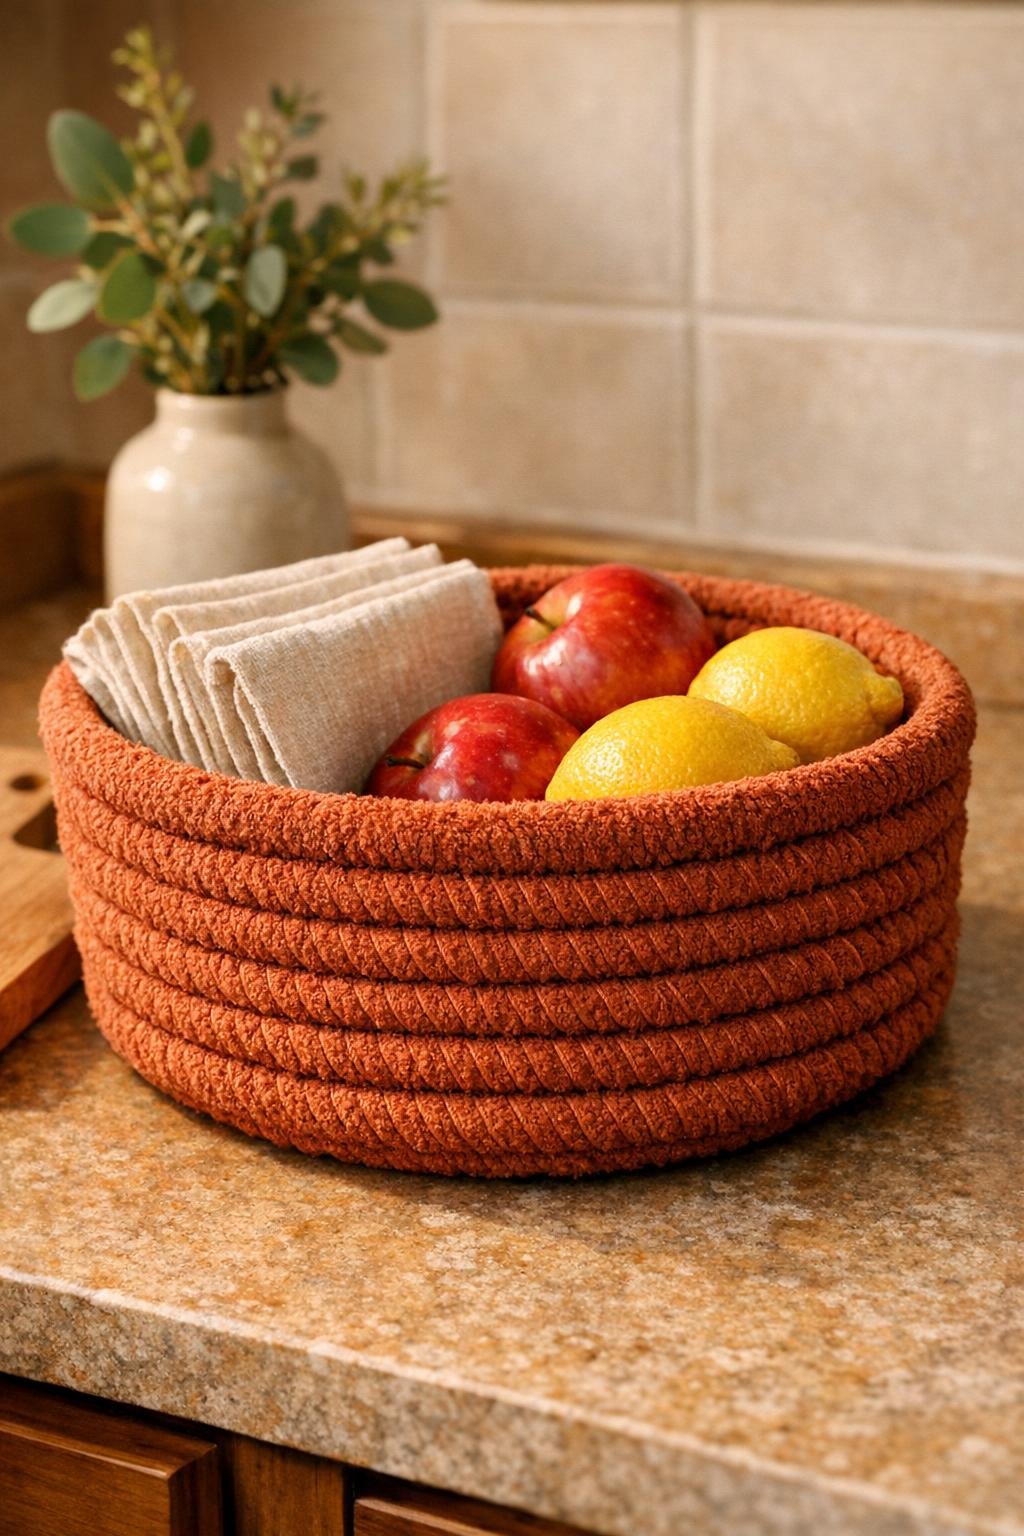
I completely understand why this little towel trick is having a moment. Turning a bath towel into a coiled, knotted rope basket gives you something that looks surprisingly substantial and useful, but it starts with an everyday item most of us already have at home. The finished basket is soft, sturdy, and perfect for corralling fruit, washcloths, napkins, mail, or all those little odds and ends that seem to collect on the counter.
What I love most is that this project is approachable even if you are not a “craft person.” If you can twist, coil, and tie, you can make this. I also like that it feels practical, which is usually what wins me over in a busy house; if I’m going to spend time making something, I want it to earn its keep and look pretty doing it.
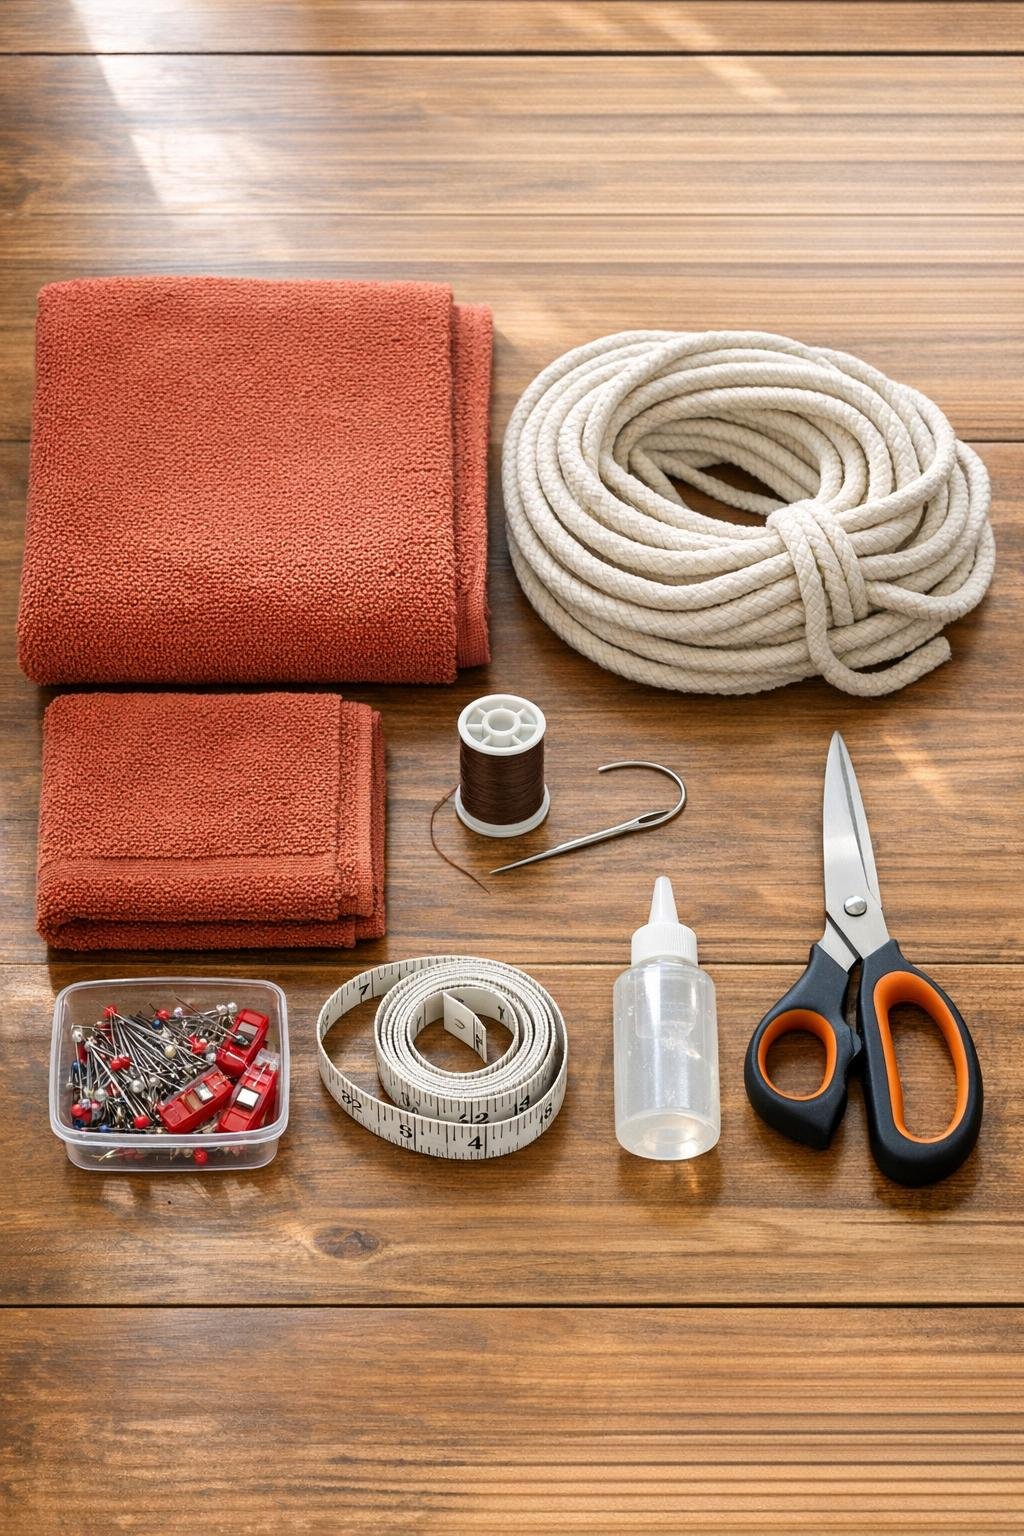
Materials
Instructions
1. Wash and dry both towels first if they are new, then smooth them flat on your table so the finished basket won’t shrink or twist later.
2. Cut the bath towel lengthwise into three strips about 9 inches wide, and cut the hand towel into two strips about 8 inches wide; trim away thick hems if they feel bulky.
3. Lay one end of the clothesline rope at the end of a towel strip and wrap the fabric around it on a diagonal, overlapping the raw edges as you go to make a thick padded rope.
4. Hand-stitch through the overlapped fabric every 2 to 3 inches to hold the wrap in place, then add a tiny dab of fabric glue at the strip end before continuing with the next strip.
5. Keep wrapping until all towel strips cover the full length of rope, making one long plush rope; the tighter and smoother you wrap, the more polished the basket will look.
6. Coil the wrapped rope tightly into a flat circle about 4 inches across for the basket base, and stitch through the sides of the touching coils with strong whipstitches to lock the center firmly.
7. Continue coiling the rope around the center, stitching each new round to the previous one every 1 to 1 1/2 inches, until the flat base measures 10 to 12 inches across.
8. Once the base is wide enough, stop laying the rope flat and begin stacking each new round slightly on top of the last one so the sides start to rise.
9. Shape the basket as you go by pulling the coil a little more inward for steeper sides or keeping it more relaxed for a low open bowl; I like a medium curve that holds plenty without tipping.
10. When the sides reach about 4 to 5 inches high, form two small carry loops on opposite sides by bending 3-inch rope sections outward, then stitch around each loop several times to secure them.
11. Finish the rope end by tucking the last 2 inches under a bit, wrapping it neatly with a leftover strip of towel fabric, and sewing it down so there is no blunt cut edge showing.
12. Go back over the basket and add extra stitches anywhere the coils feel loose, then clip stray threads and use binder clips to hold the rim shape for 20 minutes if needed.
13. Let any glued joins dry fully, fluff the towel surface with your fingers, and gently press the basket into an even round shape so it sits nicely on the table.
Variations & Tips
For a taller basket: Add a second bath towel and 8 more yards of clothesline rope, then keep building upward for a deeper basket that works well for rolled washcloths or kids’ socks.
For picky-color households: If one bold towel feels like too much, alternate two coordinating towel colors for soft stripes. I do this when I want a handmade piece to blend into a busier room.
For a no-sew assist: You still need some stitching for strength, but fabric glue can help hold the towel wrap in place while you work, especially if you are new to coiling.
For extra structure: Stitch more frequently around the base and first two side rounds. That is the part that does the heavy lifting, especially if the basket will hold fruit or pantry items.
For bathroom use: Make a slightly smaller version and use it for rolled hand towels, soaps, or hair accessories. The towel texture looks especially cozy on an open shelf.
To keep the rim neat: I like to pinch and shape the top round with clips before calling it done. That tiny finishing step makes the whole basket look much more intentional.
Gift idea: Fill the basket with muffins, jam, tea towels, or a simple family snack spread. Handmade containers always feel extra thoughtful when they come with something useful tucked inside.