
If you love the look of sparkly crystal accents but not the price tag, this is one of those little crafts that feels almost ridiculously satisfying. We’re using clear hot glue and a silicone ice cube tray with diamond-shaped cavities to make faux crystal chandelier drops that catch the light beautifully, and yes, they really do come out surprisingly pretty with just a dusting of glitter.
I’m especially fond of projects like this because they fit into real life. On a busy weeknight, I can make a batch in under an hour while dinner is in the oven, and by the end I’ve got a handful of shiny embellishments ready for ornaments, garlands, gift wrap, centerpieces, or a glam little window hanging. If you’ve got a hot glue gun and a bit of patience, this is very beginner-friendly.
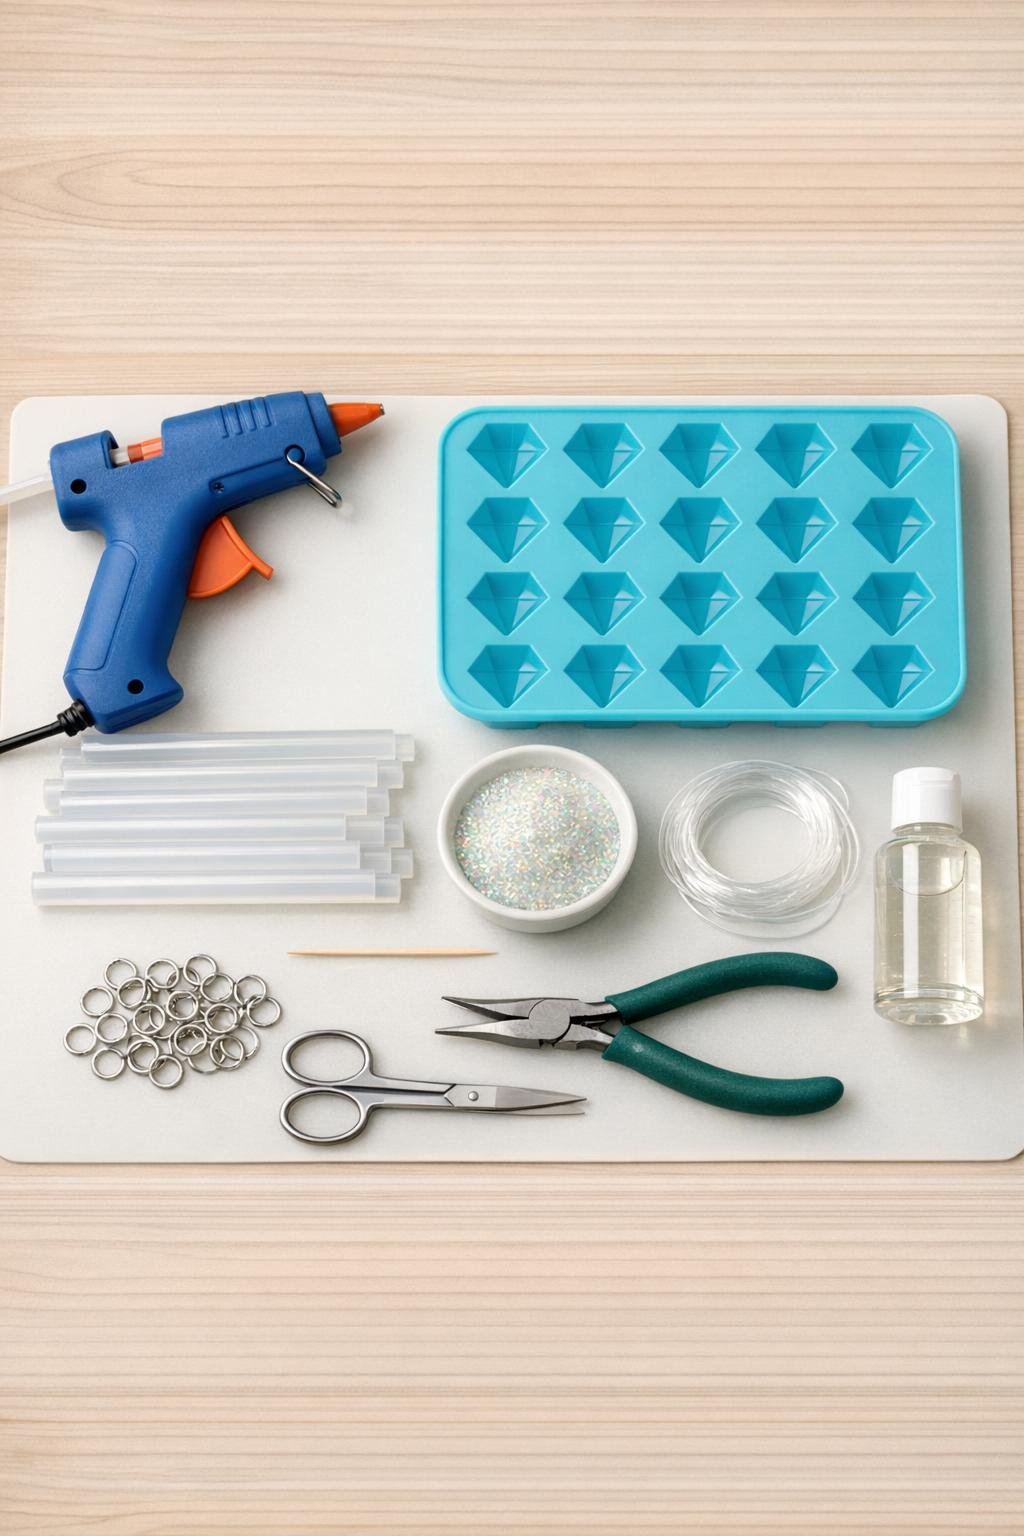
Materials
1 silicone ice cube tray with 12 diamond-shaped cavities
Instructions
1. Set the silicone tray on a flat craft table over a silicone mat, plug in the glue gun, and let it heat fully so the glue flows smoothly and fills the facets cleanly.
2. Lightly sprinkle a pinch of fine glitter into each diamond-shaped cavity, keeping the layer thin so the finished drops stay translucent instead of cloudy.
3. Slowly drip clear hot glue into each cavity, starting in the center and letting it spread outward until each shape is filled nearly to the top.
4. Use a toothpick right away to nudge the glue into the corners and pop any obvious air bubbles before the surface skins over.
5. Let the tray sit completely undisturbed for 20 to 30 minutes, or until the glue feels cool and firm all the way through.
6. Flex the silicone tray gently and pop out each faux crystal, working from the widest part of the mold so the faceted edges release cleanly.
7. Trim away any thin glue strings or uneven edges with small scissors, then brush or dab on a very light coat of clear gloss sealer to boost shine and make the glitter look more glassy.
8. If you want hanging drops, slide a jump ring around the narrow top of each diamond shape or carefully nestle one into a tiny dab of hot glue at the top back, then let it set fully.
9. Cut the clear nylon thread into 6 to 12 inch lengths depending on how you plan to display them, and attach one strand to each jump ring.
10. Hang the finished faux crystal drops in a window, from a small decorative branch, on a garland, or from a chandelier-style arrangement where they can catch the light from different angles.
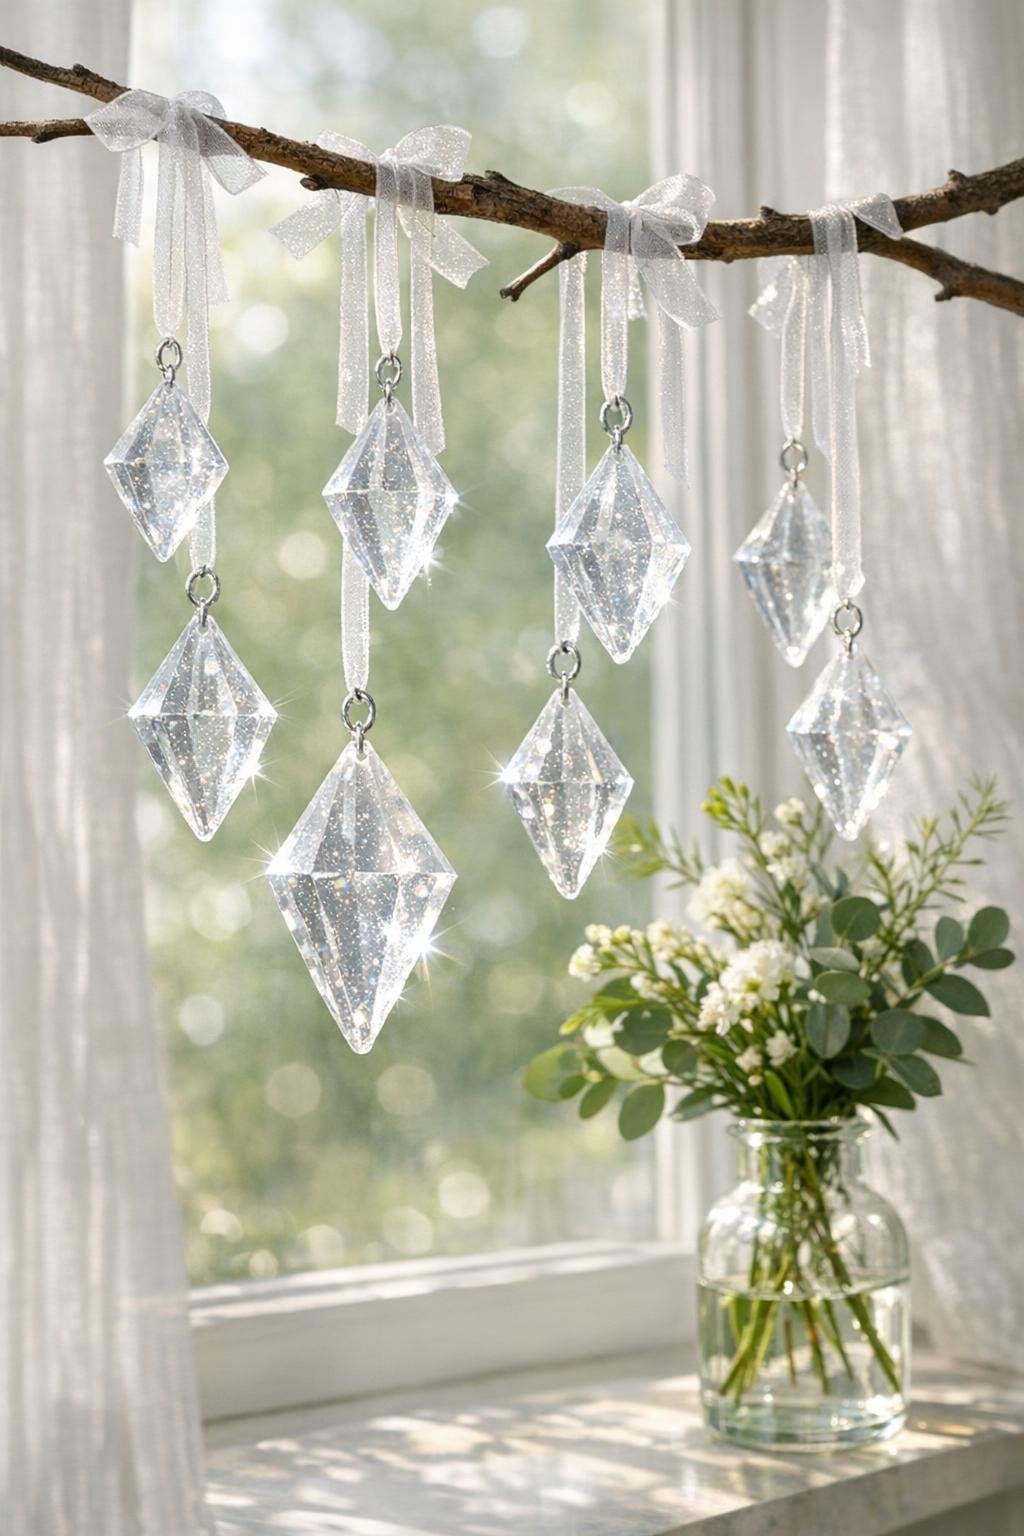
Variations & Tips
For extra sparkle: Mix two glitter sizes very lightly, like fine iridescent glitter with just a pinch of ultra-fine silver, but keep it subtle so the drops still read as faux crystal instead of solid glitter ornaments.
For a cleaner finish: A fully heated high-temp glue gun makes a big difference. When I rush this part, I get more strings and cloudiness, so I always give the gun a few extra minutes before starting.
For better clarity: Use clear glue sticks rather than cloudy all-purpose sticks. The clearer the glue at the start, the more polished and gem-like the finished drops will look.
For party decor: String several drops together vertically to make a faux crystal garland for a dessert table, holiday centerpiece, or bridal shower backdrop.
For ornament making: Tie a narrow satin ribbon through the jump ring and use a single drop as a gift topper or tree ornament. They look especially pretty tucked into wrapping with metallic paper.
For mold release: Let the pieces cool all the way before unmolding. If they feel even slightly warm, they can stretch instead of holding those crisp diamond edges.
For color: Try a tiny pinch of pale pink, icy blue, or champagne glitter to mimic tinted glass. I’d still keep the base glue clear so the effect stays light-catching and elegant.