
If your entryway turns into a puddly mess every time it rains or snows, this little project is the kind of fix that earns its spot immediately. We’re making a sturdy shoe tray by nesting a black plastic boot tray inside a shallow wicker basket and adding a washable fabric liner so it looks warm and intentional instead of purely utilitarian.
I love projects like this because they solve a real-life problem without asking for a whole weekend. As someone who is always trying to keep the house from looking like a drop zone after work, groceries, and muddy shoes, I’m a big fan of anything that makes everyday routines easier while still looking pulled together. This one is perfect for beginners, renters, busy households, and anyone who wants a prettier landing spot for shoes right by the door.
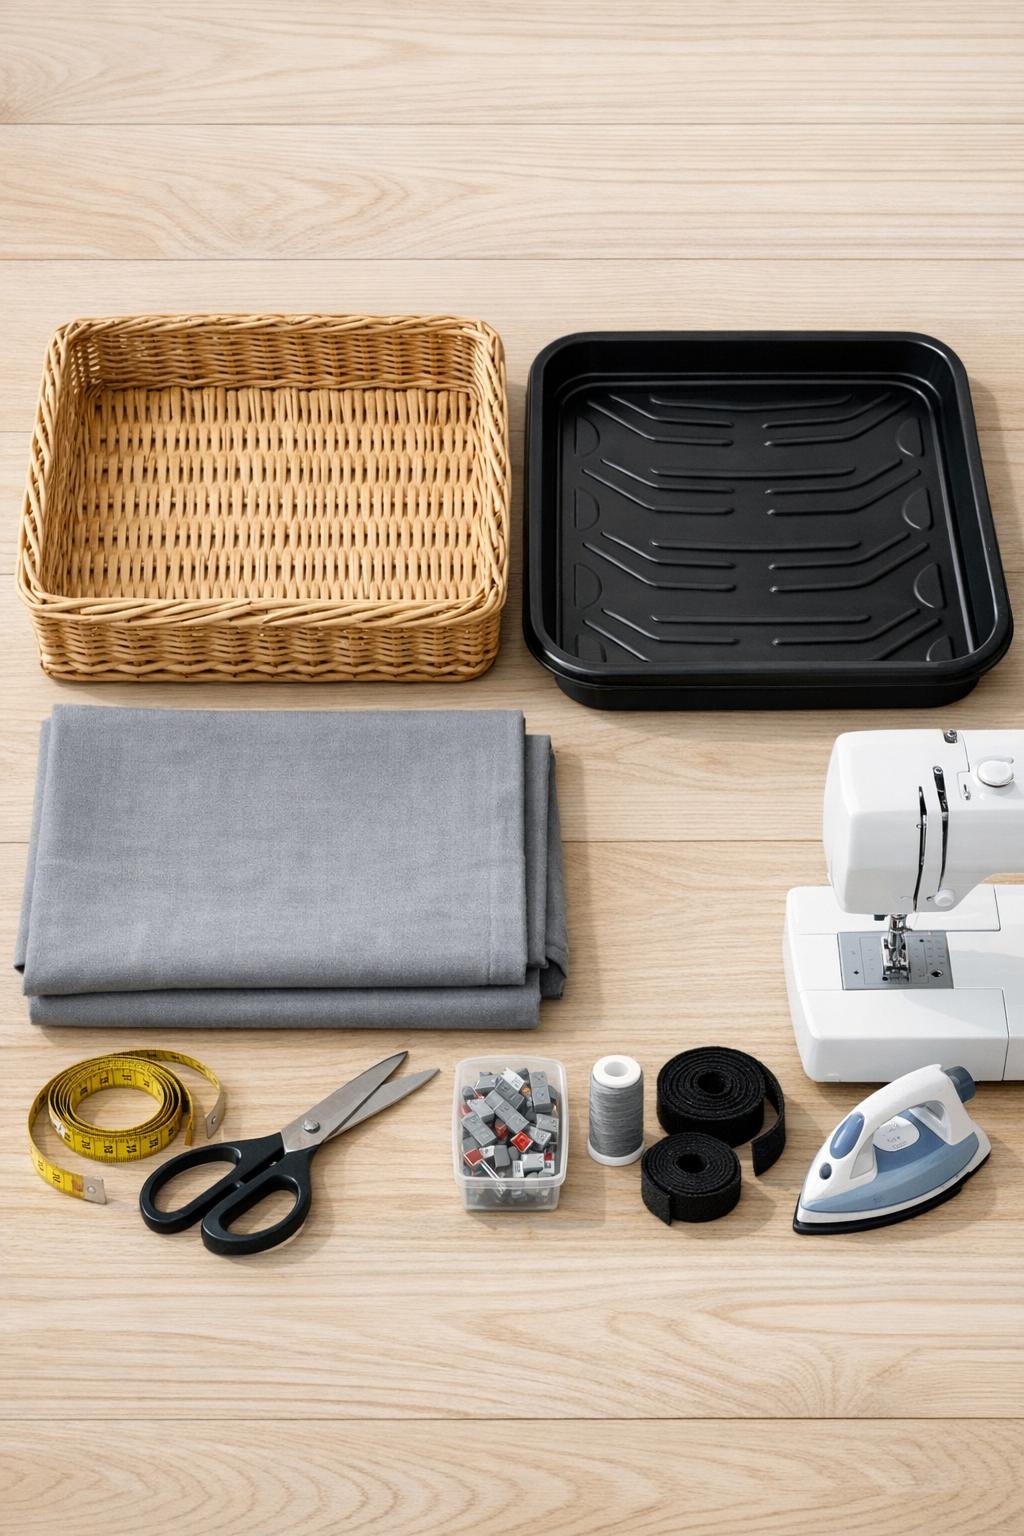
Materials
Instructions
1. Measure your wicker basket across the inside bottom, inside top, and height so you can confirm the boot tray fits with a little room for the fabric liner around it.
2. Test-fit the black plastic boot tray inside the basket and center it so the wicker edge stays visible all the way around; if the fit is snug, that’s ideal because the tray will stay put.
3. Cut one rectangle of gray canvas and one rectangle of lining fabric measuring 28 inches by 32 inches, which gives you enough fabric to cover the basket interior, wrap over the rim, and create a tidy fitted look.
4. Place the two fabric pieces right sides together, pin around all four sides, and sew with a 1/2-inch seam allowance, leaving a 5-inch opening on one long side for turning.
5. Clip the corners, turn the fabric right side out, press it flat with the iron, and topstitch all the way around the rectangle about 1/4 inch from the edge to close the opening and keep the liner crisp.
6. Drape the finished fabric rectangle into the basket, smoothing it into the bottom and up the sides so the extra fabric folds evenly over the top rim.
7. Mark where the liner naturally meets each corner, then sew a short 3-inch dart at each corner if needed to remove bulk and help the liner sit neatly inside the basket without bunching.
8. Cut four pieces of hook-and-loop tape, each 4 to 4.5 inches long, and attach them evenly around the inside upper rim of the basket and the underside of the fabric flap so the liner stays in place but can be removed for washing.
9. If your canvas frays easily, run a thin line of no-fray sealant along the raw edges hidden inside the corner darts and let it dry fully.
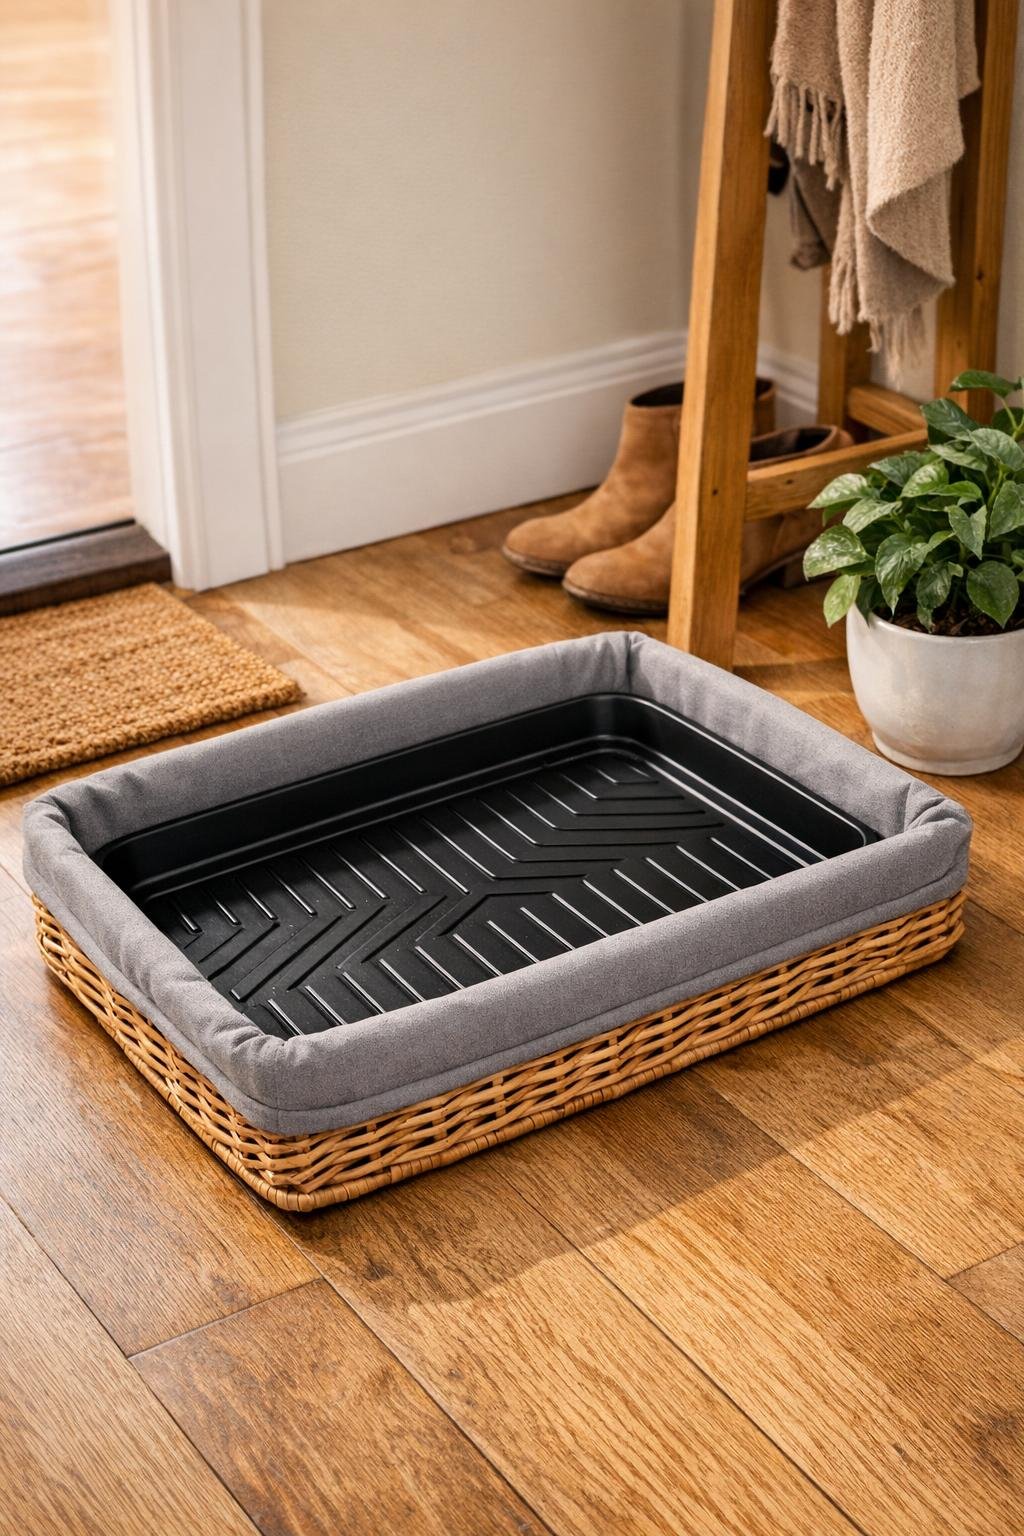
10. Set the black plastic boot tray back into the lined basket, pressing it down gently so the liner cushions the sides while the tray bottom remains flat and stable for wet shoes.
11. Adjust the fabric around the tray so the gray liner frames the black tray evenly and the natural wicker still shows at the outer edge for that finished basket look.
12. Place the completed shoe tray in the entryway and load it with everyday pairs of shoes, boots, or slippers so it’s ready to catch drips and dirt the minute everyone walks in.
Variations & Tips
For a no-sew version: Use a prewashed gray canvas drop cloth or sturdy table linen, fold the edges under twice, press well, and secure the liner with adhesive hook-and-loop tape instead of sewing.
For snowy climates: Choose a boot tray with deeper ridges so melted snow stays contained and doesn’t seep into the basket.
For easy cleaning: Shake out the liner weekly, machine wash it on cold, and wipe the plastic tray with warm soapy water before putting everything back together.
For a more tailored fit: If your basket has strongly rounded corners, make a quick paper template of the interior first and use it to guide your liner size before cutting fabric.
For busy family entryways: Size up and use a larger basket-and-tray combo that fits three to four pairs of adult shoes, because this project works best when there’s enough room that shoes aren’t piled on top of each other.
Style tip: I like using medium gray fabric here because it hides lint and everyday dust better than cream, but striped ticking, charcoal canvas, or indoor-outdoor fabric also work beautifully if you want a more decorative look.