
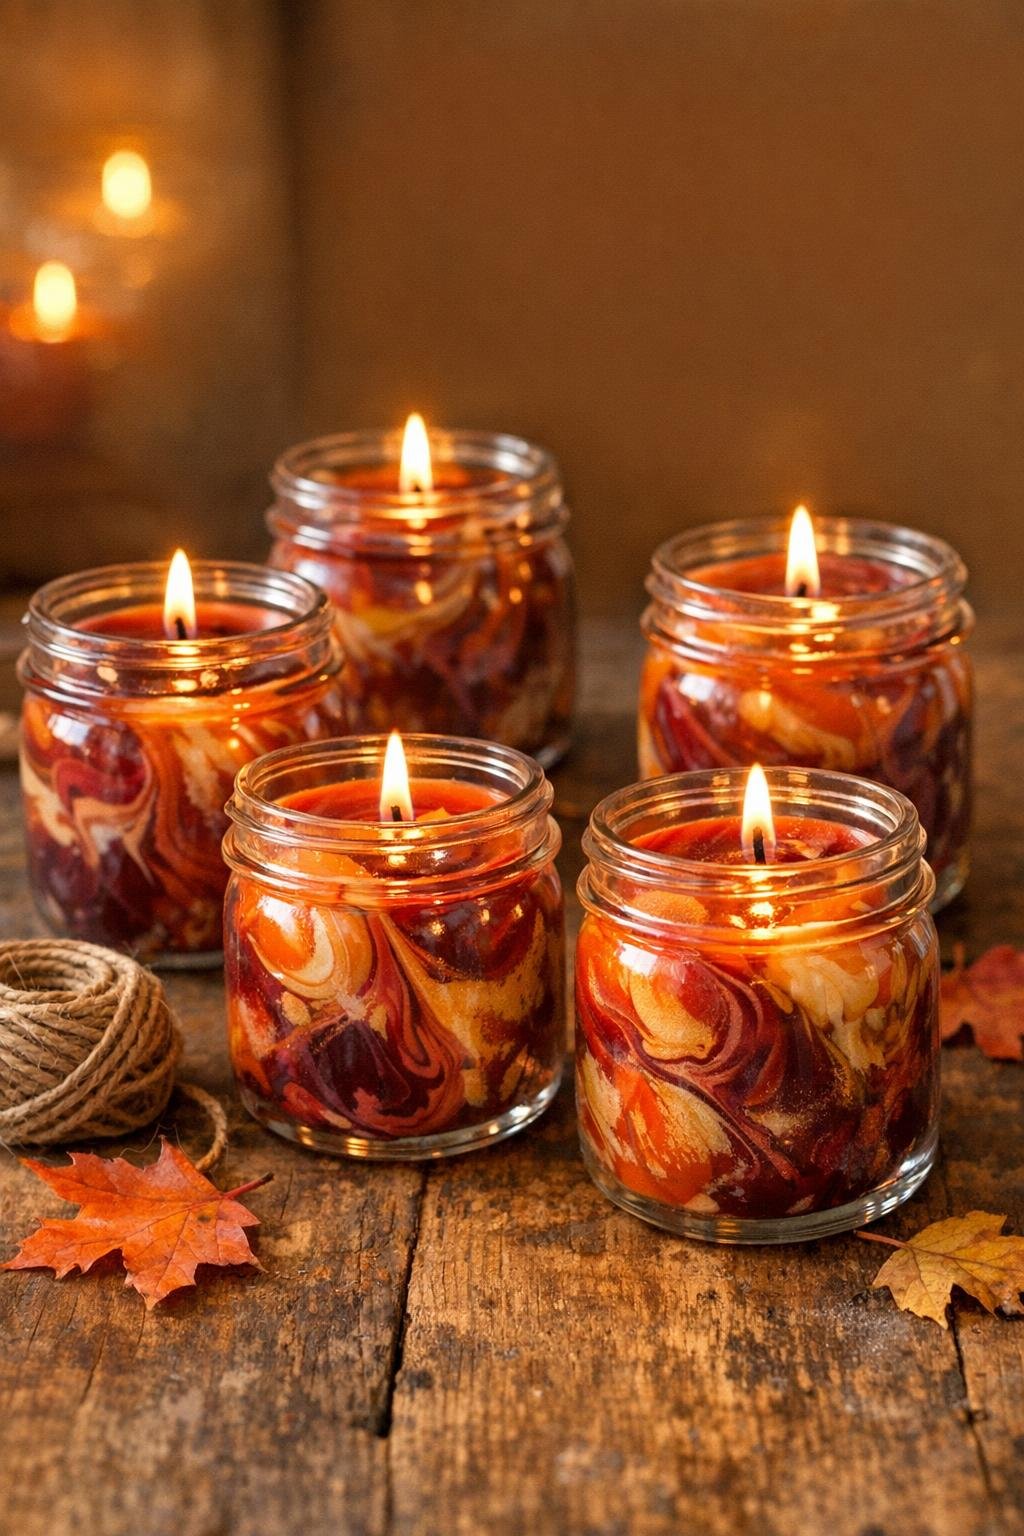
There is something mighty satisfying about turning a box of broken crayons into something pretty enough to set on the supper table or tuck onto a windowsill. These marbled wax votives are made by melting 12 old crayons right into empty glass jars, and the color payoff is every bit as cheerful and dramatic as you’d hope. The finished jars keep that homemade, swirled look from the hero scene, with ribbons of color running through the wax like a little sunset caught in glass.
I’m especially fond of projects like this because they use what you already have on hand and still feel special when they’re done. If you’ve got a few saved jars, a handful of broken crayons, and a quiet afternoon, you can make a whole cluster of glowing votives without much fuss at all. They’re lovely for a holiday table, a porch gathering, or just brightening up a gray day in the kitchen.
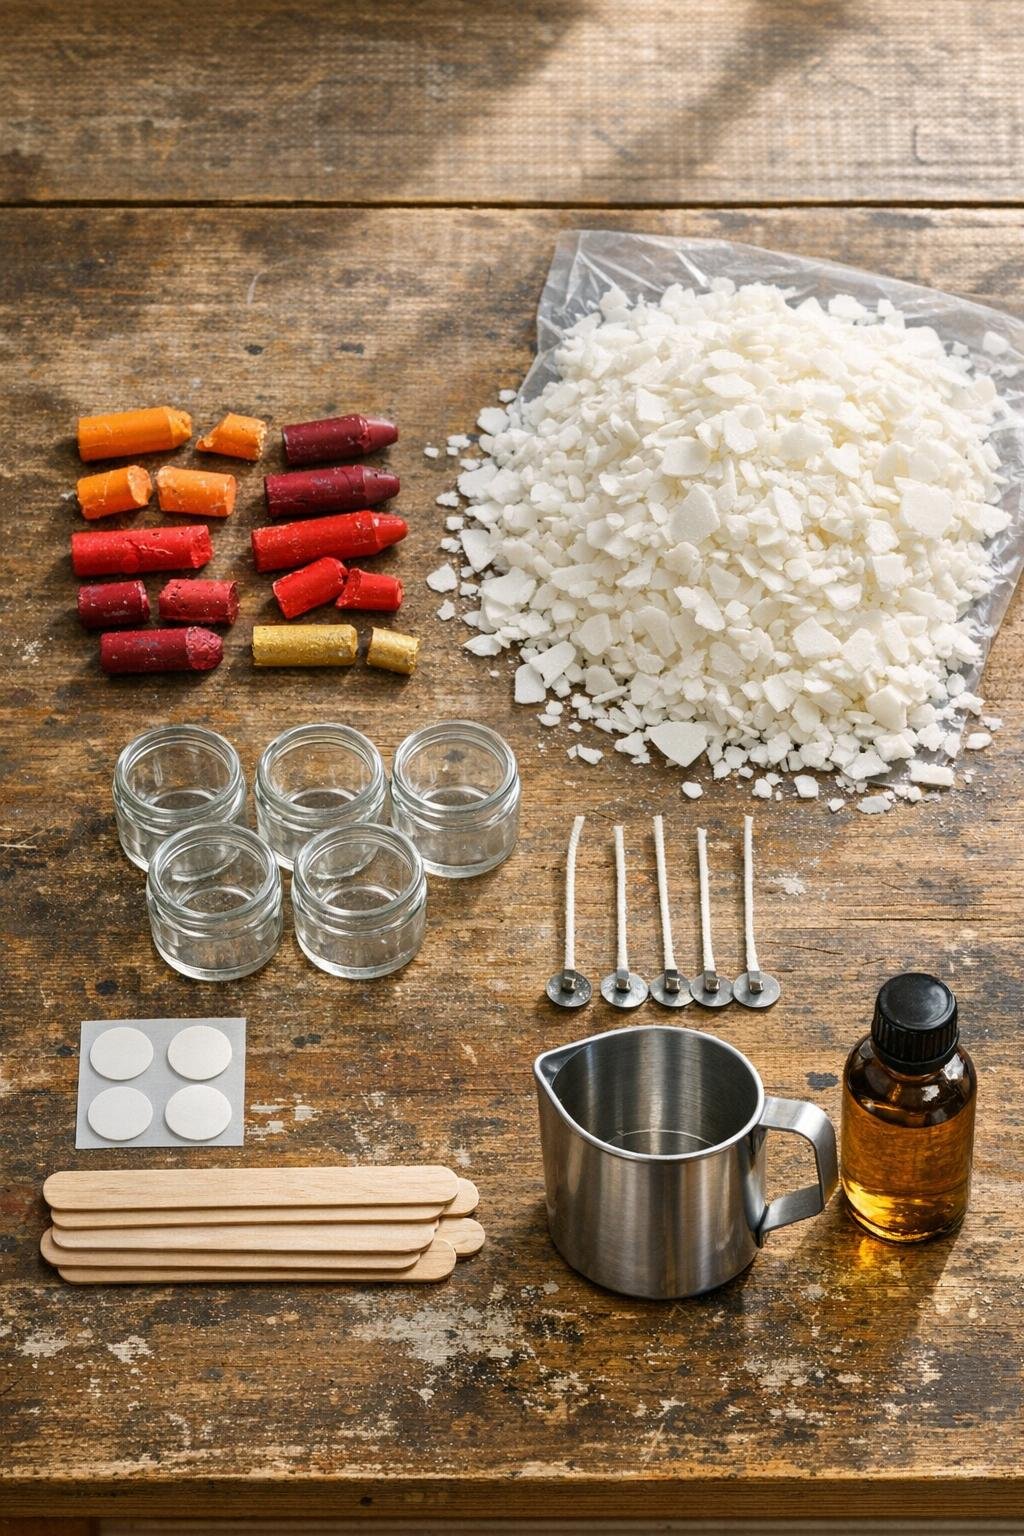
Materials
12 broken crayons, wrappers removed, in 4 coordinating color groups of 3 crayons each
Instructions
1. Wash the glass jars with hot soapy water, dry them completely, and wipe out any moisture or dust so the wax sets cleanly against the glass.
2. Peel all paper from the crayons, then break or cut them into small pieces and sort them into 4 color piles so each jar gets a rich blend instead of muddied color.
3. Stick one wick tab in the center of each jar with a wick sticker or a dot of hot glue, then wrap the top of each wick around a craft stick laid across the jar to keep it upright.
4. Fill a saucepan with 2 inches of water and set your pouring can or clean tin can inside to make a simple double boiler, then heat on low until the water is gently simmering.
5. Add about 1 cup of white wax flakes to the pouring can and melt them slowly, stirring just until smooth; if using fragrance, stir in 1/4 teaspoon now for the first batch.
6. Drop the first crayon color group into the melted wax and stir gently until mostly melted, leaving a few streaks rather than overmixing so the finished votive keeps that marbled look.
7. Pour a shallow layer of the colored wax into the first jar, tilt the jar slightly as you pour if you want diagonal swirls, and let it sit 3 to 5 minutes until the top looks lightly set.
8. Melt another 1 cup of white wax flakes, add a second crayon color group, and stir only enough to blend partway, then pour the next layer into the same jar and use the spoon handle to make one or two gentle swirls through the side.
9. Repeat with 2 or 3 more colored wax batches until the jar is filled to within 1/2 inch of the rim, keeping the colors in the same warm family like orange, burgundy, rust, and gold for the prettiest finish.
10. Make the remaining jars the same way, varying the order of the color layers so the set looks collected and handmade rather than identical.
11. If you’d like a little sparkle, dust a tiny pinch of gold mica over the top of each jar while the surface is still warm, then leave the votives undisturbed for several hours until fully set.
12. Trim each wick to 1/4 inch, wipe any wax smudges from the glass, and tie a ribbon or bit of twine around the rim for a simple finished touch.
Variations & Tips
Color Pairing: Stick to 2 to 4 neighboring colors for each jar, such as orange, coral, burgundy, and gold, because too many unrelated shades can turn brown once melted together.
Jar Choice: Short, straight-sided jars are the easiest for beginners and show off the marbling best; tiny yogurt jars and baby food jars also work nicely if they are heat-safe glass.
Wax Texture: For stronger visible swirls, let each color cool for a minute before pouring and stir less than you think you should. A heavy hand blends everything smooth, but a light hand gives you those handsome streaks.
Fragrance Tip: Crayons add color, not scent, so if you want a cozy candle feel, use just a little candle-safe fragrance oil in the melted wax. Cinnamon, orange, or vanilla all suit these warm colors beautifully.
Safer Burning: These work best as small decorative candles burned for short periods on a heat-safe surface, and they should never be left unattended. I always tell folks to think of handmade candles the way we think of cast-iron on the stove: useful, lovely, and deserving of respect.
Gift Idea: Make a set of 3 or 4 jars in the same color family, tie them with twine, and tuck them into a little basket. It’s the kind of homemade gift that feels thoughtful without being fussy.