
Loose pinecone scales may look like the sort of thing that belongs in the yard waste pile, but they make some of the prettiest little rustic flowers you can imagine. Once you start gluing them in circles, one layer tucked right behind the next, they open up into full blooms with all that woodland texture already built in. I love a project like this because it asks for simple materials, a little patience, and rewards you with something that looks far fancier than it ought to for the effort.
This bouquet is a lovely craft for anyone who enjoys natural materials, porch-and-parlor decorating, or making something beautiful from what would usually be swept away. It reminds me of the old Midwestern habit of saving every useful scrap, whether from the sewing basket, the garden row, or the woodpile. These flowers have that same thrifty spirit, but tied up in a bouquet they look sweet and polished enough for a centerpiece, mantel, or gift.
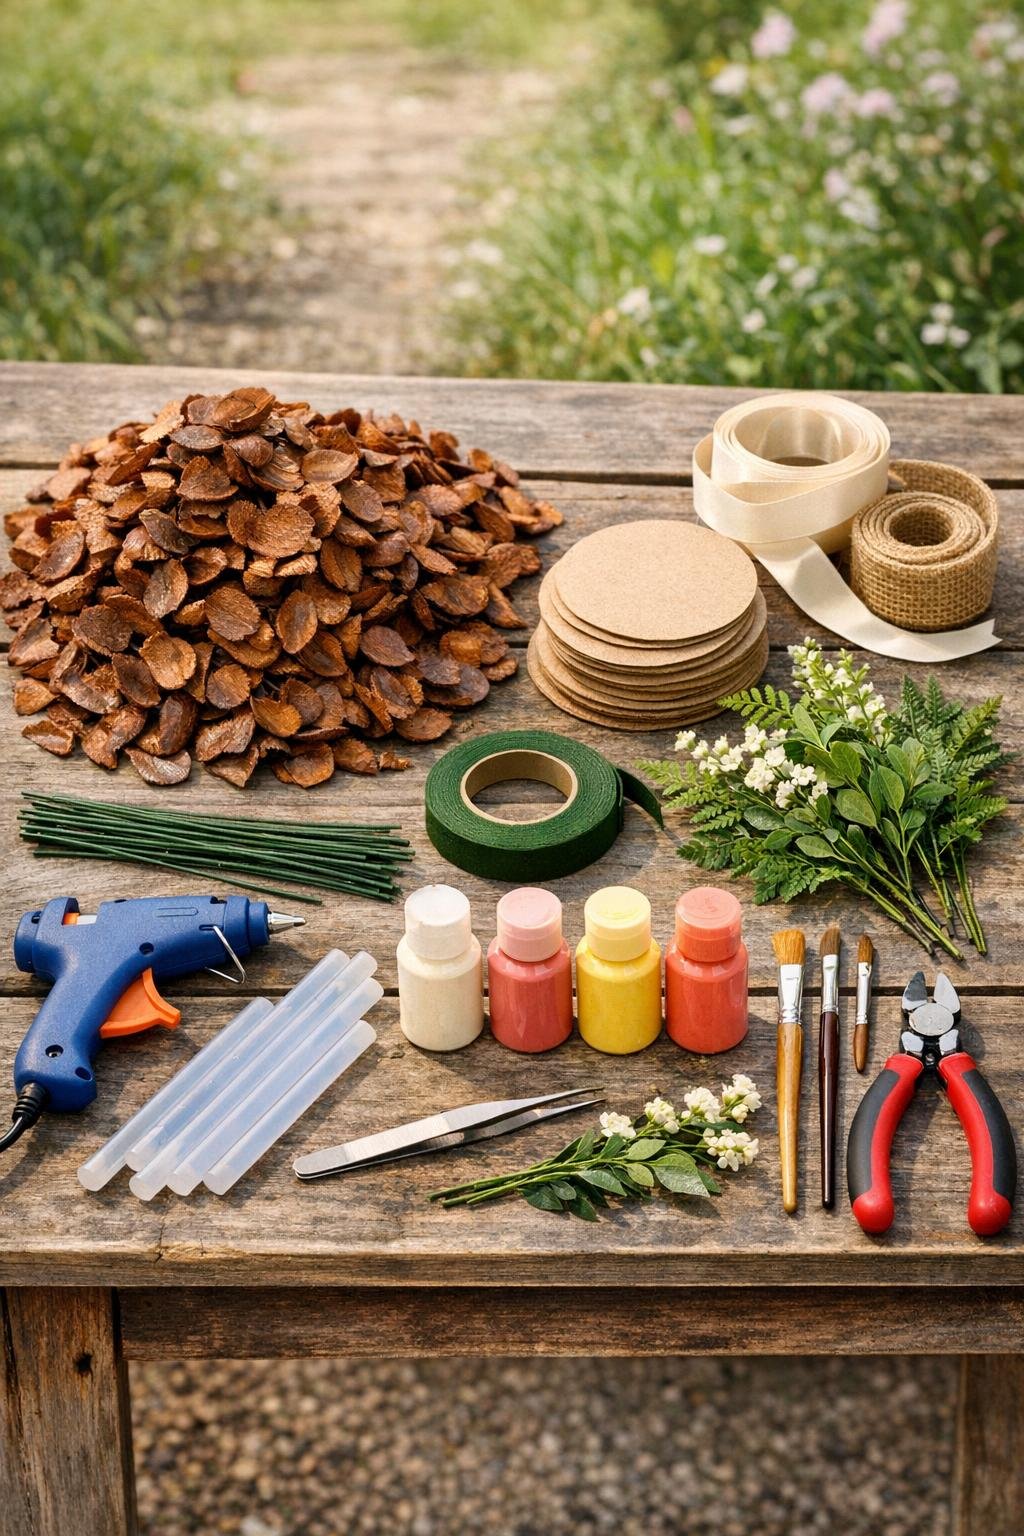
Materials
Instructions
1. Sort your pinecone scales by size, setting the larger ones aside for outer petals, medium ones for the middle, and the smallest for the centers. This little bit of order makes the flowers build quickly and keeps the circles looking full instead of patchy.
2. Cut or prepare 12 cardboard circles, each about 2 inches wide, and trim any rough edges. If your cardboard is very thin, glue two circles together for each flower so the base stays firm when you add petals.
3. Glue the largest scales around the outer edge of one cardboard circle, overlapping them slightly so the base is fully covered. Keep the pointed ends facing inward and the rounded edges outward to mimic real petals.
4. Add a second ring of medium scales just inside the first, tucking each one between two outer petals. Continue working inward in tight circles until the flower looks full and gently domed.
5. Finish the center with the smallest scales in a snug spiral, then glue a half-bead or small wooden bead into the middle. Repeat the same layering process until you have 12 flowers, making a few slightly tighter and a few slightly wider so the bouquet feels natural.
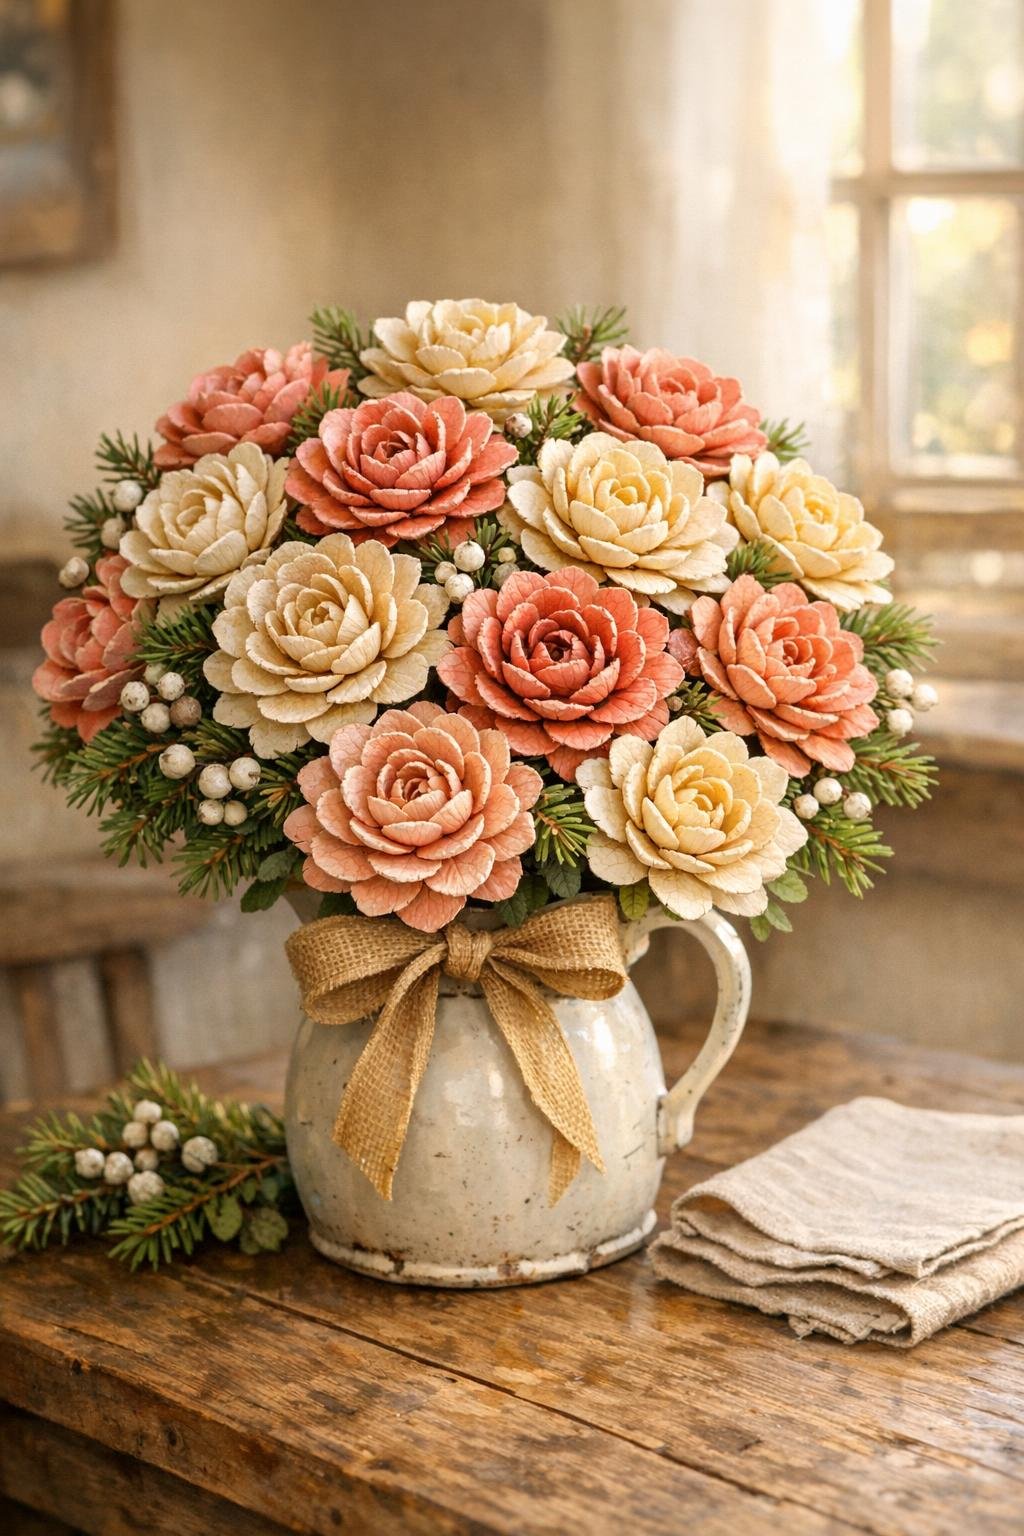
6. Dry-brush the flowers with acrylic paint, letting some of the brown show through for depth and a natural look. I like to make a mixed bouquet with cream flowers, blush flowers, a few coral blooms, and yellow centers brushed into some of the middle petals.
7. Once the paint is dry, seal the flowers lightly with clear matte sealer if you want extra protection. Let them dry completely before attaching stems so nothing stays tacky.
8. Glue one floral wire stem to the back of each flower, then secure it by gluing a small scrap circle of cardboard over the wire end. Wrap the stem neatly with green floral tape from the flower base all the way down.
9. Add small faux greenery sprigs to about two-thirds of the stems, securing them with more floral tape just below the flower heads. This fills the bouquet out nicely and gives those little blossoms a proper gathered-from-the-garden look.
10. Gather the stems into a bouquet, placing the largest blooms in the center and angling the smaller ones around the outside. Turn the bunch as you work so the flowers sit evenly and the colors are mixed throughout.
11. Wrap the stems tightly with floral tape where your hand naturally holds the bouquet, then trim the bottoms even with wire cutters. If you want a fuller presentation, tuck the bunch into an 18-inch square of kraft paper or burlap wrap.
12. Tie the bouquet with ribbon in a generous bow and fluff the greenery so every flower shows. Adjust any petals with your fingers or tweezers, and add a tiny touch more paint to the centers if they need brightening.
Variations & Tips
Keep it natural: If you prefer a woodsy look, skip most of the paint and just brush the petal tips with a little cream or white. That lets the pinecone texture do the talking.
Make it seasonal: For autumn, use rusty orange, mustard, and deep red tones; for spring, go with pale pink, butter yellow, and soft ivory. A color family helps the bouquet feel intentional and gift-worthy.
Use real stems: Thin twigs can stand in for floral wire if you want an even more natural arrangement. Just glue the flower heads well and hold them in place a minute longer while the adhesive grabs.
Build fuller blooms: If your scales are on the small side, use 16 to 18 scales per flower instead of 12 to 14. A denser petal layout makes the bouquet look richer and more impressive.
Try a vase arrangement: Instead of hand-tying the bouquet, set the stems into floral foam inside a crock, pitcher, or basket. I’ve done that for a sideboard before, and it looked like something saved from an old church social centerpiece.
Store it well: Keep the bouquet out of damp weather and direct rain since pinecone scales can shift if they absorb moisture. Indoors, it will last beautifully through the season and often much longer.