
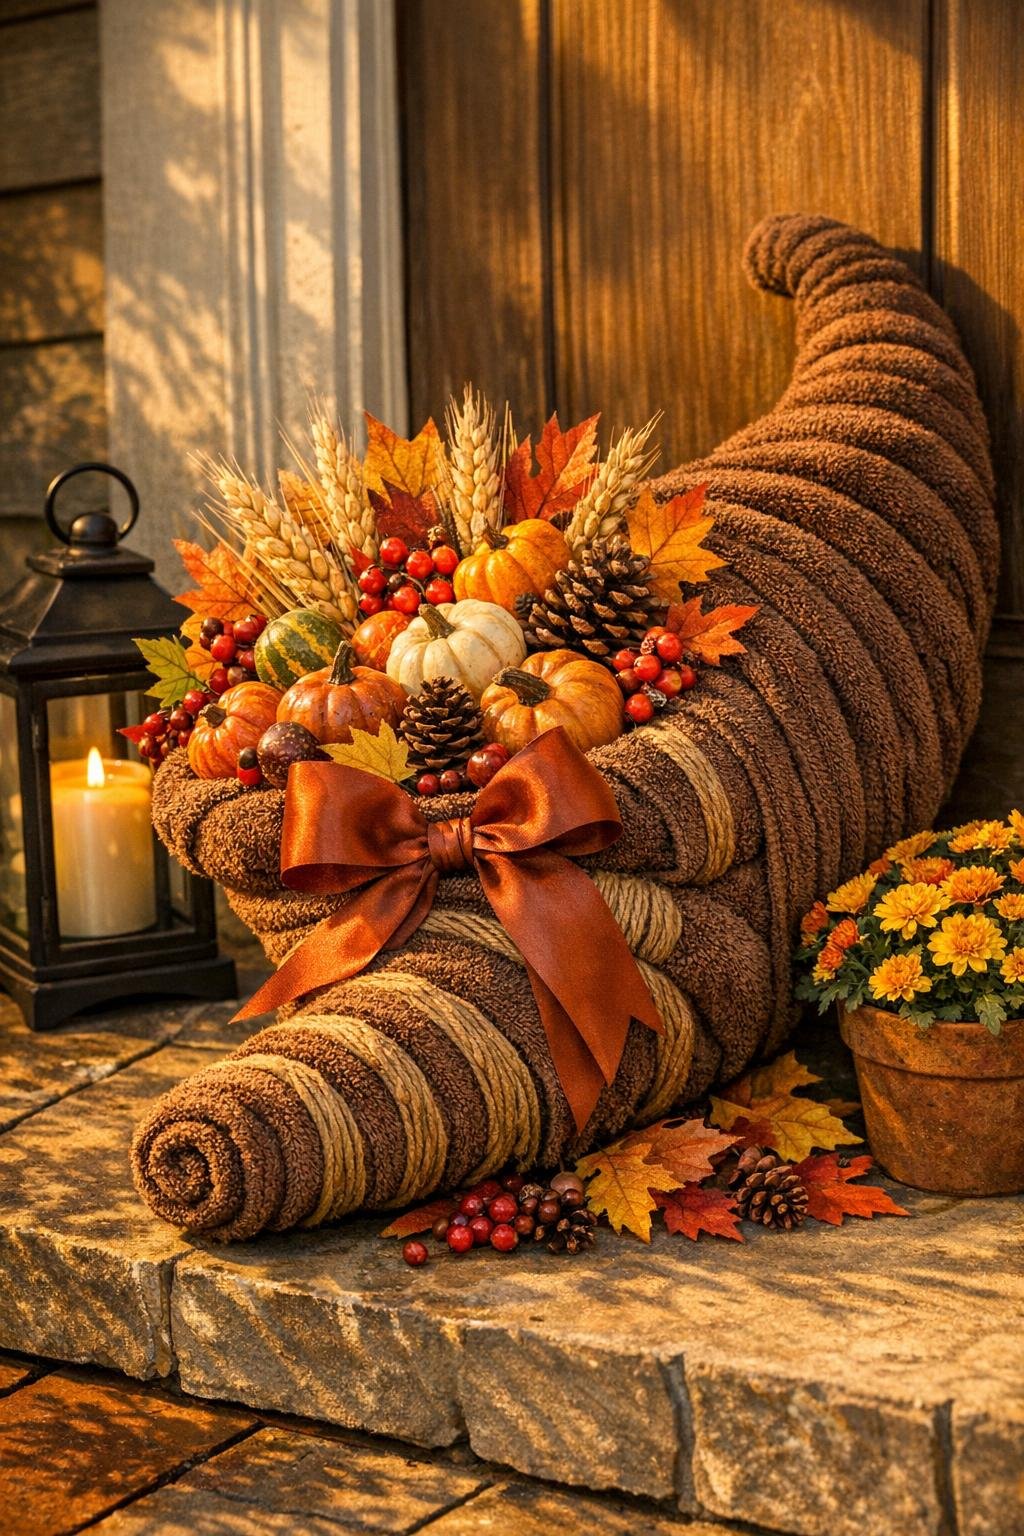
There is something about a cornucopia on the table or porch that still feels like harvest time to me, even after all these years. This version is made from thrifted brown bath towels wrapped around wire hangers, and I have to admit, it is one of those projects that looks far fancier than the work it takes. The towels give you that soft, full, woven look, and the wire lets you shape a generous horn that really holds its form.
If you enjoy turning humble castoffs into something seasonal and striking, this is a good one. It is especially nice for folks who want a big fall decoration without sewing, woodworking, or a pile of expensive craft-store supplies. I designed this to be lush and abundant, with a proper curved cornucopia shape, a finished rim, and plenty of harvest fillers so it does not look skimpy.
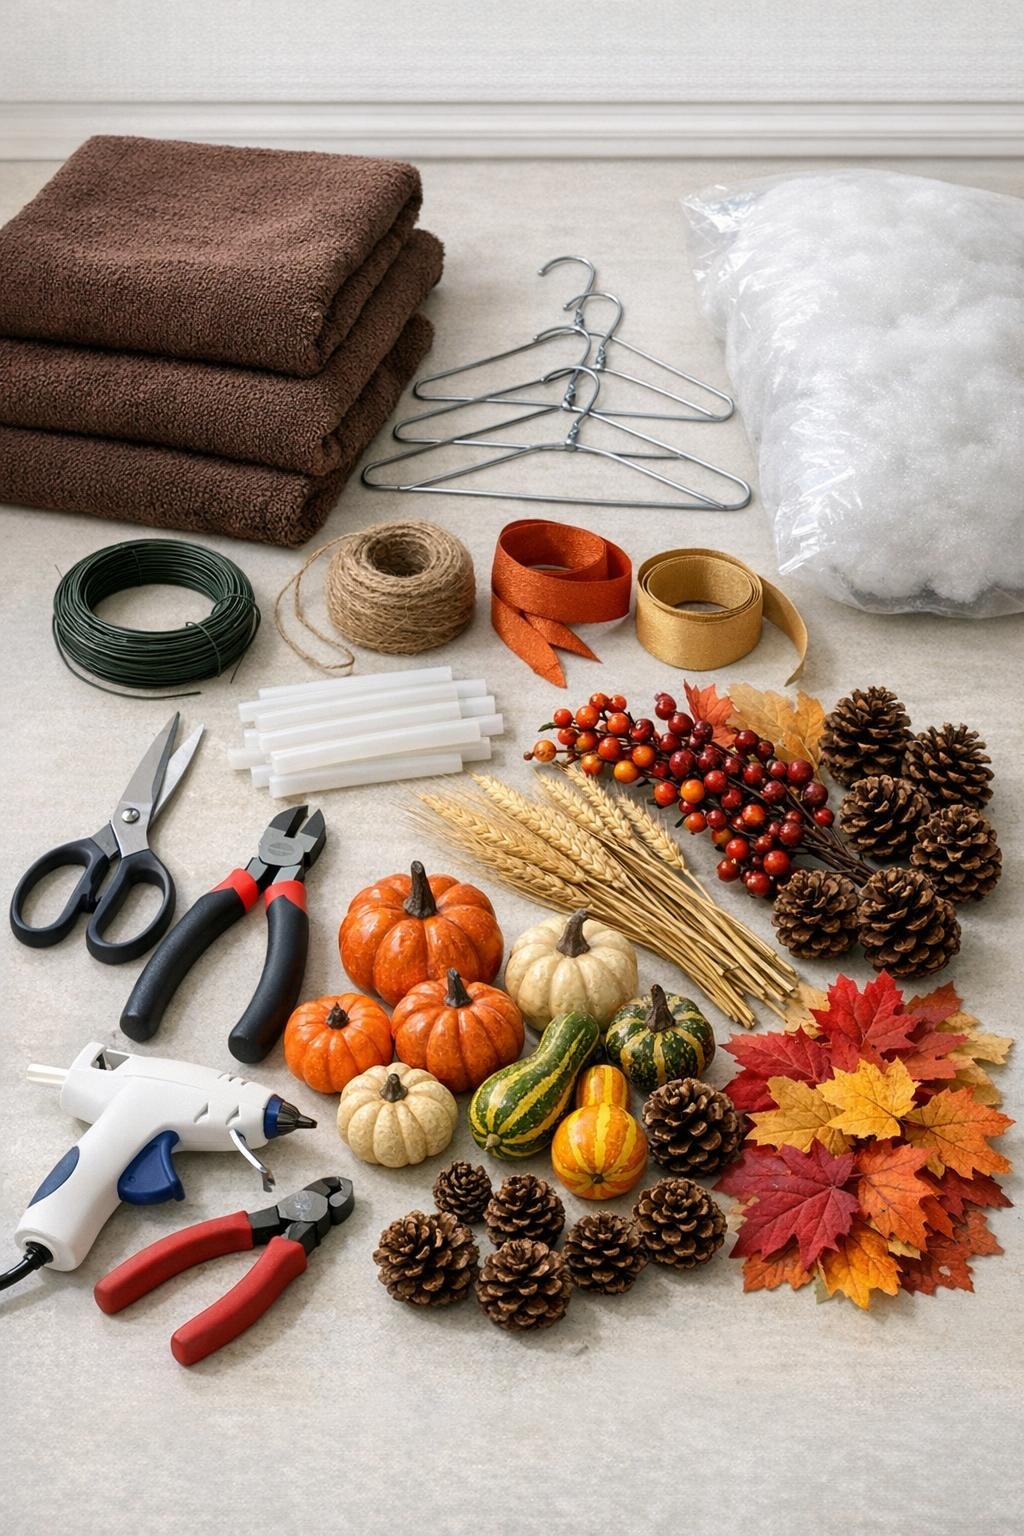
Materials
Instructions
1. Bend two wire hangers open and reshape them into long curved ovals, then overlap and wire them together end to end to make the main horn form of the cornucopia. Use the third hanger to make a wide oval for the mouth opening and wire it securely to the large end.
2. Stuff a little fiberfill around the narrow end and along the curve, then wrap floral wire loosely around it so the frame starts to look rounded instead of flat. This padding helps the towels sit full and even.
3. Roll the first brown bath towel tightly around the narrow tail end of the frame, just like wrapping a thick rope, and secure it every few inches with floral wire or jute twine. Keep the towel snug so the horn shape stays firm.
4. Add the second towel where the first ends, overlapping by 3 to 4 inches so there is no gap, and continue wrapping toward the wide opening. Tuck raw towel edges under as you go to keep the outside smooth.
5. Use the third towel to bulk up the mouth of the cornucopia, wrapping it around the opening ring and back onto the body until the front edge looks thick and generous. Secure the end on the underside with hot glue and twine.
6. Cut the felt or burlap into a circle large enough to cover the open back side of the horn, then glue it in place underneath to hide the wire and towel ends. This little step makes the piece look finished when viewed from the side.
7. Wrap jute twine in even spirals around the whole body, spacing the rows about 1 to 1 1/2 inches apart, and pull it snug enough to cinch the towels into that classic basket-like shape. I like to knot or glue the twine on the underside where it will not show.
8. Make a full bow from the rust ribbon and a smaller accent bow from the tan ribbon, then glue them together and attach them near the mouth or along the lower curve. It gives the piece a polished, gift-like finish without much effort.
9. Insert the faux wheat stems deep into the opening first, angling them outward and upward so they create height and a harvest fan in the back. Add the leaf stems around the sides to cover the rim and soften the edges.
10. Tuck in the berry picks next, then nestle the mini pumpkins, gourds, and pinecones around the opening and slightly spilling forward. Glue a few key pieces in place, but leave enough natural layering that it looks abundant instead of stiff.
11. Stand the cornucopia where you plan to display it and adjust the curve, the bow, and the harvest fillers until the whole piece looks balanced from front and side views. Fluff the leaves and wheat so the arrangement reads rich and full rather than flat.
Variations & Tips
Color swap: If you cannot find brown towels, tan, taupe, deep olive, or even faded orange work nicely for fall. Just keep all three towels in the same color family so the horn looks intentional.
Make it porch-friendly: If this will sit outdoors in dry weather, use more floral wire and less hot glue for the structural parts. I still bring towel-based projects inside during rain or heavy dew.
Use what you have: Old hand towels can be added around the mouth if your bath towels are on the thin side. A little extra stuffing underneath helps make thrifted towels look plush and expensive.
For a table centerpiece: Scale down with two towels and a smaller filler arrangement if you need it for a dining table. Keep the same cinched twine treatment so it still has that woven cornucopia character.
Hide gaps neatly: Tuck individual faux leaves into any thin spots where the towels join or the wire peeks through. I do this at the very end, the same way I used to tuck parsley around a platter before company came.
Secure the display: If the cornucopia is top-heavy, glue a few pinecones along the underside curve or place a small bag of dried beans inside the base opening before closing it. That extra weight helps it sit steady.