
I love a garden fix that solves a real problem and still looks pulled together from the sidewalk, and this one does exactly that. We’re turning sliced foam pool noodles into a soft, rounded mulch-retaining edge for a fall garden bed, using two other easy-to-find shed staples to anchor and shape it. The result is a tidy border that keeps bark mulch from washing into the lawn, protects the edge of the bed, and adds a surprisingly polished finish for very little effort.
This project is especially good for anyone who wants a fast seasonal refresh without hauling stone or cutting lumber. I’m always drawn to practical solutions that feel a little clever, and this one reminds me of good kitchen improvisation: simple materials, smart technique, and a finished look that seems fancier than it is.
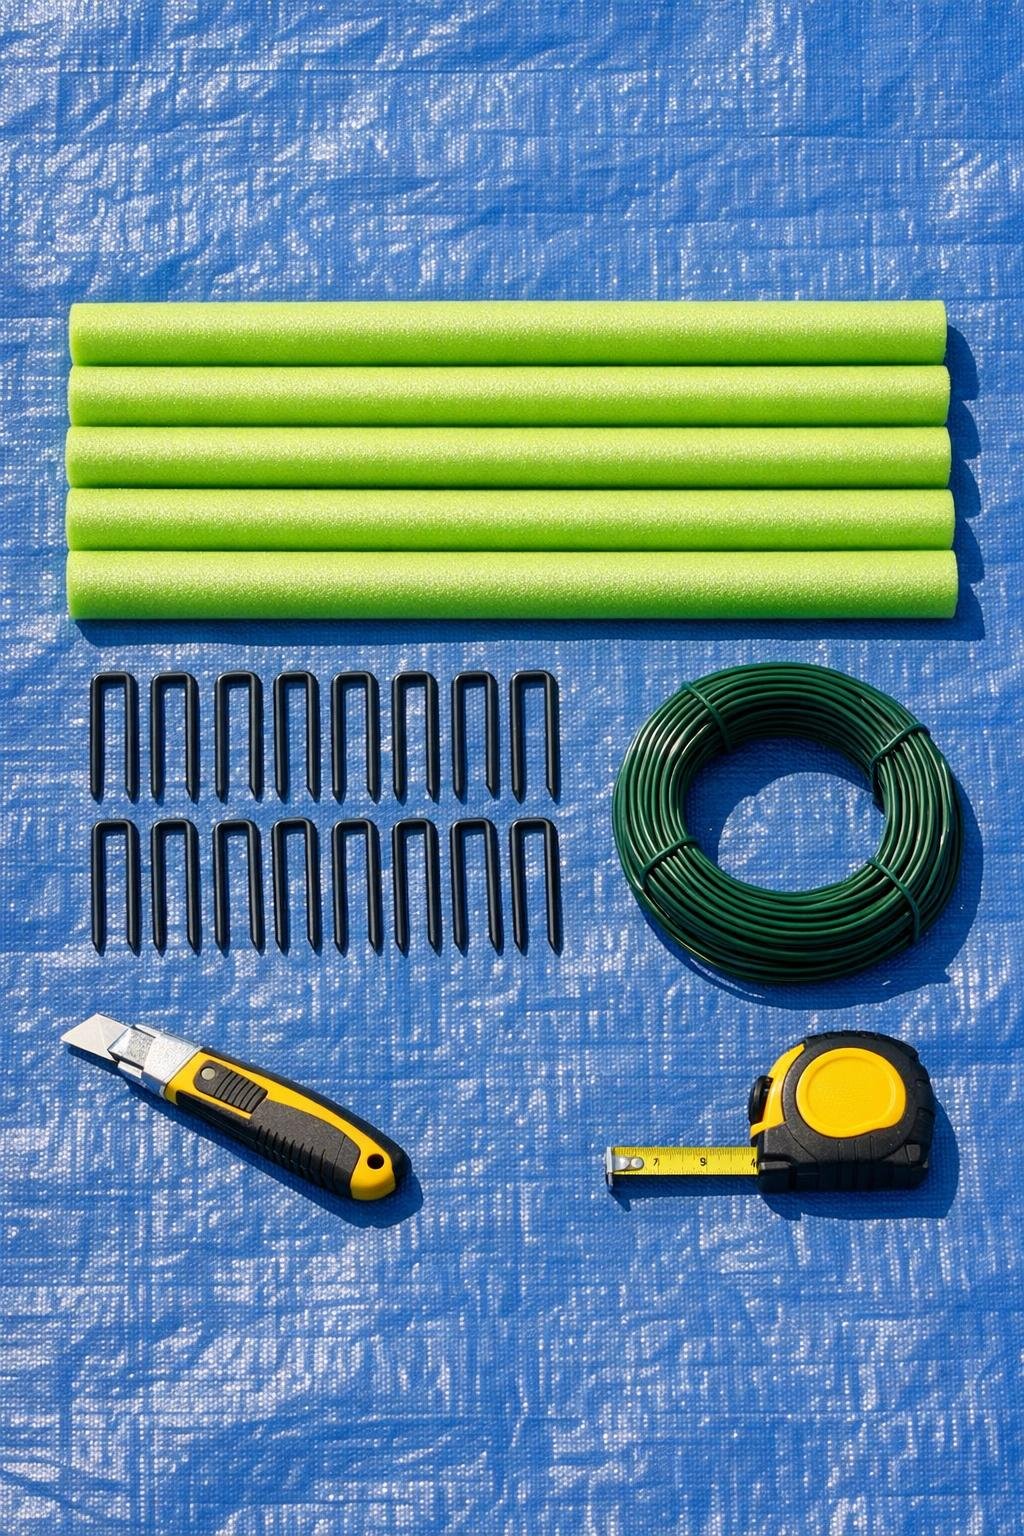
Materials
6 bright green foam pool noodles, standard size, 52 to 55 inches long each
Instructions
1. Clear the garden bed edge so you have a clean line to work with, removing loose mulch, weeds, and any stones for a strip about 4 inches wide.
2. Lay the pool noodles beside the bed and measure the run, then cut as many noodles as needed to follow the full edge with a little extra for trimming at the ends.
3. Slice each noodle lengthwise with a utility knife, cutting one straight slit from end to end so it can open and sit lower against the soil.
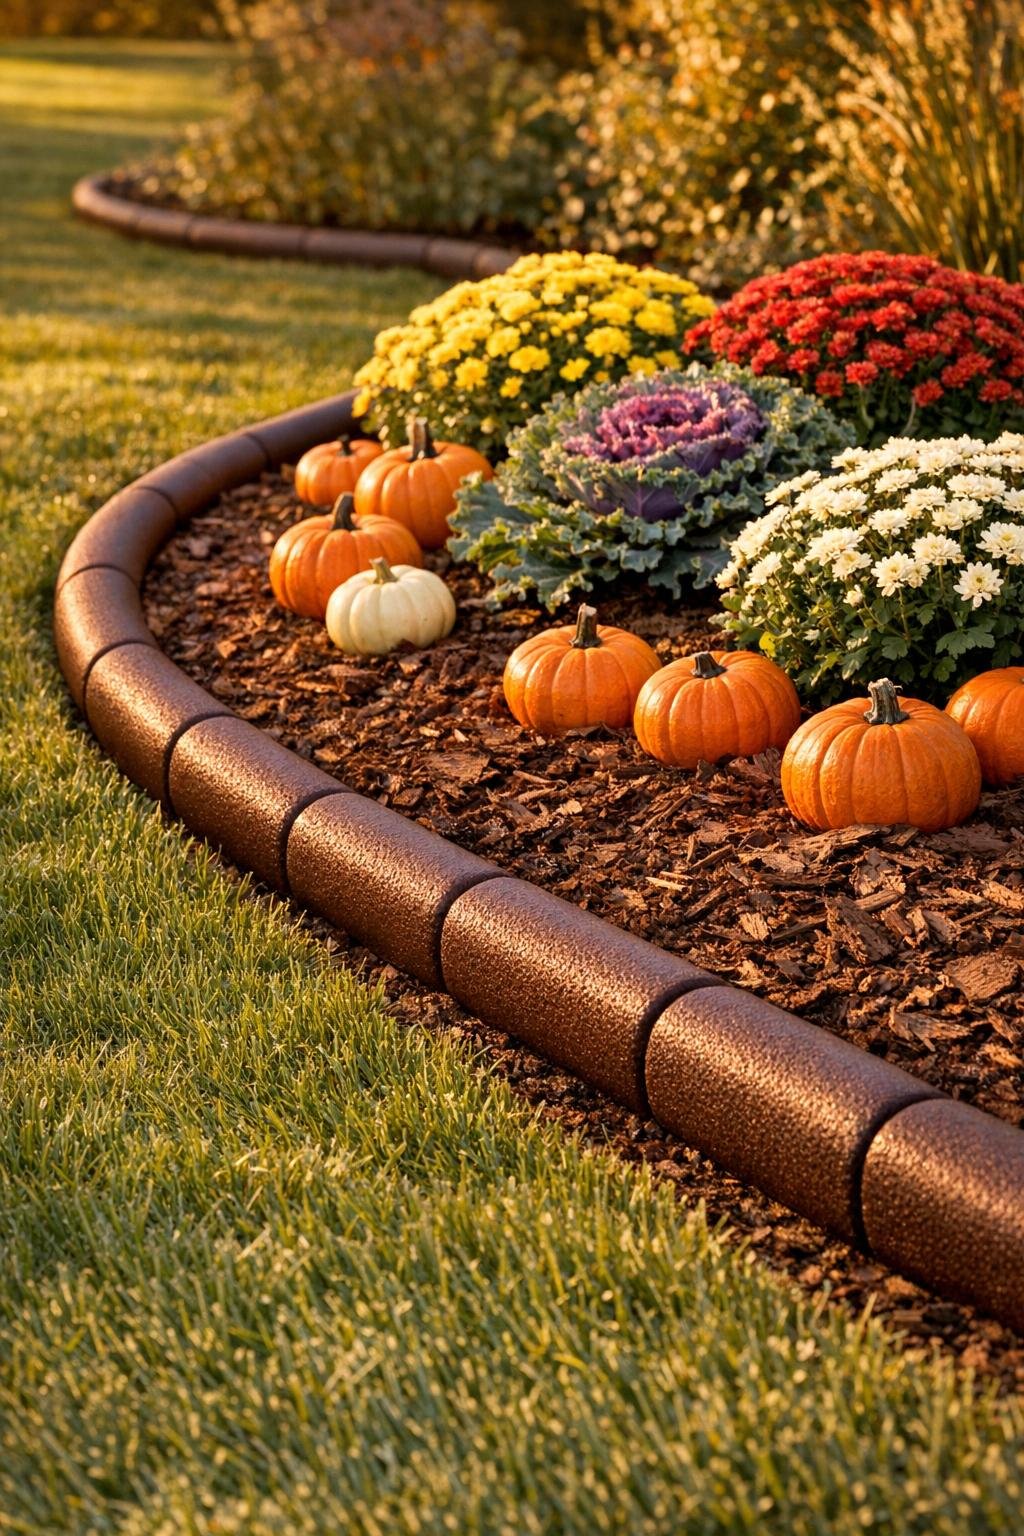
4. If you want the edging to blend into a fall bed more naturally, spray the noodles now in light coats of dark brown or black and let them dry completely before installing.
5. Set the first slit noodle along the bed edge with the slit facing down toward the soil, pressing it so the rounded top sits just above lawn level and the bottom grips the ground.
6. Push a landscape staple over the noodle and into the ground every 10 to 12 inches, angling the staple slightly inward so it hugs the foam and holds the curve firmly.
7. Thread a short length of plastic-coated garden wire around each staple crown and over the noodle where needed, twisting underneath or at the back side to keep sections snug in uneven spots.
8. Continue adding noodle sections end to end, butting them tightly together and trimming the final piece to fit so the border reads as one continuous line.
9. For curves, make a few shallow relief snips on the underside of the slit edge so the noodle bends smoothly without buckling.
10. Pull existing mulch back against the new edging and add fresh mulch behind it, packing the mulch lightly so it supports the noodles from the bed side and creates a full, finished border.
11. Step back and adjust the height and arc of any section that looks uneven, then add an extra staple at both ends and at every joint for a cleaner, more durable finish.
Variations & Tips
Natural-looking finish: If bright green feels too obvious, dark brown, black, or even a muted olive spray finish helps the edging disappear into the bed while still keeping the noodle shape soft and clean.
Best bed shape: This works especially well on gentle curves and rounded corners, where the soft foam line looks intentional and helps mulch stay put during autumn rain.
For taller retention: Double the effect by stacking a second slit noodle directly behind the first in deeper beds, securing both with longer staples and extra wire.
Joint placement: Stagger noodle joints away from obvious focal points, like the center of a front walkway, so the border looks more continuous and custom.
Cold-weather note: In very harsh winters, foam can weather faster, so I think of this as a smart seasonal edging or a low-cost trial run before committing to a permanent border style.
Mulch support: The edging looks best when the mulch is generously mounded just behind it; that backing helps it hold its shape and gives the whole bed a fuller, more finished appearance.