
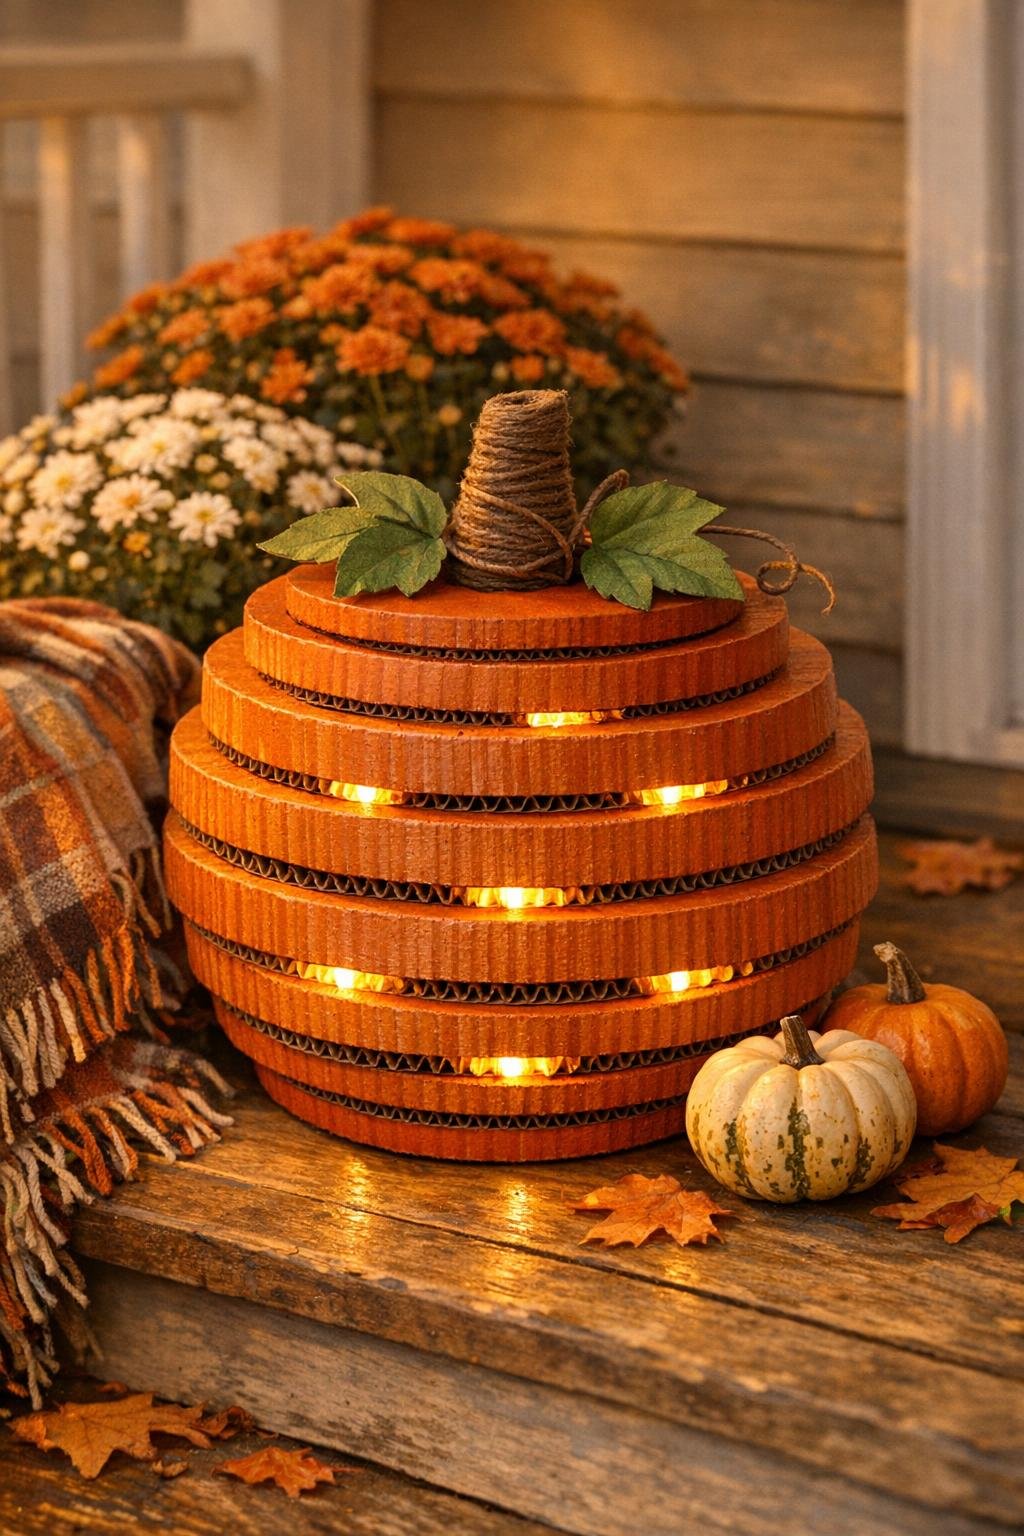
There’s something so satisfying about turning plain cardboard into a glowing fall decoration that looks far more complicated than it really is. These cardboard ring pumpkin lanterns are made by stacking and gluing rings into a round pumpkin shape, then adding a stem and a warm light inside so the whole piece comes alive in the evening.
I love a project like this because it uses inexpensive materials, gives you a big dramatic result, and still feels approachable even if your craft table is really just the corner of the kitchen like mine usually is. If you enjoy seasonal decorating, family craft nights, or making something eye-catching without a long supply list, this is a wonderful one to try.
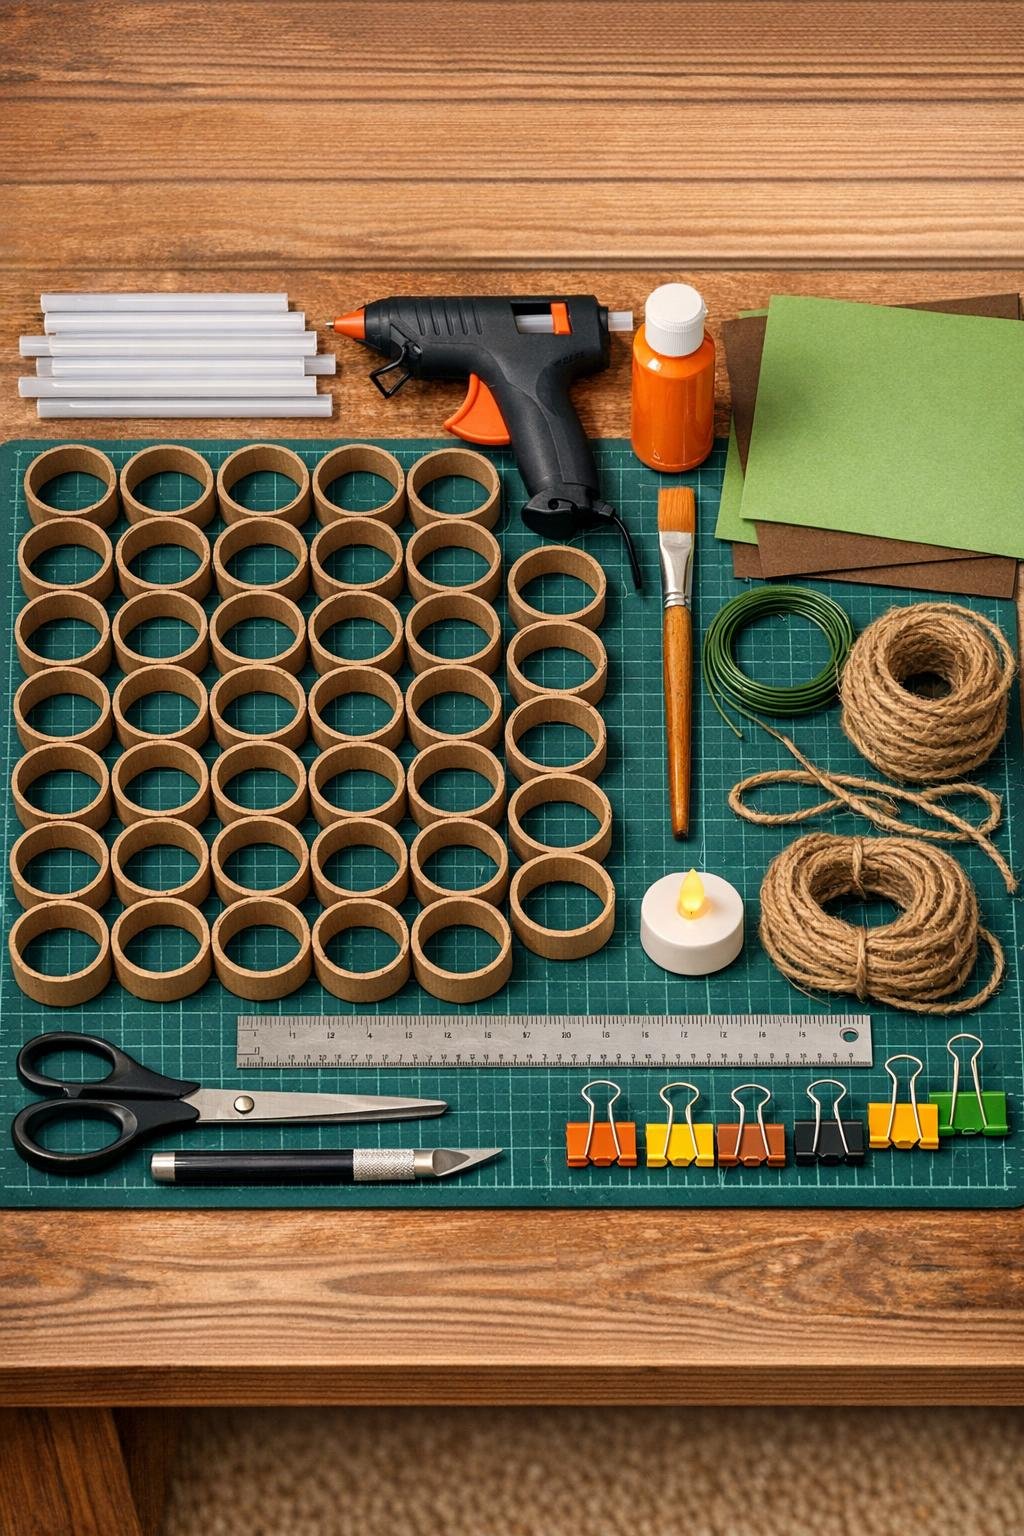
Materials
40 cardboard rings, each 1 inch wide with a 6 inch outer diameter and 4 inch inner diameter
Instructions
1. Draw and cut 40 matching cardboard rings with a 6 inch outer circle and a 4 inch inner circle, keeping the ring width as even as possible so the pumpkin stays balanced.
2. Choose 10 of the best rings for the center of the pumpkin, then lightly flatten the remaining 30 rings with your hands just enough to give them a slightly oval shape for a fuller pumpkin profile.
3. Glue 10 round rings into a straight center stack, applying a thin bead of hot glue along one edge before pressing the next ring on top and clipping in place for a few seconds as needed.
4. Build out the pumpkin curve by gluing 15 oval rings onto one side of the center stack, offsetting them evenly around the middle so the shape bulges outward like one half of a pumpkin.
5. Repeat on the other side with the remaining 15 oval rings, checking from the front and side as you work so the sphere stays centered and nicely rounded instead of lopsided.
6. Set the sphere upright and gently adjust any rings that sit unevenly while the glue is still slightly warm, then add extra glue inside any loose seams for strength.
7. Paint the entire cardboard sphere orange, working the brush into the cut edges and between the ring layers so the pumpkin looks rich and finished from every angle.
8. While the orange paint is still a little fresh, dry-brush burnt orange or copper into the grooves and lower edges to bring out the ribbed pumpkin shape and add depth.
9. Cut two leaf shapes from green cardstock or craft foam, then wrap the floral wire with jute twine and brown cardstock to make a slightly curved pumpkin stem about 4 inches tall.
10. Glue the stem securely into the top center opening, then tuck and glue the leaves around the base of the stem so the top looks full and polished.
11. Slip the LED tea light or puck light into the center of the pumpkin through one of the ring openings, positioning it so the glow spreads through the whole sphere.
12. If you want extra durability, brush on a light coat of matte sealer and let everything dry completely before displaying your lantern on a porch, mantel, or entry table.
Variations & Tips
Make it larger: For a more dramatic porch piece, increase the ring size to 8 inches outer diameter and keep the same method, but use 40 to 50 rings so the pumpkin still looks nice and full.
For younger helpers: I like to do the cutting and hot gluing myself, then let kids help with painting, dry-brushing, and choosing where the leaves go.
Use what you have: If you do not have cardstock or craft foam, cut the stem and leaves from extra cardboard and paint them brown and green for the same general look.
Add sparkle carefully: A very light brushing of gold paint on the outer ridges gives the lantern a pretty evening glow without taking away from the handmade cardboard texture.
For picky decorators: In my house somebody always wants the “not too spooky” version, so I keep these sweet and simple with warm light and classic pumpkin colors instead of faces or glitter.
Display tip: These look best grouped in twos or threes at different sizes, especially near a doorway or on a mantel where the open ring design can really show off the candlelight.
Safety note: Only use battery-operated lights inside the lantern since cardboard and hot glue should never be paired with a real flame.